The following tutorial shows the user how to delete a track in Studio One 4.
CLICK HERE to learn Presonus Studio One 4 one on one with a digital audio professional at OBEDIA.
Digital Audio Workstation software let their users record digital audio and MIDI information into audio and MIDI tracks that will be mixed during the mixing stage of the production. Often times during mixing, the engineer might encounter a situation in which a track is not needed for the project anymore, and therefore must be deleted in order to save hard drive space and make the timeline look “cleaner”.
This tutorial will present a step-by-step guide on how to delete a track in Studio One 4.
1. Open or create a new Studio One 4 song with several tracks:
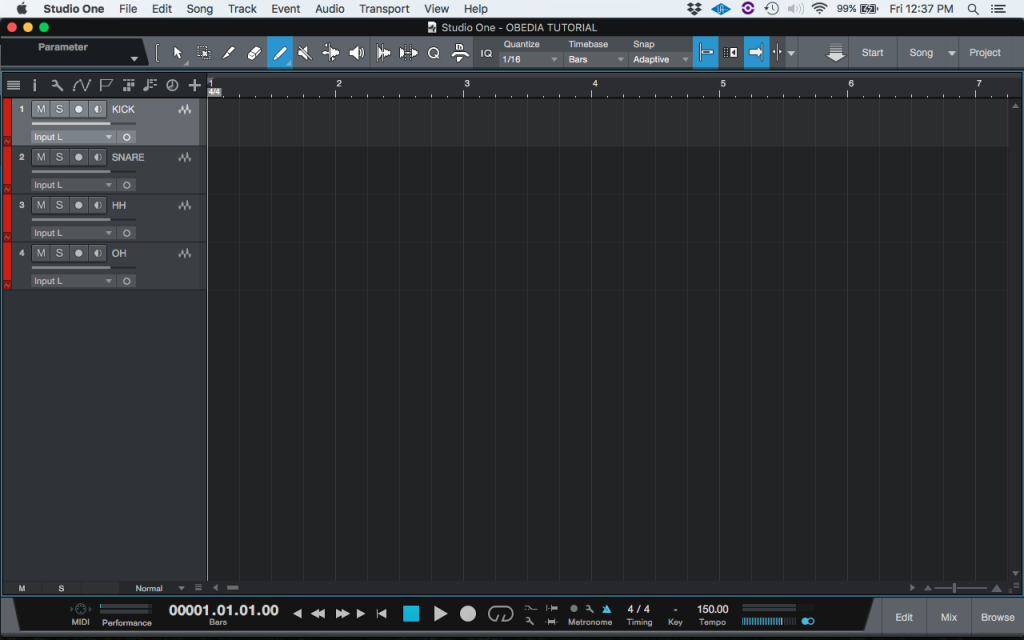
For the purpose of this tutorial we will delete the last track, labeled as “OH”.
2. Right-click on the “OH” track and the following drop-down list will appear:
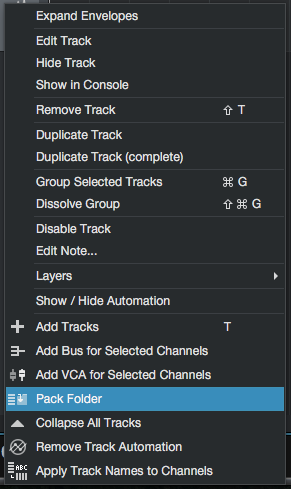
3. From the list, click on “Remove Track”:
![]()
The track will be deleted and it will not appear in the timeline anymore:
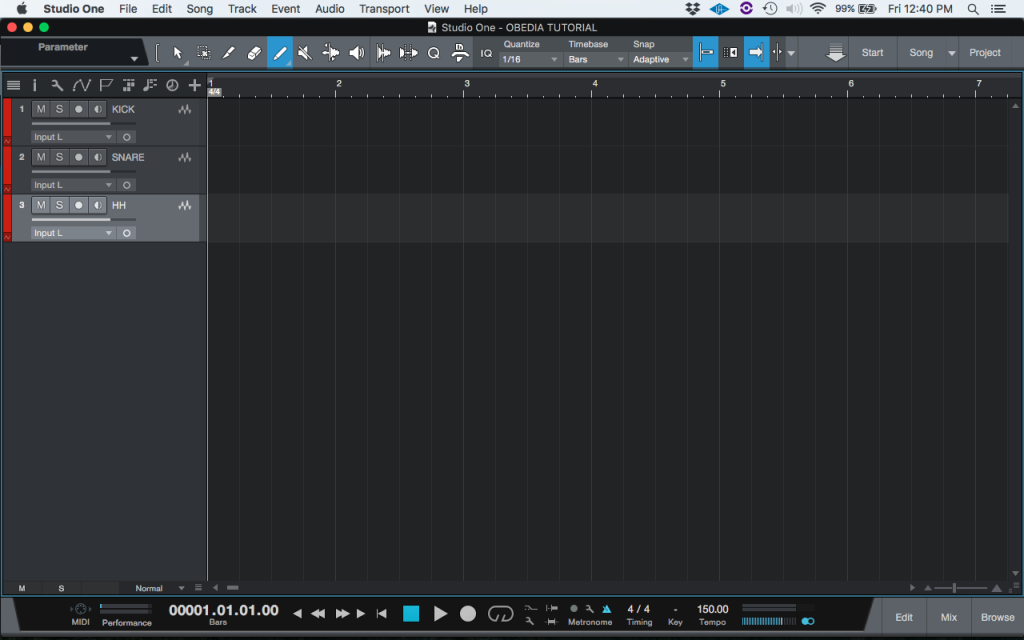
Now that the track is deleted, the computer’s CPU resources that were being consumed by it have been freed.
At this point the user has learned how to delete a track in Studio One 4. The tutorial has now finished.
We hope this tutorial on how to delete a track in Studio One 4 has been helpful! Call OBEDIA today to learn how to use Studio One 4 from a digital audio professional.
CLICK HERE to learn Presonus Studio One 4 one on one with a digital audio professional at OBEDIA.