The following tutorial shows the user how to quantize MIDI in Studio One 4.
CLICK HERE to learn Presonus Studio One 4 one on one with a digital audio professional at OBEDIA.
On previous tutorials we have explained how to record MIDI into Studio One 4. Just as audio can be edited to fix timing problems, MIDI can also be edited to fix poor performances in order to make them sound like if the player had recorded the parts with better expertise. This is specially useful for players that are not keyboardists but are in situations in which they must record keyboard parts.
This tutorial will present a step-by-step guide on how to quantize MIDI in Studio One 4.
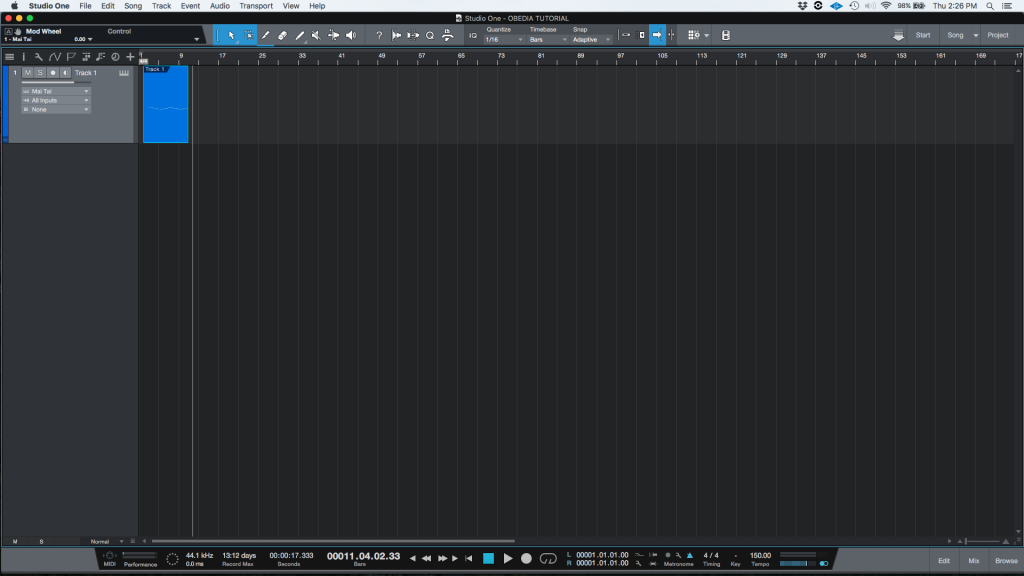
- Open or create a Studio One 4 song that contains at least a single MIDI performance on an instrument track:

2. Double click on the MIDI event to open the edit tab:

From this image it is easy to see how the grid has been set to a quarter note grid from:
![]()
Zooming on the actual MIDI notes:

It is easy to see that the player was “trying” to play quarter notes, but he or she were not perfect when playing. Using the quantization feature of Studio One 4, this performance imperfections can be corrected. For the purpose of this tutorial we will quantize to the nearest quarter note grid mark.
3. Open the Quantize function menu by clicking on the “Q” (quantize) icon:
![]()
The quantize menu will open as:

This menu presents several parameters the user can tweak in order to quantize the notes to the desired grid mark, the most important parameters that we will be explaining are:
- Grid/Groove: This selector tells the quantize function that the notes will be dragged to the nearest grid mark or to match a preselected groove.

- Note Value: These buttons let the user select the note value that is desired for the quantization reference, such as whole note, half note, quarter, eight, etc.

- Start/End: These sliders let the user select how much will the start and end of each MIDI note will be dragged to match the grid mark. A value of 100% represents perfect line up with the selected grid mark.

4. Apply the required parameters to the Quantize menu:
For the purpose of this tutorial we will be quantizing following a quarter note grid. The start and the end of the notes will be quantized 100%. The parameters will be:
- Grid/Groove: Grid
- Note Value: Quarter Note
- Start/End: Start 100%. End 100%.
The quantize menu will look like this:

5. Click and drag the mouse to select all the notes that want to be quantized, as soon as they are selected they will be highlighted as:

6. Press the “APPLY” button to quantize:
![]()
The notes will be quantized and they will look as:

It is easy to see how all the notes now look perfectly aligned to the quarter note grid since they have been successfully quantized. If the user now presses play on the transport, the MIDI performance will sound as the player had hit every key perfectly, therefore fixing the timing imperfections. Quantization has been achieved properly. The tutorial has now finished.
We hope this tutorial on how to quantize MIDI in Studio One 4 has been helpful! Call OBEDIA today to learn how to use Studio One 4 from a digital audio professional.
CLICK HERE to learn Presonus Studio One 4 one on one with a digital audio professional at OBEDIA.
