
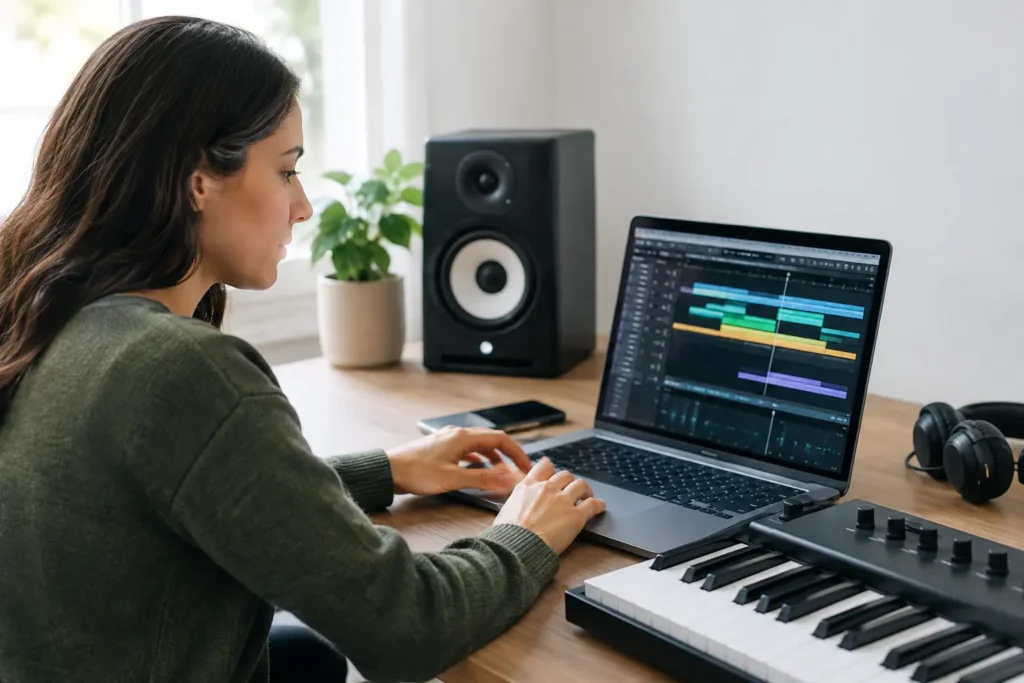
A chorus that feels bigger than the verse is not always louder. Sometimes it is moving two BPM faster. A breakdown that suddenly feels exposed may need a controlled slowdown before the drop. These are tempo automation techniques: deliberate tempo changes inside a song that shape energy, help transitions land, and make a programmed arrangement feel more like a performance.
Most producers know where the tempo field is in their DAW. Far fewer use the tempo track as an arranging tool. That is understandable. Tempo automation can create problems when audio stretching, MIDI timing, printed effects, and a live musician’s feel are not accounted for. Used with intention, though, it can solve arrangement issues that another compressor, riser, or drum sample will not fix.
What Tempo Automation Actually Changes
Tempo automation changes the speed of the project timeline over time. Depending on your DAW settings, MIDI follows the new tempo automatically, loops stretch to fit, and audio can either stretch, stay fixed in time, or react unpredictably if its tempo mode is wrong.
That last part matters. A tempo change is not merely a number on a transport display. It affects every time-based decision in the session: delay sync, reverb pre-delay, LFO rates, arpeggiators, quantization grids, and the relationship between edited audio and the bar lines. Before adding a ramp, make sure you know which tracks are set to follow the project tempo.
In Studio One, this often means checking each audio event’s Tempo mode and confirming whether you want it to stretch, follow, or remain at its original timing. Logic Pro users should understand the difference between keeping audio at its original position and using Flex Time to adapt it. In Pro Tools, tempo mapping and Elastic Audio need to agree with the result you expect. Ableton Live users should check Warp settings, especially on recorded audio that was not played to a click. Cubase users should verify Musical Mode and the tempo track setup.
The principle is the same in every DAW: decide whether the song should move around the performance, or whether the performance should move with the song.
Start With Musical Reasons, Not Random Ramps
A tempo change should answer an arrangement question. If the chorus lacks lift, a gradual increase of one to three BPM can create forward motion without asking the listener to identify what changed. If a vocal pickup needs more drama, a slight pullback immediately before the downbeat can make the entrance feel intentional.
Avoid automating tempo just because a section seems boring. If the chords, lyric, groove, or sound selection are not working, a tempo ramp will only decorate the problem. Start by identifying the job of the change: build anticipation, release tension, support a live performance, connect two sections, or make an ending feel final.
Small moves are usually more convincing than large ones. A pop or rock chorus might gain energy from moving 96 BPM to 98 BPM over eight bars. An electronic build can tolerate a more obvious climb, especially when drums, risers, and filter movement reinforce it. A singer-songwriter recording may need only a subtle reduction of a fraction of a BPM at a phrase ending.
The genre, arrangement density, and performance style all matter. A hard-cut hip-hop beat may lose impact if the tempo is constantly moving. An orchestral or cinematic arrangement can often use more flexible tempo because the listener expects a human push and pull.
Three Tempo Automation Techniques That Work
The Pre-Chorus Lift
Start the pre-chorus at the established song tempo. Over the final four or eight bars, raise it gradually by one or two BPM, then arrive at the chorus at the new tempo. This works because it creates motion before the chorus rather than relying on the chorus itself to do all the work.
Keep the ramp smooth. A sudden step up can feel like a playback error unless that mechanical effect is part of the production. Listen closely to bass notes, vocal phrasing, and repeated percussion. If the performer suddenly sounds rushed, shorten the ramp or move it earlier in the section.
The Breath Before the Downbeat
For a dramatic chorus, final chorus, or drop, slow down slightly during the last beat or bar before the entrance. Then return to the main tempo exactly on the downbeat. This creates a brief sense of suspension.
The technique works best when the arrangement helps sell it. Let a vocal line hold, pull back the drums, automate a delay throw, or leave a moment of space. If full drums are hammering through the slowdown, the result can feel clumsy instead of dramatic.
Use this carefully with tightly edited electronic drums. A large slowdown can expose warping artifacts or make the kick pattern feel disconnected. In a live band production, the same move may feel natural because real players already vary their timing at section boundaries.
The Controlled Ending Slowdown
A ritardando, or gradual slowing at the end of a song, can make an ending feel performed rather than looped. It is especially useful when the final lyric, guitar chord, or vocal ad-lib needs room to resolve.
Do not draw a perfectly straight line automatically and call it finished. Real slowdowns often accelerate and decelerate in uneven ways. Try reducing the tempo gradually over four to eight bars, then slowing a little more aggressively in the final bar. Listen for where the vocal wants to breathe. The best curve is the one that supports the phrase, not the one that looks cleanest on screen.
Build the Tempo Map Before You Print the Details
Tempo work is easiest early in production. If you commit to it after printing delays, rendering stems, and extensively editing multitrack drums, you may spend more time repairing the session than improving the song.
A practical workflow is to establish the basic arrangement, place rough markers for sections, then test tempo moves with a simple drum groove, bass, and lead vocal. Those parts expose timing problems quickly. Once the map feels musical, verify the rest of the production against it.
Pay particular attention to tracks that may not behave well when the tempo changes. Check printed vocal effects, guitar delays recorded from hardware, long reverb tails, free-running synth patches, and audio loops from mixed sources. A tempo-synced delay may adapt perfectly. A delay printed into an audio file will not. You may need to split the clip, use fades, or reprint the effect after the tempo map is finalized.
This is also why saving a new version before major tempo changes is smart studio practice. A tempo map can affect a session globally. You want a quick way back if an experiment makes the groove worse.
Common Problems and the Fixes
The most common mistake is treating every track the same. MIDI instruments usually follow tempo changes cleanly, but recorded vocals and instruments require a decision. Should the audio stretch to preserve its relationship to the bar grid? Or should it remain in real time while the grid adjusts around it? Neither answer is universally correct.
If a live drummer speeds up naturally in a chorus, mapping the tempo to the drummer may preserve the performance better than forcing the drums to a rigid project tempo. If you are producing a grid-based track with loops and programmed parts, stretching audio to a controlled tempo map is often the better choice. The right approach depends on what is leading the song: the performance or the production grid.
Another problem is artifact-heavy stretching. Cymbals, acoustic guitars, and exposed vocals can reveal poor stretching quickly. Use the best available algorithm for the source material, keep tempo changes modest when possible, and audition the affected audio without the full mix hiding the damage. If the artifact is obvious soloed, it will usually become a problem later.
Finally, do not confuse a tempo change with a meter change. Moving from 4/4 to 3/4, adding a pickup bar, or inserting a bar of 2/4 requires signature mapping as well as tempo work. Set bar and time signature changes accurately before editing MIDI or aligning loops. Otherwise, the arrangement may look organized while the actual musical phrasing is not.
Make the Automation Serve the Song
Tempo automation is not a mandatory production trick. Plenty of great records stay at one tempo from first bar to last. But when an arrangement feels static, a carefully planned tempo move can provide the human motion that layers of automation cannot.
Start with one transition. Make a copy of the session, automate a small change, and compare it against the original at the same listening level. If it adds energy without calling attention to itself, keep it. If your DAW fights you with warped audio, timing offsets, or confusing tempo settings, that is exactly the kind of problem that is faster to solve in a live one-on-one session with an OBEDIA engineer than through another hour of generic videos. The goal is not a clever tempo map. It is a song that makes the listener want to stay for the next section.