This tutorial shows the Ableton user how to add Locators and Time Signature Changes in Ableton Live.
This tutorial assumes the user has already created some kind of arrangement in Ableton Live.
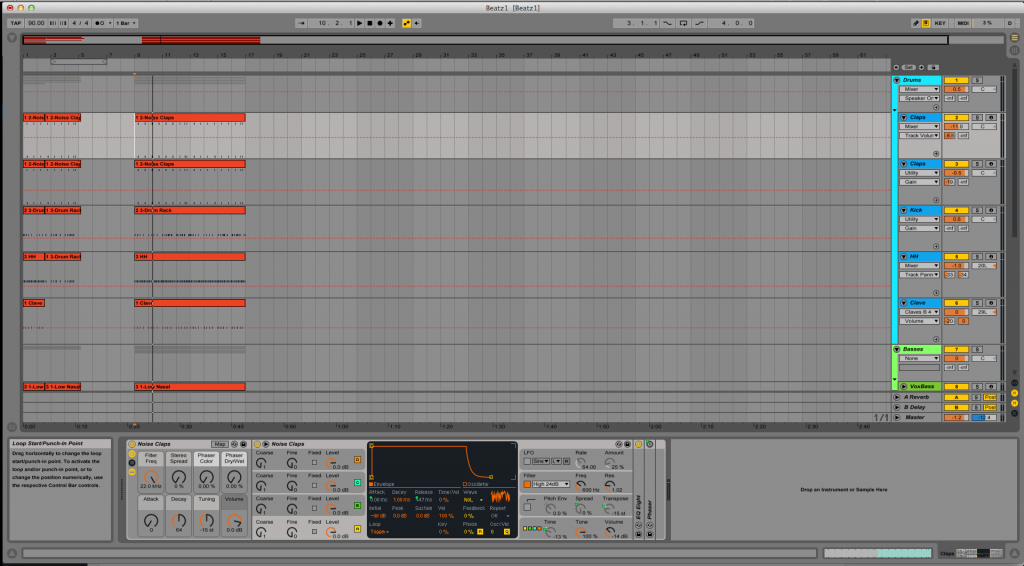
The arrangement created for this tutorial looks like the following:
PART I: ADDING LOCATORS
Locators are simply markers within the arrangement to let the user know which section of the song is being treated at the moment. Typical locators are: Intro, Verse, Chorus, Bridge, Solo, etc.
- Locate the playback at bar #1 and click at the top menu bar: Create -> Add Locator
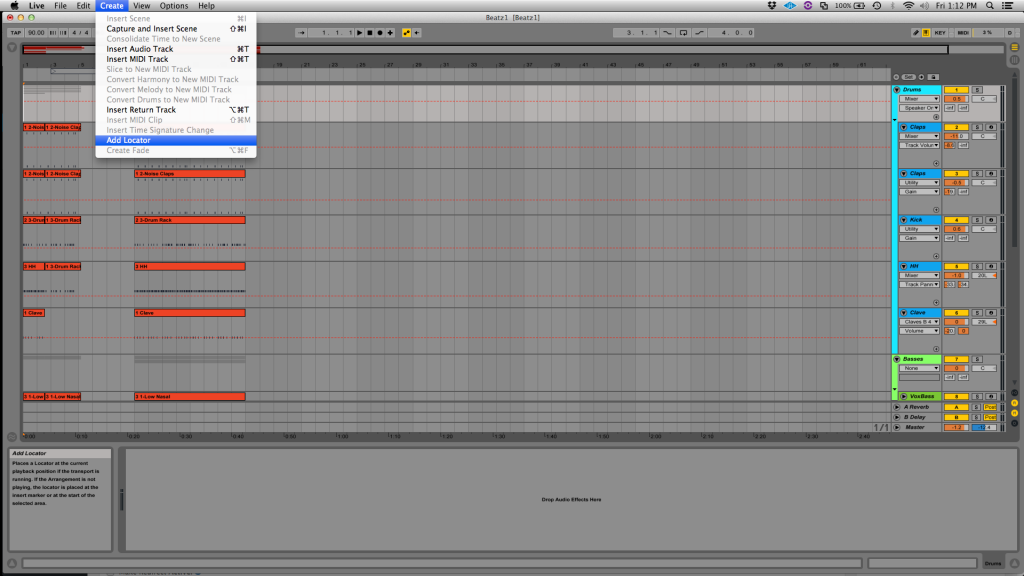
2. The software will prompt the user for a locator’s name. For the purpose of this tutorial we typed “INTRO” and then pressed enter.
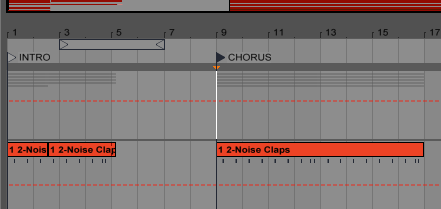
It is easy to see now how the locator INTRO is at bar #1:

3. We will repeat the same process on bar #9 and this time the locator will be called “CHORUS”:
PART II: ADDING TIME SIGNATURE CHANGES
As the user might know, the current (or default) time signature of the session is set on the top left side of the Ableton window, and it is currently set to 4/4:
![]()
Time Signature changes must be added at certain locations of the arrangement, just like we added the locators.
For the purpose of this tutorial, we will add a time signature change of 3/4 at bar #13.
- Locate the playback at bar #13 and click at the top menu bar: Create -> Insert Time Signature Change
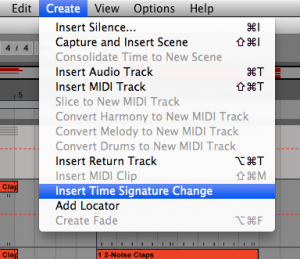
2. The software will prompt the user for a time signature. For the purpose of this tutorial we typed “3/4” and then pressed enter.
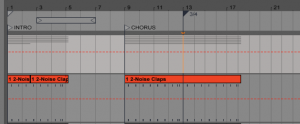
It is easy to see now how starting at bar #13 the time signature switches to 3/4:
You can now use this same methodology to apply to other operations in Ableton Live.
