The following tutorial shows the user how to record MIDI in Pro Tools.
CLICK HERE to learn Avid Pro Tools one on one with a digital audio professional at OBEDIA.
On previous tutorials we have explained how to setup a MIDI controller as well as a MIDI Track and also an Instrument Track. The next step after these configurations have been made, is in fact, recording the MIDI information coming out of the MIDI controller into the track. The MIDI data recorded will contain information such as the note number and the velocity the notes were played. This information will be received by the virtual instrument in order to trigger its sound.
This tutorial will present a step-by-step guide on how to record MIDI in Pro Tools. The tutorial assumes the user has already configured the MIDI controller and knows how to create, configure and route a basic Instrument track. These operations have been explained on previous tutorials by OBEDIA.
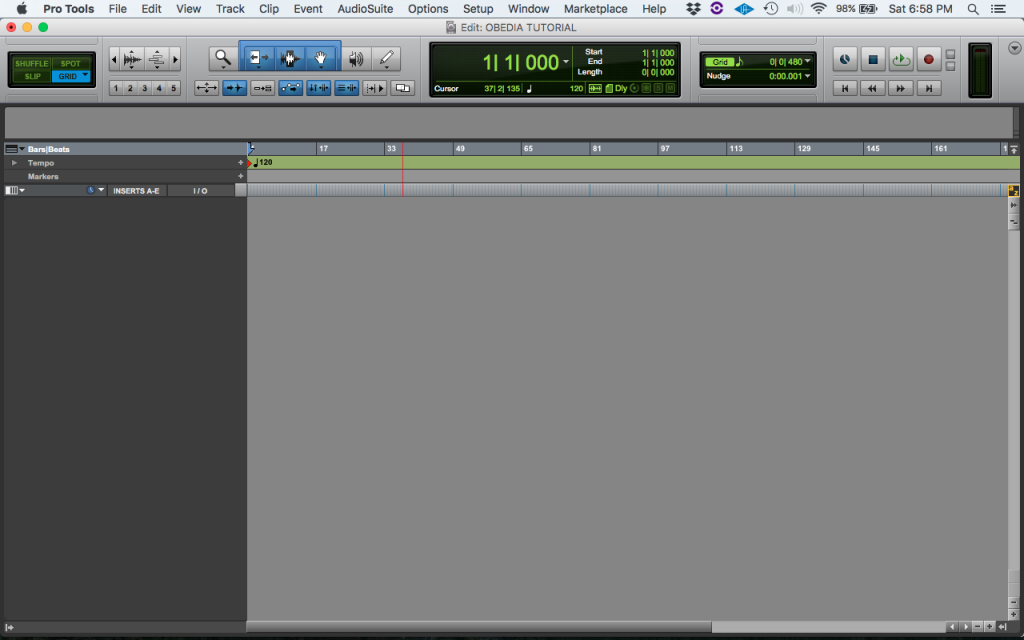
1. Open or create a new Pro Tools session:

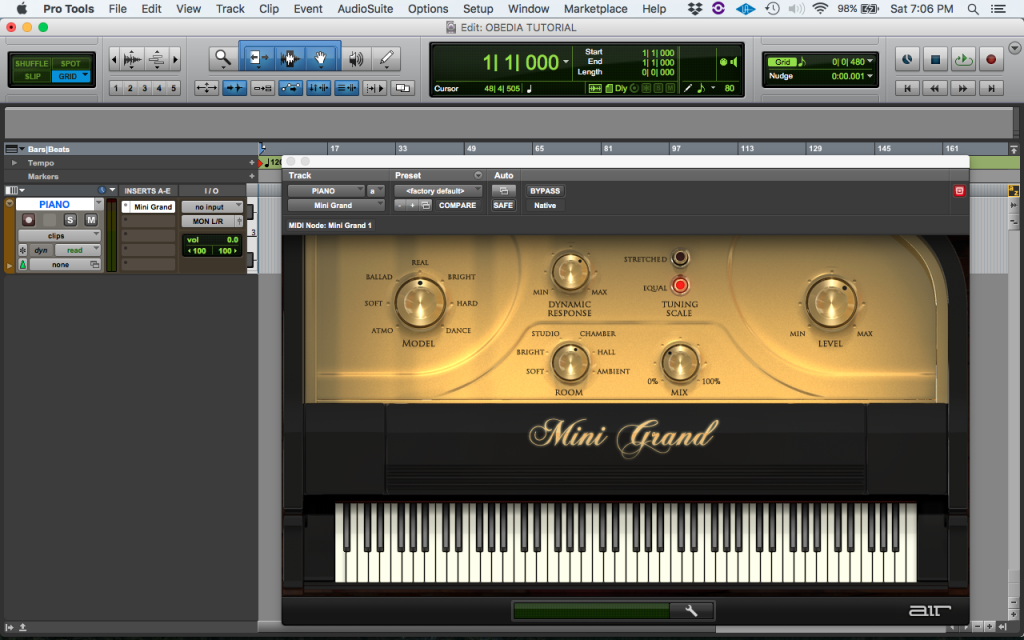
2. As explained on previous tutorials, create an instrument track and assign the “Mini Grand” virtual instrument to it.

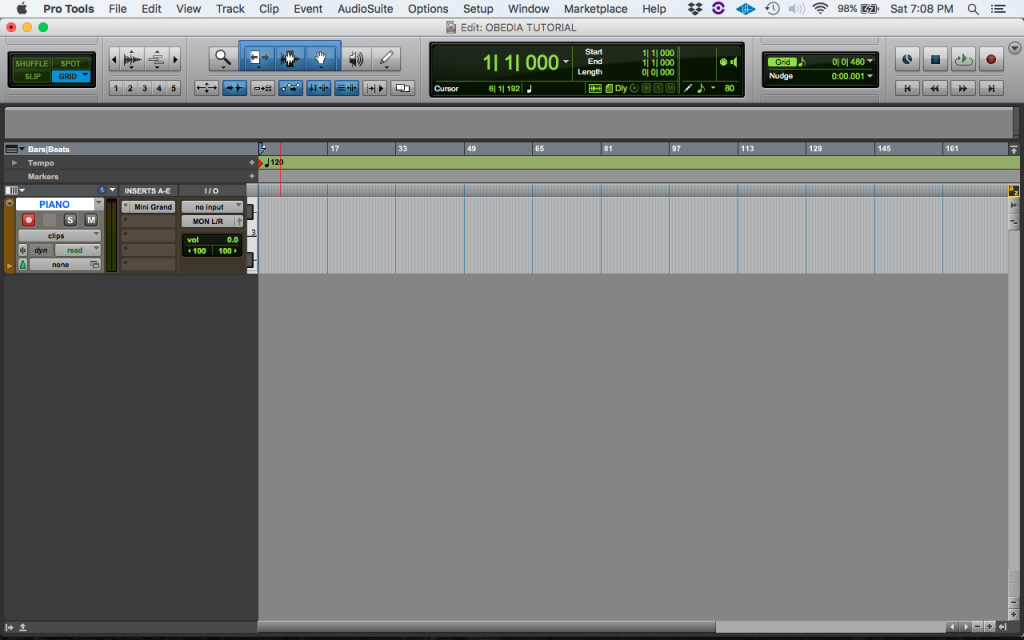
3. Record enable the Instrument Track:

4. Turn ON the general record enable button, and then press play.

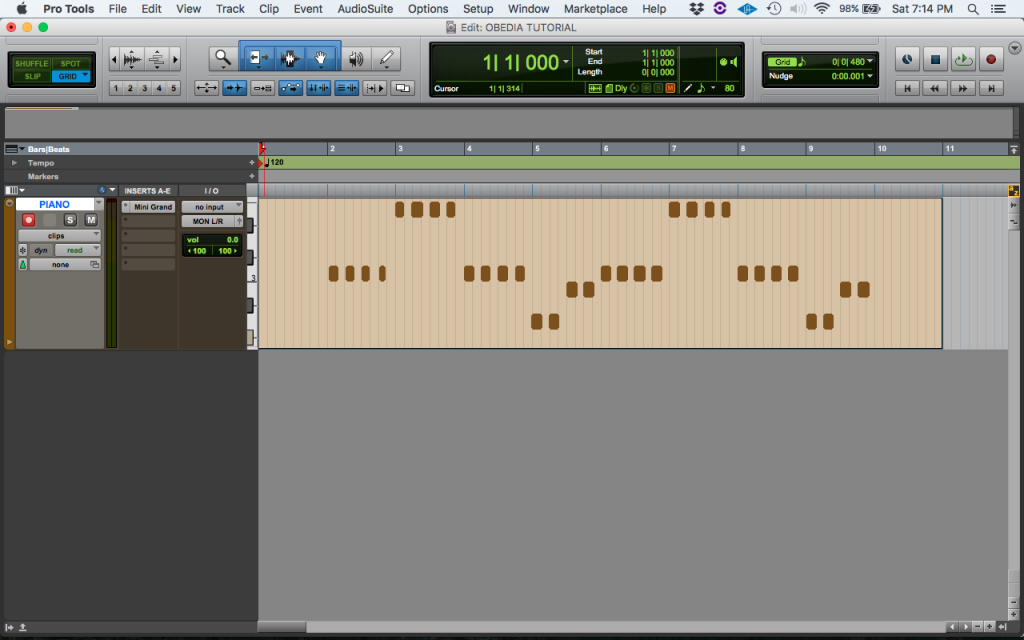
The recording procedure will start. Play the song and when finished, press the space bar to stop the recording. The new MIDI clip will appear as:

6. Turn OFF the record enable button of the track.

It is easy to see now how the MIDI clip has been created after finishing the recording process. The user can now playback the MIDI information from any point of the clip by using the transport. The MIDI clip shows the MIDI notes that will trigger the piano virtual instrument that was assigned to the track.
At this point the user has properly finished recording MIDI in Pro Tools.
We hope this tutorial on how to record MIDI in Pro Tools has been helpful! Call OBEDIA today to learn how to use Pro Tools from a digital audio professional.
CLICK HERE to learn Avid Pro Tools one on one with a digital audio professional at OBEDIA.
