This tutorial shows the user how to create a custom tempo map in Ableton Live.
The tutorial assumes the user has already created an Ableton Live set and it has been sent to the arrangement window.
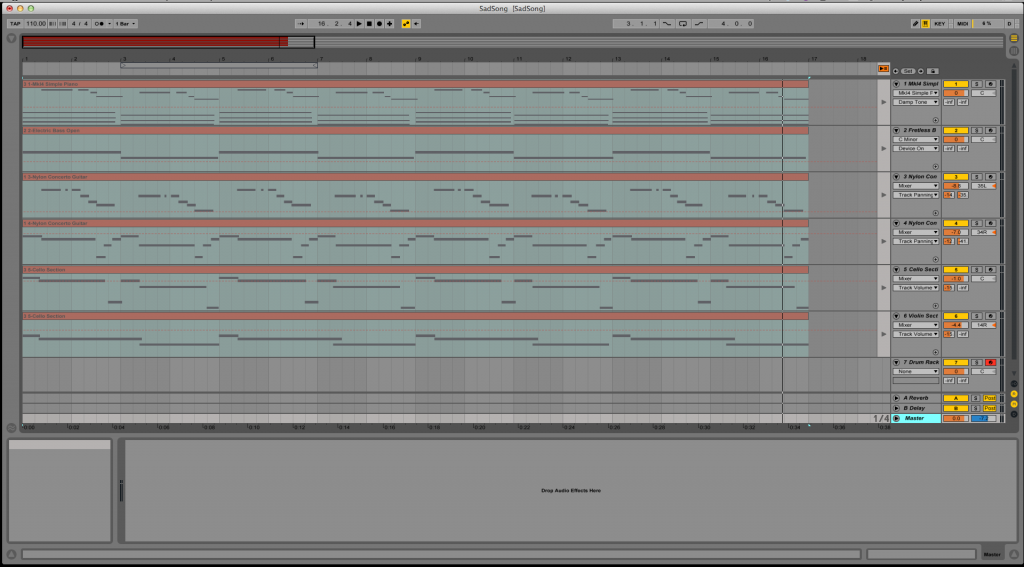
The set created for this tutorial looks like the following:

It is easy to see how this Set has a constant tempo set to 110 bpm:
![]()
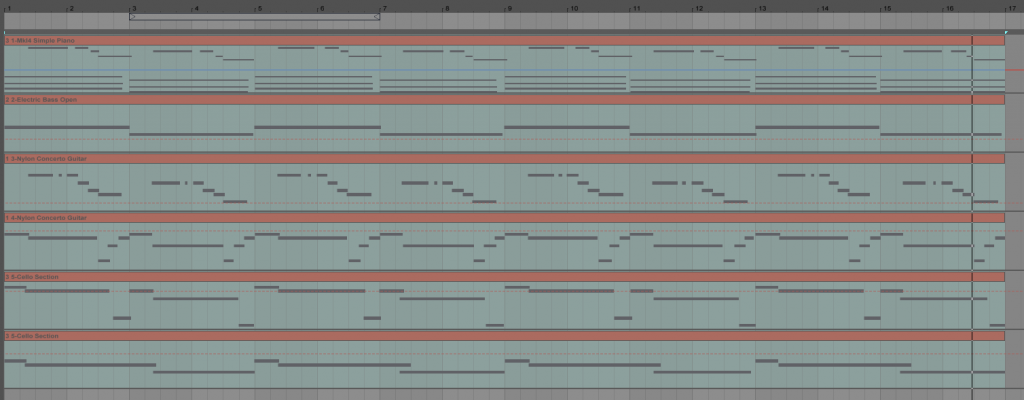
It is also easy to see how the total arrangement is 16 bars long:

The purpose of this tutorial is to modify the tempo of the second half of the arrangement to make it slow down gradually.
- Select the master track from the arrangement view by clicking on its name. Upon doing this, the master track will highlight in light blue:
![]()
2. Master track must be resized to a bigger size. This can be done by clicking on the top of the track, and dragging it up:

3. From the “Automation Control Chooser” it is easy to see how the default parameter is “Track Volume”:

This parameter must be changed to “Song Tempo” by simply clicking on it, and selecting “Song Tempo” from the drop-down list:

Now that “Song Tempo” is selected, the envelope editor on the left of the master track, controls the tempo of the song:

To make the tempo fall in a linear way on the second half of the arrangement, we must write an automation line that will slow down the tempo.
4. Enable the “Draw Mode Switch” by clicking on it. It will light up yellow to indicate this mode is ON. This mode is denoted by a little icon of a pencil:
![]()
5. Go back to the envelope editor of the master track and basically “draw” the tempo change by clicking at the start of bar #9 and dragging down towards the end of bar #16, the envelope will look something like this:

The tempo of the song has been now automated to slow down on the second half of the arrangement. It is important to note, this was done in draw mode, which is basically free hand. The user can keep tweaking this operation until it is what the user desired to listen.
