
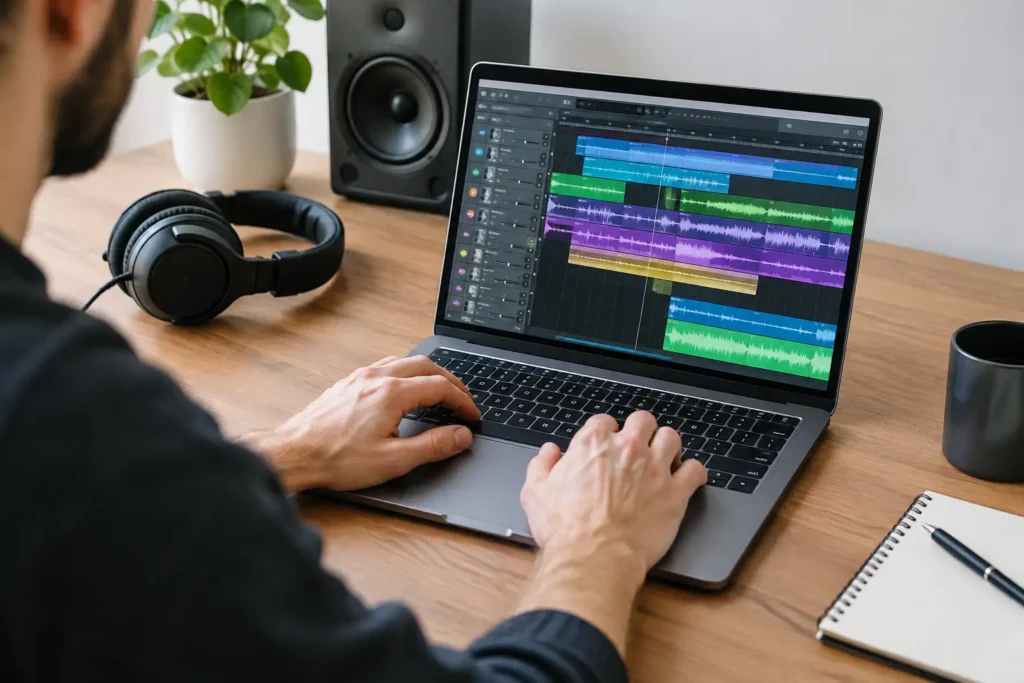
A vocal take is almost right, except for one late word. Your instinct might be to zoom in, drag the cursor, split the clip, move it, fade it, and zoom back out. That works once. Do it 40 times in a session and you have spent more energy operating software than making a record. DAW editing shortcuts are how experienced producers keep that friction from taking over.
The goal is not to memorize every command in your DAW. That is a fast way to waste an afternoon. The goal is to memorize the small group of actions you repeat constantly: navigating, splitting, trimming, moving, duplicating, and undoing. Those commands turn editing from a series of mouse hunts into a reliable physical habit.
The DAW Editing Shortcuts Worth Learning First
Keyboard shortcuts vary between Pro Tools, Logic Pro, Studio One, Cubase, and Ableton Live. Modifier keys may change between Mac and Windows, and some DAWs offer multiple key command layouts. Still, the editing jobs are nearly identical. Learn the function first, then locate the command in your specific software and customize it if needed.
1. Undo and redo without hesitation
Undo is the most valuable shortcut in any production system. Use it freely while comping vocals, trying an arrangement change, tightening drums, or cleaning noisy edits. Fear of making a wrong move causes slow editing. A dependable undo command removes that fear.
Redo matters too. You may undo three moves, realize the earlier version was better, and restore it immediately. Get comfortable with both commands before building more advanced habits. If your DAW has an undo history, learn where it is. It can save a session when a long chain of edits needs to be reviewed rather than guessed at.
2. Zoom to the edit, then zoom back out
Most sloppy edits happen because the editor is working at the wrong scale. At a wide view, you cannot see the transient or consonant you need to cut. At an extreme close-up, you lose context and start moving clips by the wrong musical amount.
Memorize horizontal zoom in and out, plus the shortcut that returns to a full-session or selection view. Many DAWs also provide zoom presets. Set one for detailed waveform work, one for a few bars of arrangement editing, and one for the full song. Switching between those views is much faster than endlessly scrolling and pinching.
3. Split clips or events at the cursor
The split command is central to vocal comping, dialogue cleanup, drum editing, arrangement changes, and sound design. Place the playhead or edit cursor where the change belongs, split the clip, then move, mute, delete, or process the new section.
The trade-off is that excessive splitting creates a messy session. Every edit point is another place for clicks, lost fades, and accidental movement. Split only when you need independent control. If you are simply shortening the start or end of a clip, trimming is usually cleaner.
4. Trim clip edges quickly
Trimming removes dead space, tightens a performance, and creates room for the next phrase. The mouse is often best for a single visual trim, especially when you need to see breaths, pick noise, or the end of a reverb tail. But keyboard nudging or dedicated trim tools become much faster when you are making repeated corrections.
Pay attention to your DAW’s snap setting. With snap set to bars or beats, trimming is ideal for arrangement blocks and loops. With snap disabled or set to samples, it becomes precise enough for spoken-word edits and transient cleanup. Neither setting is universally correct. The right setting depends on whether the edit is musical, rhythmic, or purely corrective.
5. Nudge selections and clips by a deliberate value
Dragging audio by hand feels intuitive, but it is rarely precise. A nudge shortcut moves a selected clip, event, note, or edit point by a defined amount. Set that amount to bars or beats when rearranging song sections. Set it to milliseconds, frames, or samples when aligning multitrack recordings or correcting a small timing issue.
Nudging is especially useful for drum edits. If a kick drum is consistently a little late, a controlled nudge may solve the problem faster than slicing every hit. Be careful with multitrack sources, though. Moving only one microphone track can create phase problems. Group related tracks before editing and move them together.
6. Copy, paste, and duplicate
Copy and paste are basic, but duplicate is often the faster command. Duplicating a selected clip or MIDI region usually places a copy directly after it or in a predictable location. That makes it ideal for extending loops, repeating a chorus element, building percussion patterns, or trying alternate arrangement lengths.
Use copy and paste when the destination is somewhere else in the song. Use duplicate when you want a direct repeat. That distinction sounds minor, but it removes a surprising amount of unnecessary cursor movement during arrangement work.
7. Select the next or previous clip
Selection navigation is one of the least glamorous skills and one of the biggest time savers. Instead of clicking each audio event, use your DAW’s commands to select the next or previous clip, track, marker, or note. This becomes essential in dense sessions with layered vocals, guitar doubles, and stacks of percussion.
Pair selection shortcuts with zoom and split commands. You can move through a vocal track, isolate phrases, cut mistakes, and clean gaps while keeping your eyes on the waveform instead of chasing the mouse around the screen.
8. Create and recall markers
Markers are not only for showing verse, chorus, and bridge. Use them to flag mix issues, production ideas, client notes, or spots that need another recording pass. A marker named “vocal de-ess” or “guitar noise” gives you a specific return point later.
Learn the shortcuts for creating a marker at the playhead and moving to the next or previous marker. This is particularly useful when recording alone. You can mark a problem in seconds, keep the creative momentum going, and repair it after the take rather than stopping every time you hear something questionable.
9. Toggle snap and grid modes
Snap is helpful until it is not. When you are moving a verse, snapping to bars keeps the arrangement clean. When you are trimming a vocal consonant, that same grid can fight every move you make. A quick shortcut for toggling snap, grid, or relative grid prevents constant trips into menus.
Check what your DAW is actually snapping to. Some programs distinguish between grid, absolute grid, relative grid, transient, and event boundaries. If a clip keeps landing in an unexpected place, the problem is usually not your hands. It is the active editing mode.
10. Fade in, fade out, and crossfade
Nearly every audio edit needs a quick listen for clicks. Short fades at clip boundaries solve many of them, especially on vocals, sustained instruments, and room recordings. Crossfades are essential when two clips overlap or when comping adjacent phrases from separate takes.
A default fade length can speed things up, but do not treat it as automatic. A fade that is too long can soften the attack of a snare or remove the natural start of a consonant. A fade that is too short may not hide the transition. Use defaults for routine cleanup, then adjust by ear where the performance demands it.
11. Separate edit commands from transport commands
Editing gets faster when playback is equally accessible. Make sure you know your play, stop, record, return-to-start, loop, and play-from-selection commands. Constantly reaching for the transport controls breaks concentration, particularly when you are fixing a series of tiny edits.
Many engineers use a loop or cycle command around a difficult section, make the edit, and immediately hear it in context. That is faster and safer than editing an entire verse before listening back. Your ears should confirm each decision while the edit is still easy to reverse.
12. Save a shortcut layout you can trust
If your DAW allows custom key commands, do not redesign everything on day one. Start by changing only commands that are genuinely awkward or that conflict with habits you already have from another DAW. Consistency matters more than cleverness.
Keep a short printed or on-screen reference during the first few sessions. Then practice the same commands on real work. Editing a podcast, comping a vocal, arranging a beat, and tightening a live drum performance will expose which shortcuts are actually worth retaining for your workflow.
Build Speed Without Making Bad Edits
Fast editing is not random editing. Before you start cutting, decide what the session needs. Are you correcting timing, removing noise, comping the best performance, or changing the arrangement? Each job calls for different grid settings, nudge values, and levels of detail.
Also separate technical cleanup from creative decisions when possible. First, label tracks, set markers, organize takes, and remove obvious distractions. Then make performance and arrangement choices with a clean session in front of you. Trying to solve both at once is how producers lose the best take in a pile of unnamed clips.
If the shortcut behavior in your DAW feels inconsistent, do not keep guessing. One-on-one training with OBEDIA can map these commands to your exact software, operating system, hardware, and current project so the workflow starts working for you instead of against you.
Pick three commands that slow you down today and use them on your next session until they become automatic. That is when the keyboard stops feeling like a set of commands and starts feeling like part of your editing ear.