The following tutorial shows the user how to add inserts in Studio One 4.
CLICK HERE to learn Presonus Studio One 4 one on one with a digital audio professional at OBEDIA.
Studio One 4 gives the users the ability of add software inserts as plugins to the tracks in order to process their signals as if it were in an analog console environment. In other words, these plugins (that resemble hardware inserts of an analog console) are added in series, after the recorded signal, and before the fader. Using software inserts (plugins) the user can apply dynamic and spectral processing to the signals in order to mix the song.
This tutorial will present a step-by-step guide on how to add inserts in Studio One 4.
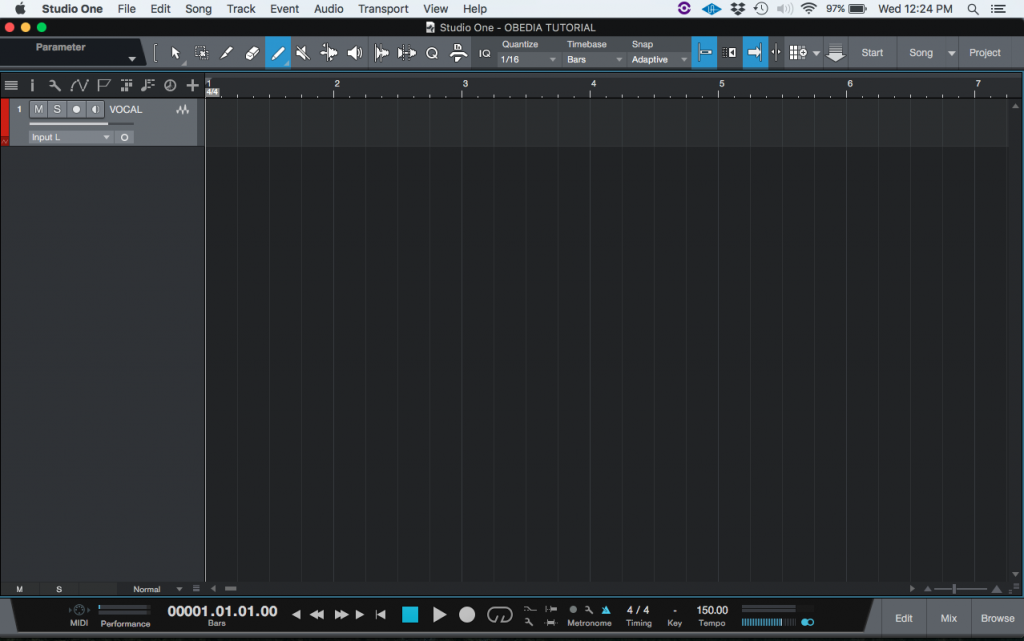
1. Open or create a new Studio One 4 song with at least one track:
For the purpose of this tutorial, inserts will be added at the Console tab. Therefore, we must open the Mix view.
2. At the bottom right of the Studio One 4 window, click on “Mix”:

The console tab will open as:
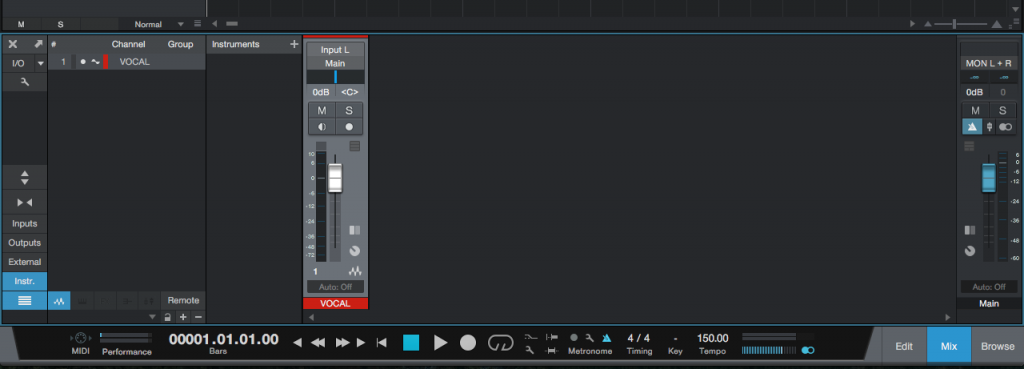
It easy to see now the vertical channel strip that resembles the channel strip from an analog console, with a fader at the end. However, no inserts area is seen. In order to fix this, the user must expand the console to its large format.
3. At the left side of the console click on the “Small/Large” expand button:
![]()
The console will now appear as:
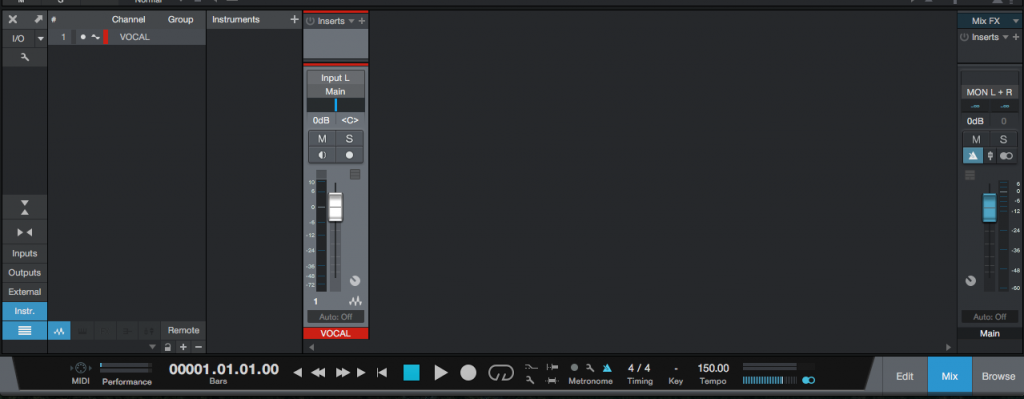
4. Click and drag at the top of the console window to make it occupy all the screen space:
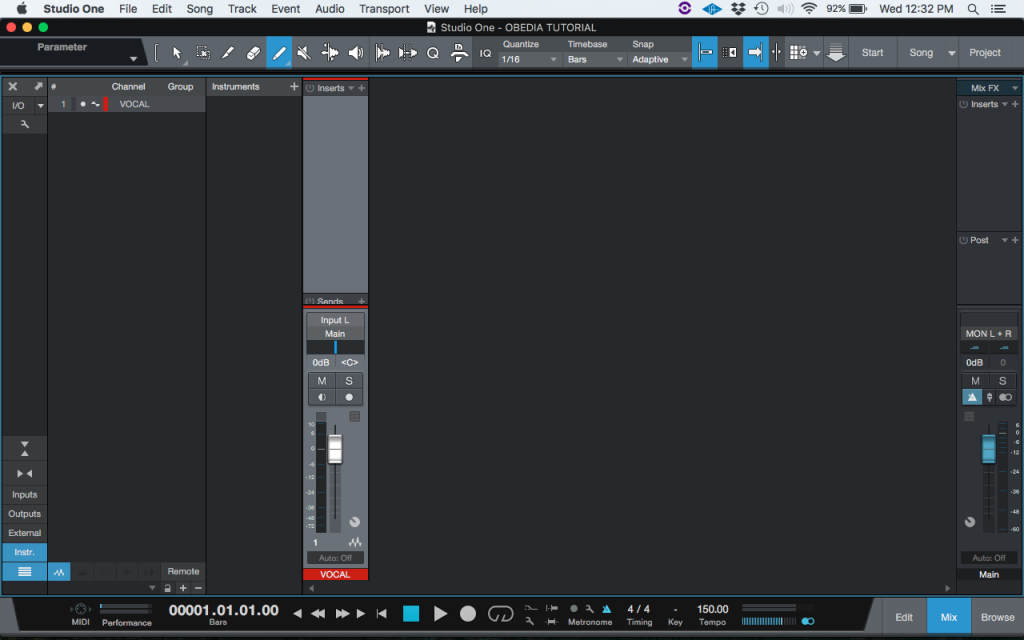
It easy to see at the channel strip now an area labeled as “Inserts” where the inserts can be added:

5. Click at the “+” sign next to “Inserts” to add an insert to the track:
![]()
The inserts list will appear as:
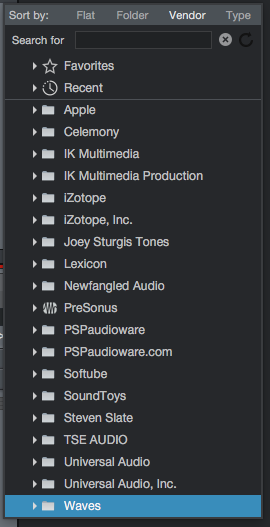
For the purpose of this tutorial we will add a stock Presonus Compressor.
6. From the list, click on: Presonus -> Compressor:
![]()
The compressor insert window will appear as:
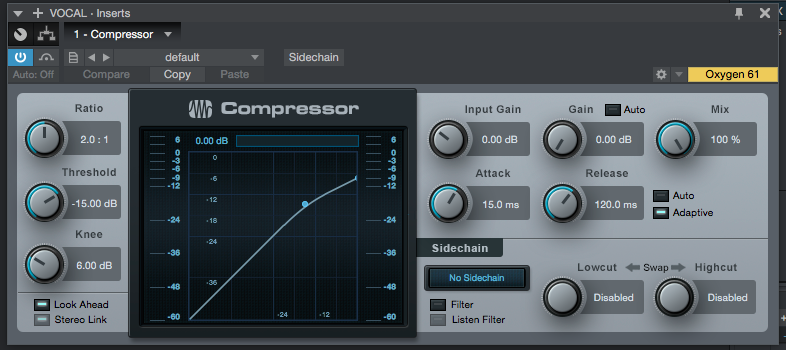
At this point the compressor insert has been added to the track and it is ready to be used. It is easy to see how it appears as the first insert of the channel strip as:

The insert has been added to our track and the user can configure its parameters in order to mix the track. The tutorial has now finished.
We hope this tutorial on how to add inserts in Studio One 4 has been helpful! Call OBEDIA today to learn how to use Studio One 4 from a digital audio professional.
CLICK HERE to learn Presonus Studio One 4 one on one with a digital audio professional at OBEDIA.