In an effort to make Ableton user’s experience better, let’s talk about How to change language and color theme in Ableton Live.
This tutorial assumes the user has Ableton opened and a Live Set created.
1. On the top menu bar, click on: Live -> Preferences
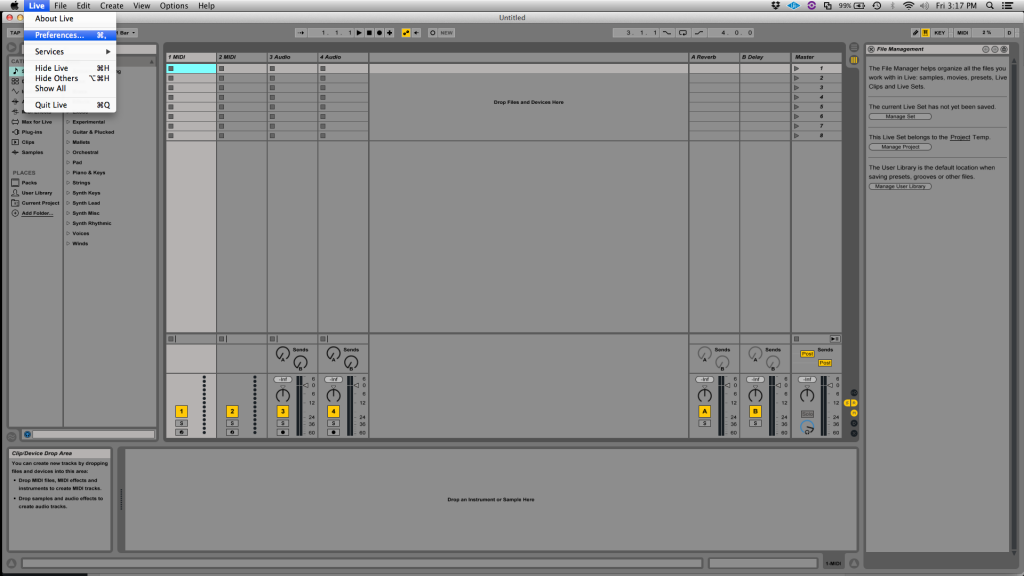
This will open Ableton’s preferences window, where the user will be able to change the language and color theme.
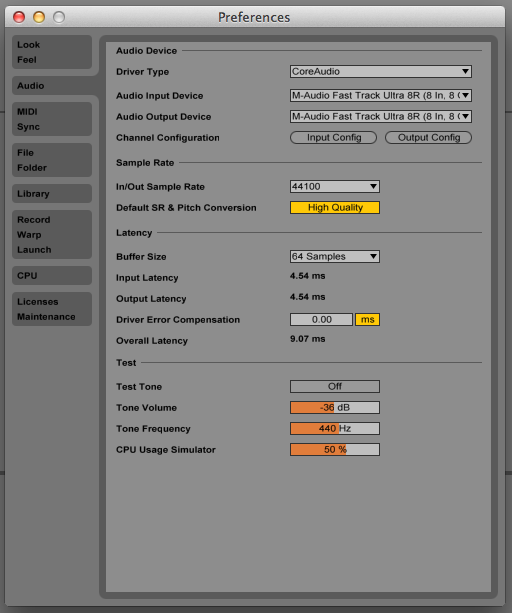
2. On the preferences window, click on the left tab “Look/Feel”.
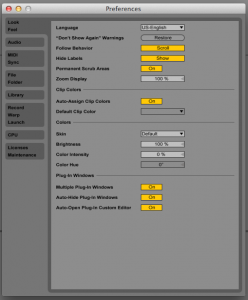
Now we are on the tab where all the configurations of this tutorial will be applied.
3. The very first option of this window lets the user change the language by clicking on the drop-down window and selecting the desired one.
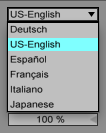
4. After selecting the desired language, the preferences window has to be closed and Ableton has to be closed and re-opened to make the changes effective.
5. In order to change the color theme, we must open the Preferences window and select the “Look/Feel” tab again (following steps #1 and #2).
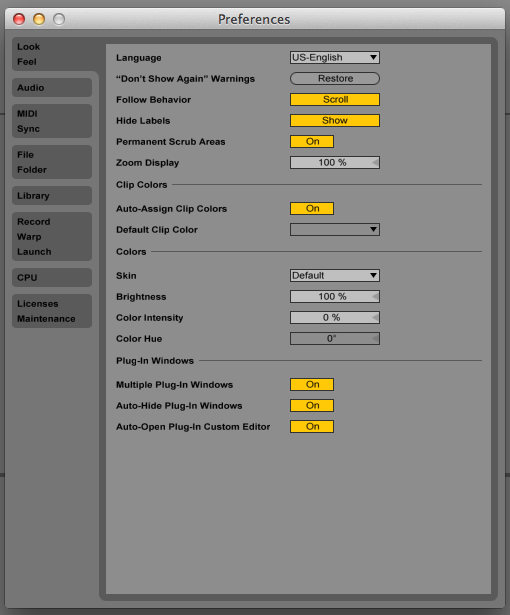
6. The third group of options of this tab is called “Colors”. To change the color theme, the user must click on the drop-down window next to “Skin”.
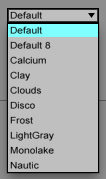
7. From the drop-down window, the user can select the desired “Skin” (color theme).
8. Close the Preferences window and the changes will be made effective.
We hope you found this article on How to change language and color theme in Ableton Live useful! Please call OBEDIA to learn how to use Ableton Live one on one with an OBEDIA technician today: 615-933-6775
