
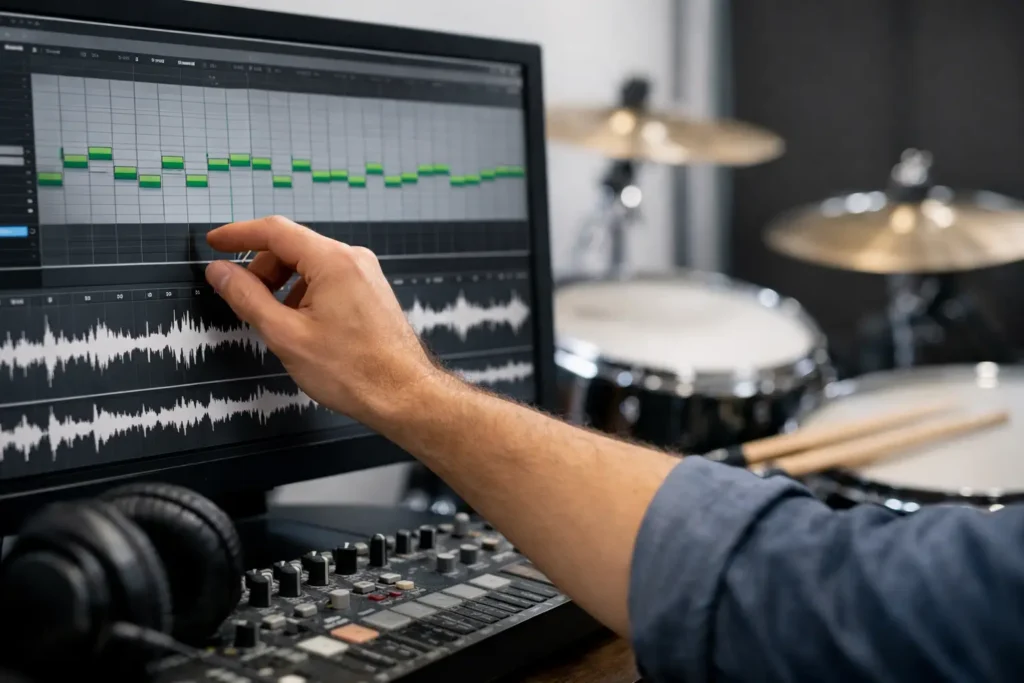
A drum performance can be slightly late, slightly rushed, and still feel completely right. That is why knowing how to quantize drum recordings is less about forcing every hit onto a grid and more about deciding which timing details are helping the song and which ones are getting in the way.
For programmed drums, quantization is usually simple. For recorded drums, especially a full kit captured across multiple microphones, careless quantizing can create flams, phase problems, chopped cymbals, and a performance that suddenly sounds like a machine. The goal is not perfection. The goal is a confident groove that translates.
Decide Whether the Drums Actually Need Editing
Do not start by selecting every drum track and applying 100% quantize. First, listen to the performance against the song. A drummer may play behind the beat in a way that gives a track weight. They may push fills slightly ahead to create energy. Those choices are part of the performance, not necessarily mistakes.
Look for timing issues that repeatedly distract from the groove: a kick that consistently misses the bass rhythm, a snare that lands noticeably late in a chorus, or a fill that throws off the downbeat. If the issue appears once and the rest of the take feels good, a manual edit may be all you need. If the entire performance drifts or the player is fighting the click, quantization can save the take.
Also ask a more basic question: what is the reference? If the song was tracked without a click and the tempo moves naturally, forcing the drums to a rigid grid may be the wrong move. You may need to create a tempo map that follows the performance first. Quantization only works well when the grid represents the musical intention.
Prepare Multi-Mic Drums Before You Quantize
A recorded kit is one performance heard through several microphones. The close snare mic, overheads, room mics, tom mics, and kick channels all contain related versions of the same events. Editing one track independently is how phase alignment gets destroyed.
Before moving anything, organize the session. Group the drum tracks so every edit affects all related channels together. In Pro Tools, this generally means Edit Groups. In Logic Pro, use Track Groups with editing enabled. Cubase uses Group Editing, Studio One uses Grouping and Audio Bend workflows, and Ableton Live users may need to consolidate or carefully manage linked edits depending on the session setup.
Then identify the track that provides the clearest transient information. For many rock and pop sessions, that is the close snare track, kick track, or both. The overheads often capture the most complete picture of the kit, but cymbal wash can make transient detection less reliable. Let the clearest rhythmic source guide the analysis, while keeping all drum microphones locked together.
Make a duplicate playlist, version, or backup before you begin. Drum editing is reversible until it is not. A clean safety copy gives you permission to make decisions quickly instead of protecting every move out of fear.
Choose the Right Quantization Method
There are two common ways to quantize drum recordings: transient-based audio quantization and manual editing. Neither is automatically better.
Transient-based tools detect drum hits, create markers, and move or stretch the audio toward a chosen rhythmic value. Pro Tools uses Elastic Audio and Beat Detective. Logic Pro offers Flex Time. Cubase provides AudioWarp and Hitpoints. Studio One uses Audio Bend, while Ableton Live uses Warp Markers. The names differ, but the job is the same: find the attacks, move the timing, and preserve usable audio between them.
These tools are fast when the performance is reasonably close and the part is straightforward. They become less trustworthy with busy ghost notes, open hi-hats, cymbal-heavy passages, brushes, double-kick patterns, and tom fills. Detection can mistake bleed for an intentional hit or miss a real note entirely.
Manual editing is slower, but it gives you control. You split the grouped tracks at a clean point, move the event as one unit, and fill any gap with crossfades or time-stretching. For a few bad hits, manual editing is often cleaner than processing an entire song through an automatic quantization engine.
How to Quantize Drum Recordings in a Musical Way
Start with a small section, usually eight or sixteen bars from a verse or chorus. Do not process the entire song before you know how the material reacts. Set the grid to the smallest meaningful rhythmic division. For a straight rock beat, that may be eighth notes or sixteenth notes. For a sparse halftime groove, quarter notes may be enough.
Use a partial strength setting whenever possible. Moving a hit 50 to 80 percent toward the grid often tightens the groove without erasing the player’s placement. Full-strength quantization has its place in modern metal, highly produced pop, and certain electronic-influenced productions, but it should be a deliberate aesthetic decision.
Quantize the main anchors first: kick and snare. Those are usually the elements listeners use to perceive the pulse. Once they are working, evaluate the hats, toms, overheads, and rooms in context. Because all tracks are grouped, they should move together, but the musical judgment still comes from the complete kit sound.
Be especially careful at transitions. A drummer may lean into the first snare hit of a chorus or lay back on the last beat before a verse. Those tiny deviations can make an arrangement feel alive. If the grid says the hit is wrong but your ear says it creates momentum, leave it alone.
Check every edit for phase and artifacts
After quantizing a section, listen in stereo and then briefly in mono. Cymbals and room mics are often where problems reveal themselves first. If the kit gets thin, swirly, or oddly hollow, check whether grouped tracks moved together and whether the editing tool created different stretch behavior across channels.
Listen for chopped cymbal tails, clicks at edit points, fluttering room ambience, and unnatural attacks. Crossfades can solve many cuts, but crossfades are not a cure for bad edit placement. If the edit falls in the middle of a loud cymbal sustain, it may be better to move the whole event boundary or use a less aggressive correction.
Then turn off the click and judge the drums against the bass, guitars, vocals, and programmed elements. A perfectly gridded drum track can still feel wrong if the bass player sits behind the beat or a guitar riff was recorded with a looser feel. The song, not the grid, gets the final vote.
Common Drum Quantizing Mistakes
The first mistake is quantizing every transient. Not every transient is a beat. Ghost notes, kick drum bleed, cymbal spikes, stick noise, and headphone spill can confuse detection. Clean up or manually verify markers before applying timing changes.
The second is treating all genres the same. A tight modern hard-rock production may benefit from aggressive correction. A blues, jazz, Americana, or indie recording may lose its character when every note becomes identical. Even within one song, the verse may need more movement than the chorus.
The third is ignoring tempo mapping. If the band performed without a click, or followed a changing live tempo, audio quantization against a fixed BPM grid can make the music feel worse. Build a tempo map around the performance, then decide whether any local corrections are needed.
The fourth is fixing timing before confirming the source issue. What sounds like bad timing may be monitoring latency, an incorrectly aligned sample layer, a late bass part, or a tempo grid that does not match the recording. Editing drums will not solve a session setup problem.
Know When to Stop Editing
There is a point where additional drum editing produces diminishing returns. If you are zoomed in far enough to correct a few milliseconds that no listener will notice, step back and play the track from the top. The important question is whether the rhythm makes the song feel more convincing.
A great drum edit should be invisible. The listener should hear a committed performance, not hear the software working. When the kit feels solid, the cymbals still breathe, and the band locks together, stop moving markers.
If your DAW is creating artifacts, your grouped tracks will not stay aligned, or you cannot tell whether the problem is timing, tempo, or phase, a live one-on-one session with an experienced engineer can save hours of trial and error. OBEDIA can work directly with your DAW and your actual session, not a generic example that does not match your setup.
The best quantized drum recording still sounds like a drummer made a choice. Keep the choices that make the song feel human, and correct only the ones that keep it from moving forward.