The following tutorial shows the user how to record audio in Studio One 4.
CLICK HERE to learn Presonus Studio One 4 one on one with a digital audio professional at OBEDIA.
It is widely know that Digital Audio Workstations are designed to emulate the behavior of an analog console connected to a tape machine, therefore its main purpose is being able to record audio information that can be played back after the recording has ended. In the case of DAWs, the audio information is recorded as digital audio that comes from a process of digital sampling known as PCM (pulse code modulation) on most cases. Digital Audio is stored in audio tracks that can modify it by applying digital processors to it. In order to record audio in Studio One 4, this tutorial assumes the user has already configured the audio interface and knows how to create an audio track; both of this operations have been explained on previous tutorials.
This tutorial will present a step-by-step guide on how to record audio in Studio One 4.
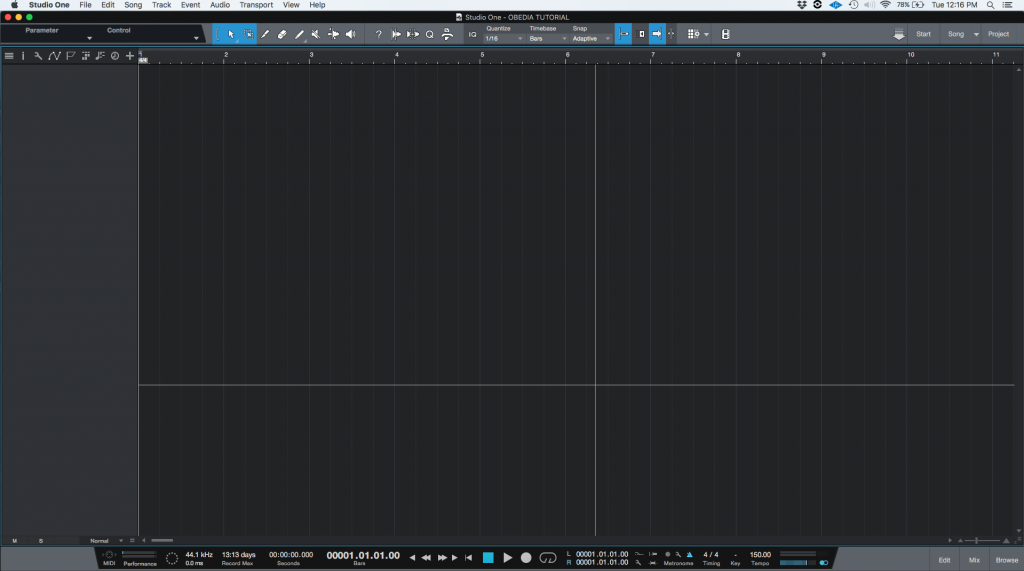
- Open or create a new Studio One 4 song:
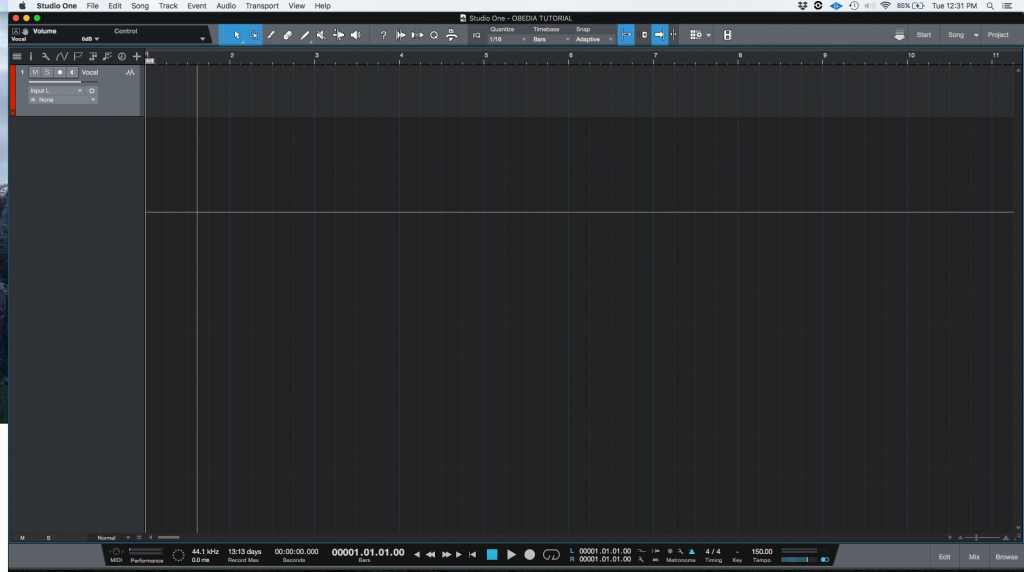
2. As explained on previous tutorials, configure the interface for proper use with Studio One 4 and create a new audio track, assign the proper input and output:
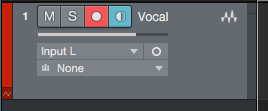
3. Record enable the track by clicking on the small white circle on it. As soon as it has been record enabled, the white circle’s background will turn red:
4. Locate the transport bar:
![]()
5. Click the record button and it will light red meaning it is now recording:
![]()
As soon as this happens, you can start playing the instrument or singing, the audio waveform will be created:

6. Press the spacebar to stop the recording:

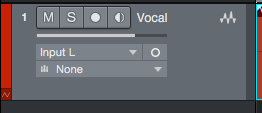
7. Disable the record enable function on the track by clicking on the same small circle with the red background. As soon as it is pressed, the track will quit the record enable mode and the small circle will be surrounded by the same grey background:
At this point we have finished recording audio in Studio One 4. The user can now press the space bar in order to playback the recorded material.

We hope this tutorial on how to record audio in Studio One 4 has been helpful! Call OBEDIA today to learn how to use Studio One 4 from a digital audio professional.
CLICK HERE to learn Presonus Studio One 4 one on one with a digital audio professional at OBEDIA.