The following tutorial shows the user how to “print” a mix in Studio One 4.
CLICK HERE to learn Presonus Studio One 4 one on one with a digital audio professional at OBEDIA.
On previous tutorials we have explained how to bounce or export a mix file from Studio One 4. Another way of obtaining a mix is by simply printing it to the same Studio One song as a stereo audio track. This procedure is more common within “old-school” engineers that were used to working with DAWs that had no export or bounce mix functions. This tutorial will explain a method of using bussing and a special way of routing tracks so that the whole mix is sent to a single stereo audio track where it can be recorded. This procedure is commonly known as “printing” a mix.
This tutorial will present a step-by-step guide on how to “print” a mix in Studio One 4.
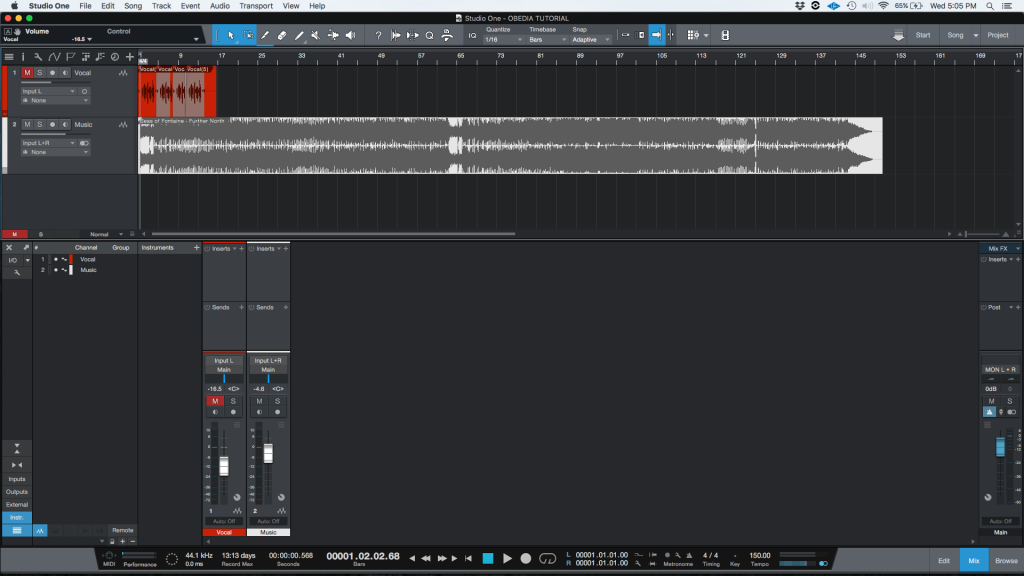
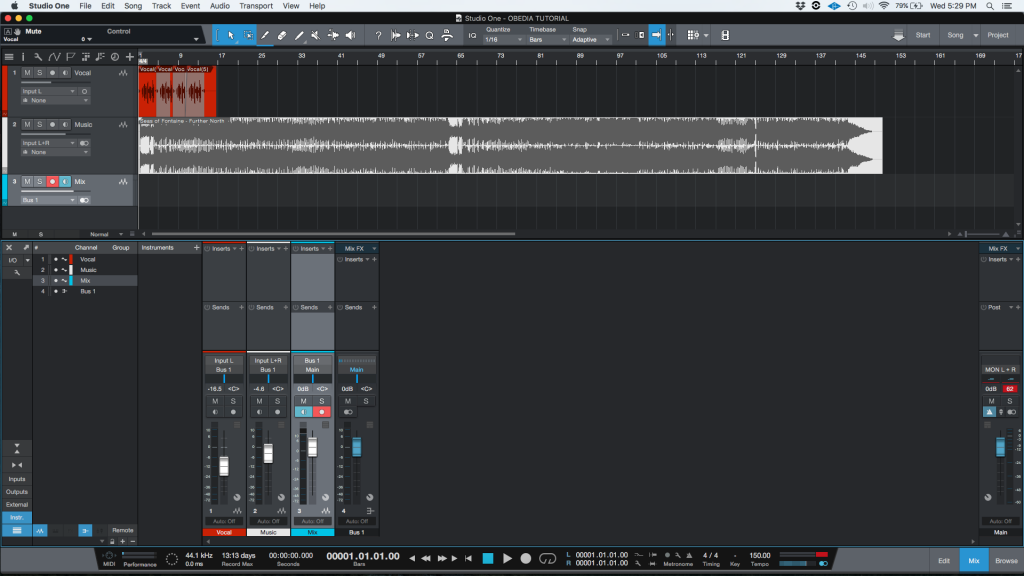
- Open a Studio One 4 Song that contains a mix that is ready to be printed:
2. From the Mix tab, right click to show the possible options:
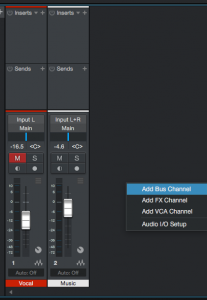
3. Click on “Add Bus Channel”:
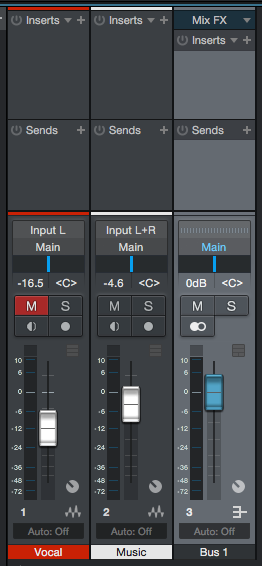
The new bus will be added and it will appear to the right of the other two tracks. By default it is named “Bus 1”:
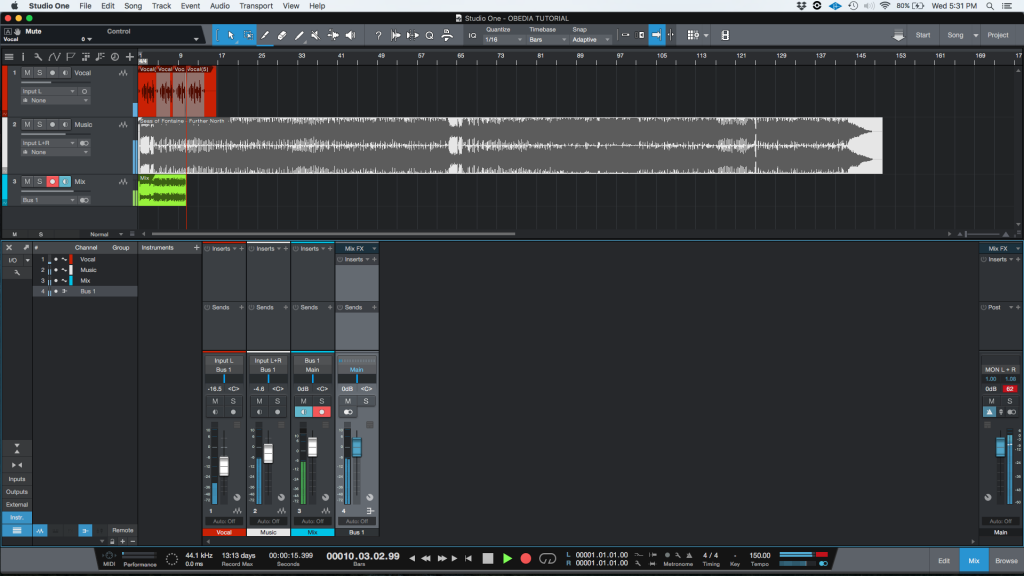
4. Create a new stereo audio track (as explained on previous tutorials) and label it as “Mix”:

5. Assign the outputs of the original tracks to “Bus 1” and the input of the “Mix” track to “Bus 1”:
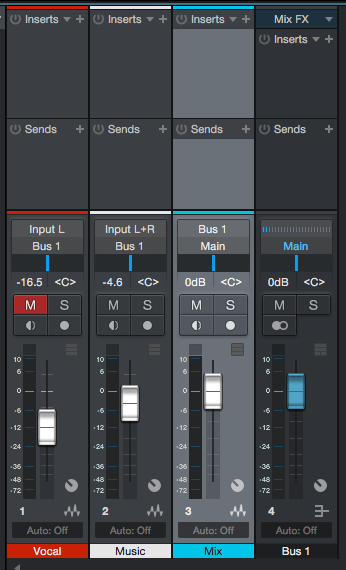
In this case, the “Vocal” and “Music” tracks have been sent to “Bus 1”. At the same time “Bus 1” has been sent to the input of the “Mix” track.
6. Record enable the “Mix” track and make sure the transport is located at the start of the timeline:
7. Press record and the printing process will start:
8. When the audio material ends, press the spacebar to stop the recording:
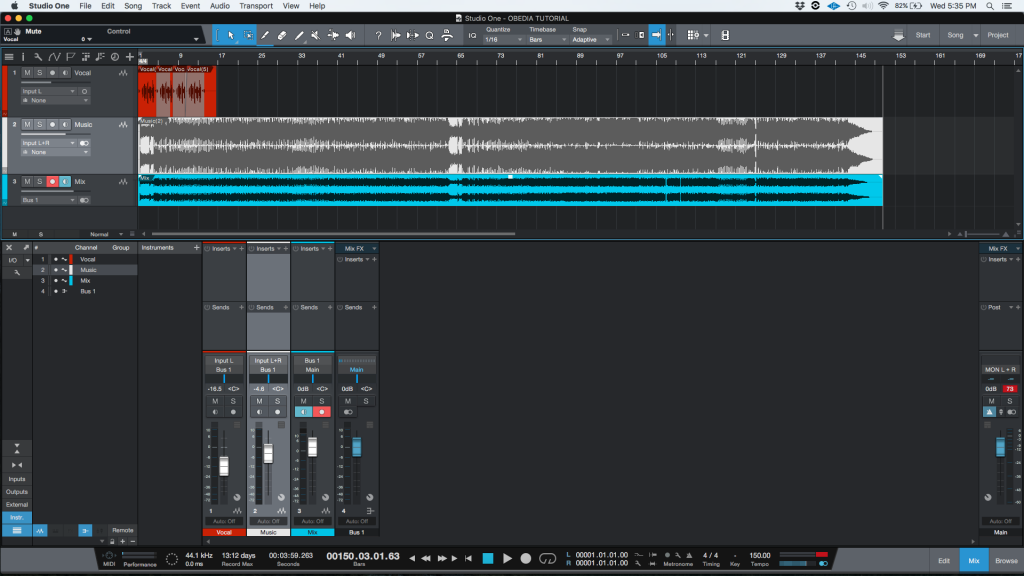
9. Turn OFF the record enable button on the “Mix” track:
At this point we have finished “printing a mix” inside Studio One 4. The track might be muted so it does not playback twice (once through the Mix track and once through the bus).
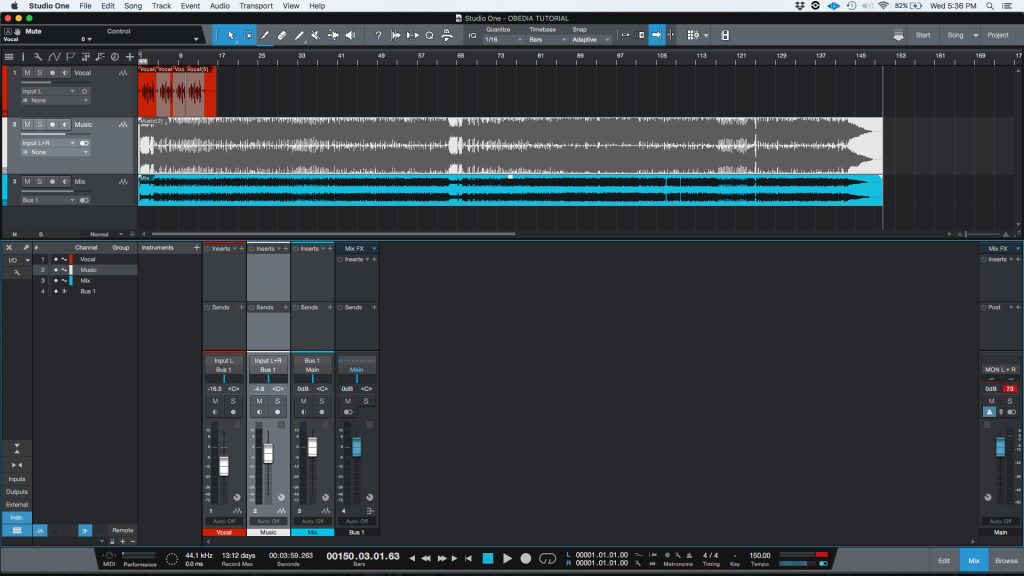
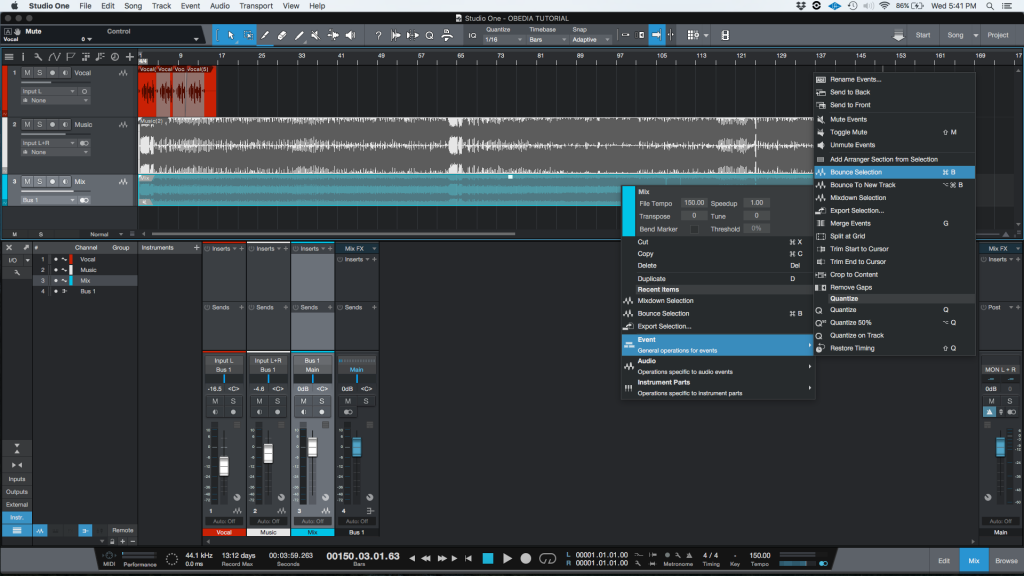
10. OPTIONAL STEP: It the user wants to export this “Mix” track as a single stereo audio file, simply click on the audio event of the track to select it and it will be highlighted as:

11. OPTIONAL STEP: Right click on the audio event and the following window will appear:
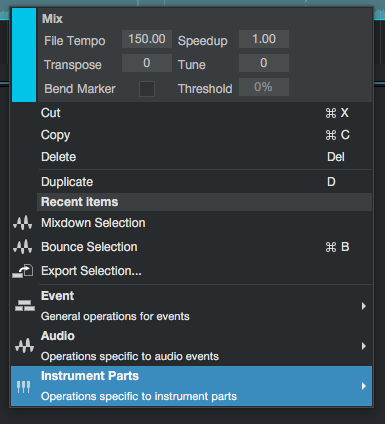
12. OPTIONAL STEP: From the list click on: Event -> Bounce Selection.
The file will be “bounced” to the default destination, which is the “Bounces” folder inside the song’s own folder.
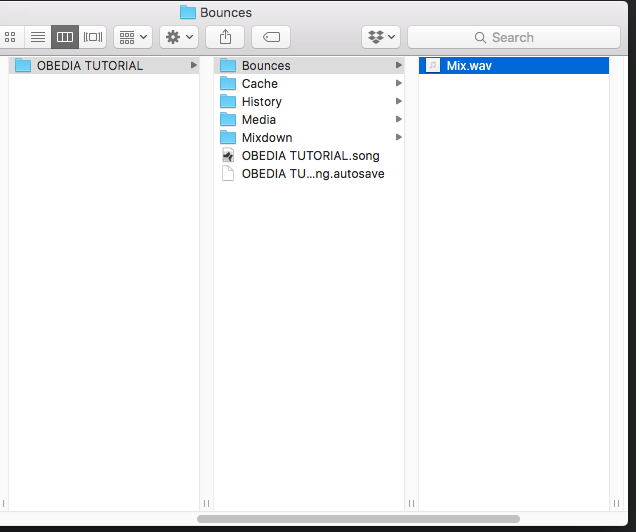
The user can now playback the “Mix” file on any digital audio player. The tutorial has been finished.
We hope this tutorial on how to print a mix in Studio One 4 has been helpful! Call OBEDIA today to learn how to use Studio One 4 from a digital audio professional.
CLICK HERE to learn Presonus Studio One 4 one on one with a digital audio professional at OBEDIA.