In this tutorial, we will show you how to setup an audio interface in Pro Tools.
CLICK HERE to learn Avid Pro Tools one on one with a digital audio professional at OBEDIA.
Pro Tools is the Digital Audio Workstation developed by AVID. Every time the user wants to start a new production in order to record, edit, mix or master audio content, a new “Session” must be created. After this step has been achieved (supposing this is the first time using the software), it is recommended to setup the audio interface for proper assignment of the hardware with the program.
The article assumes the user has already created a new session in Pro Tools, and we will begin the process of setting up the audio interface with the Pro Tools software opened.
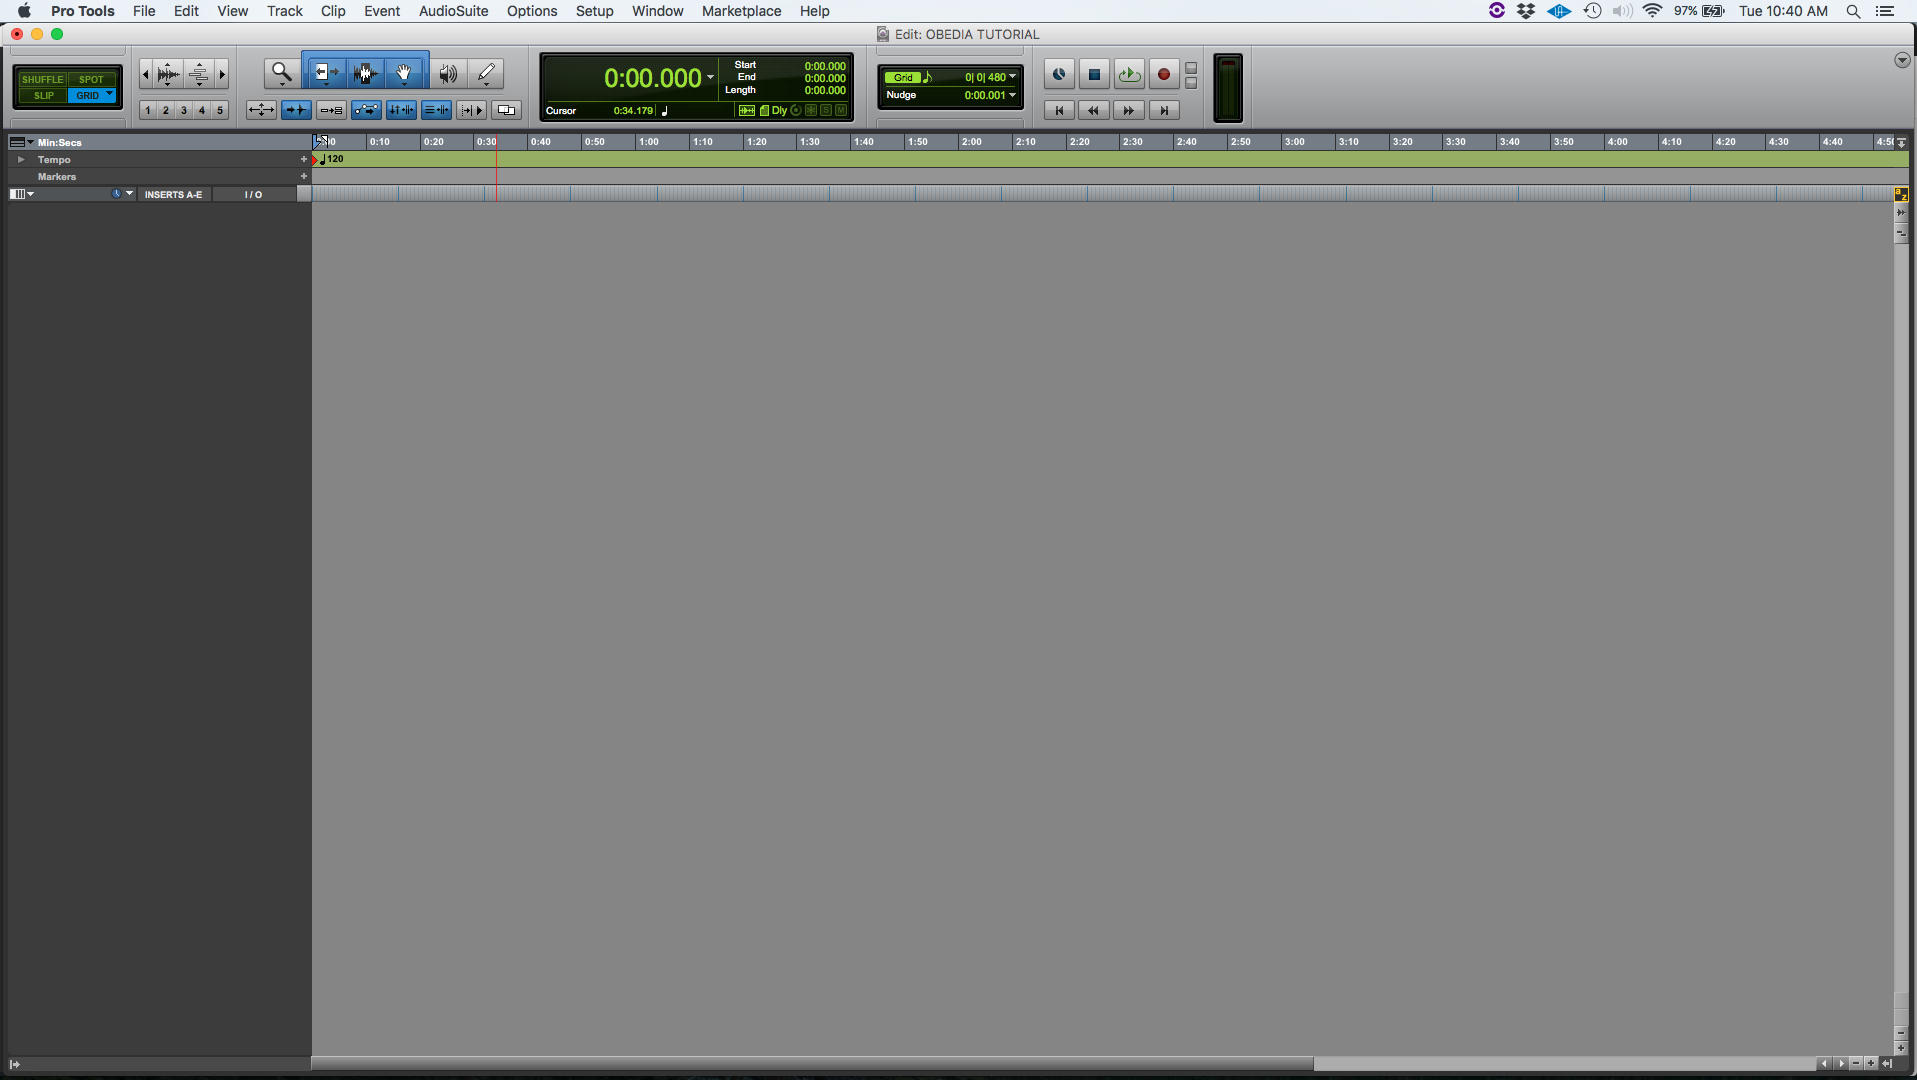
1. Once the new session has been created, the Pro Tools edit window (empty) should look like this:

2. In order to select the proper audio interface, at the Pro Tools top menu bar click on: Setup -> Playback Engine.
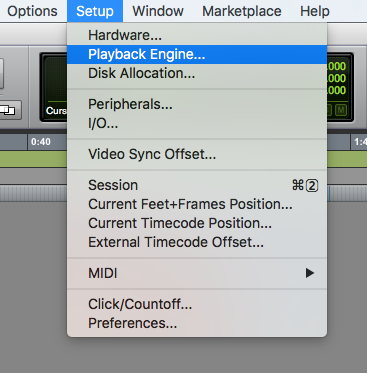
3. Once clicked, the Playback Engine window will open as:

4. It is easy to see how “Built-In Output” has been set as the Playback Engine. For the purpose of our tutorial, we want to configure our own audio interface instead of the Built-In sound card of the computer. In order to do this, click on “Built-In Output” and a drop-down menu will show with the different hardware options as:
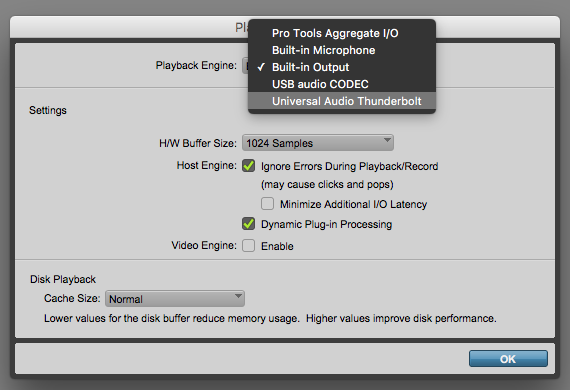
5. From the Playback Engine drop-down list, select your own audio interface. For the purpose of this tutorial we will select “Universal Audio Thunderbolt” which refers to our Universal Audio Apollo Twin Thurnderbolt interface. Once clicked, Pro Tools will show the following warning:
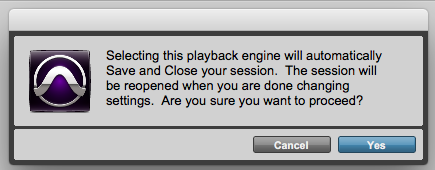
6. Press “Yes”, the Playback Engine window will appear again as:
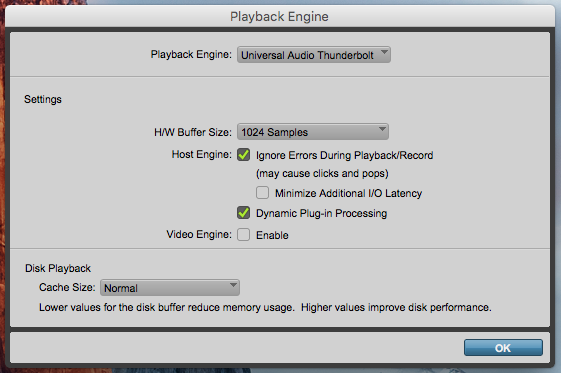
7. Click on “OK”. Pro Tools will save and re-start automatically with the new Playback Engine configuration applied. The empty edit window will open again as:
At this point we have successfully selected our audio interface as the desired Playback Engine. We can now move on to the setup of the audio Inputs and Outputs.
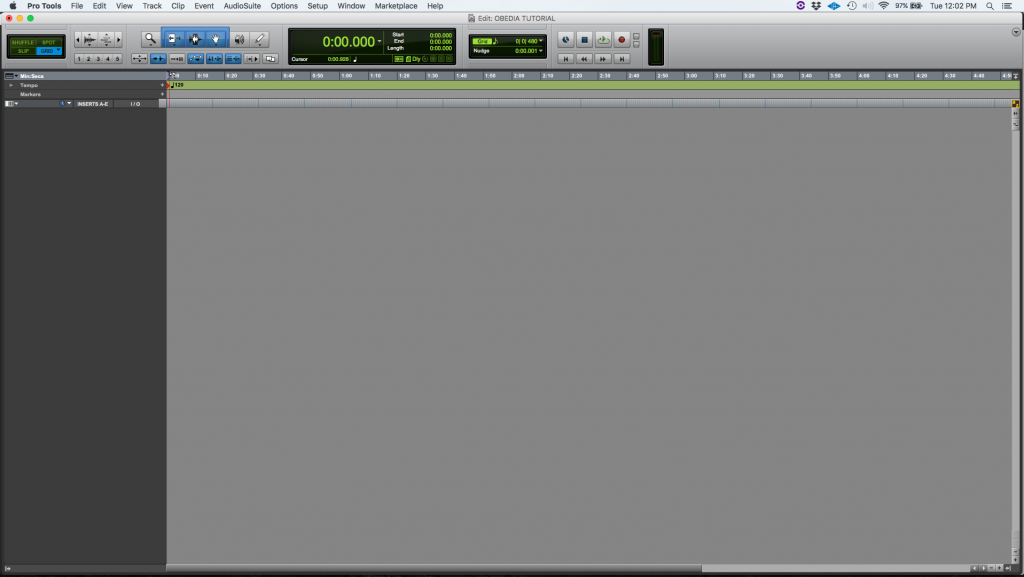
1. Once the new session has been created and the proper Playback Engine has been selected, the Pro Tools edit window (empty) should look like this:
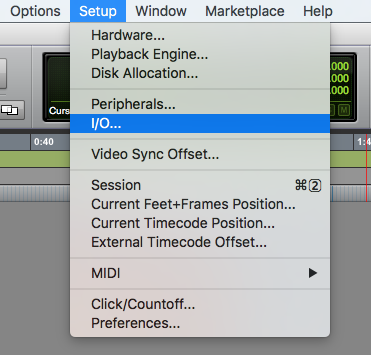
2. In order to configure the I/O (inputs and outputs), we must open the “I/O” window. At the Pro Tools top menu bar click on: Setup -> I/O.
3. The I/O window should open as:
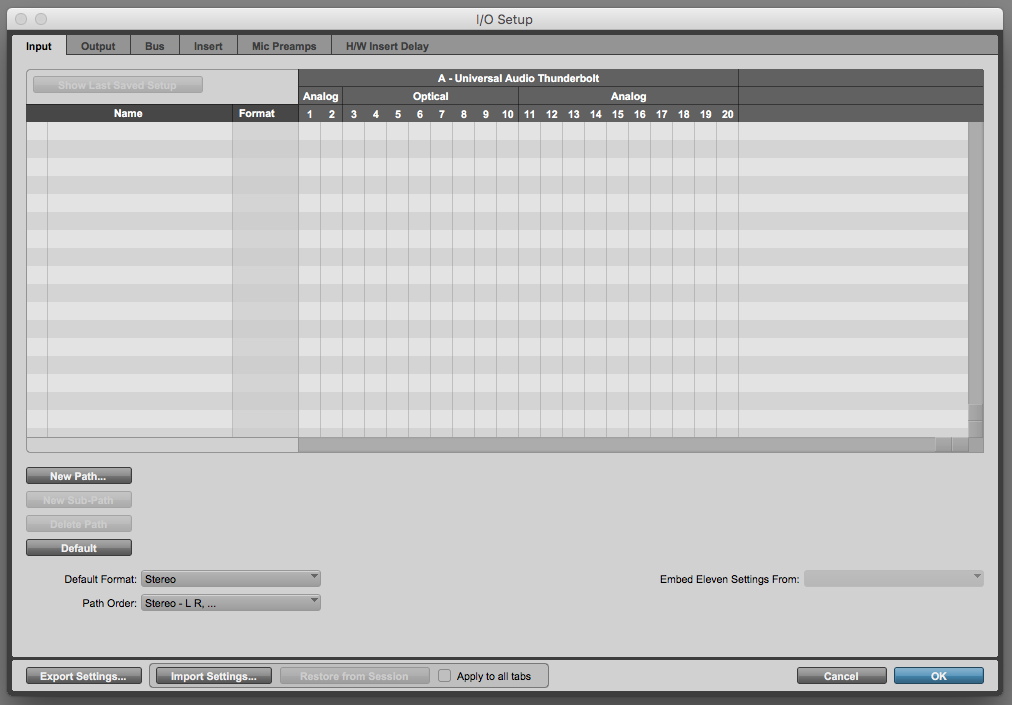
Note in our case, the I/O Window opened on the “Input” tab and it shows a completely empty list.
For the purpose of this tutorial, we will be using Pro Tools default I/O for our previously selected interface.
4. At the Input tab, click on “Default” to apply the default (recommended) settings that Pro Tools assigns to our interface. The window will now show as:
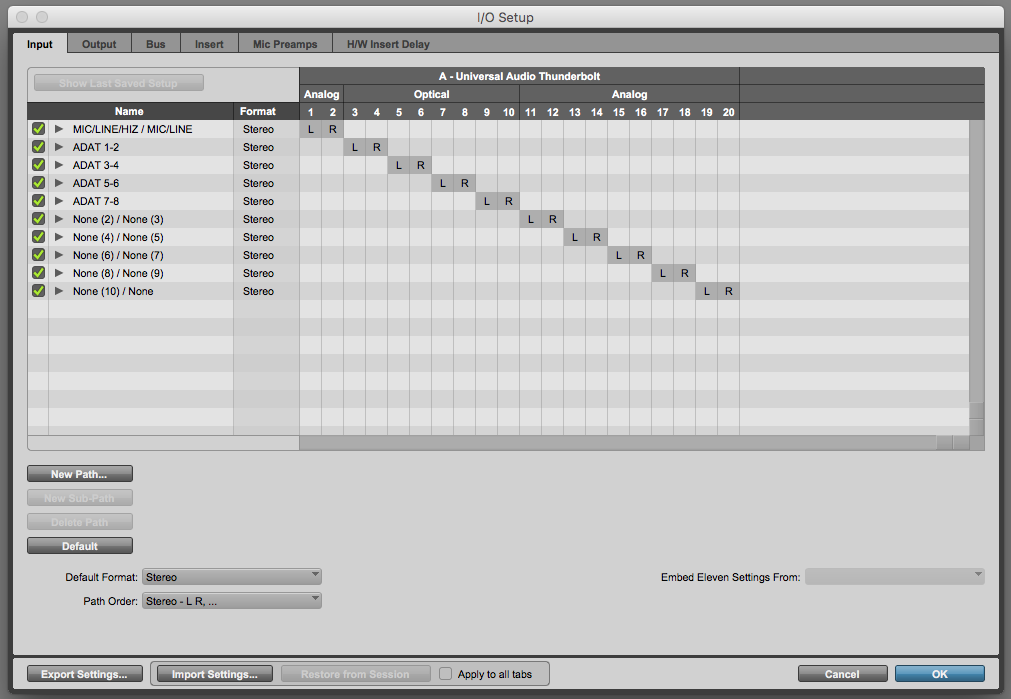
It is easy to note how these “Default” Input settings added 5 additional pairs of analog inputs at the end of the list that realistically do not exist since this interface only has the two main analog inputs (1/2). These last 5 pairs can be deleted if the user wants to see a “cleaner” input matrix, but realistically they do not affect the functionalities of the hardware nor the software. The only real inputs that come with this interface are the two main analog inputs (1/2) followed by the next 4 pairs of ADAT optical inputs.
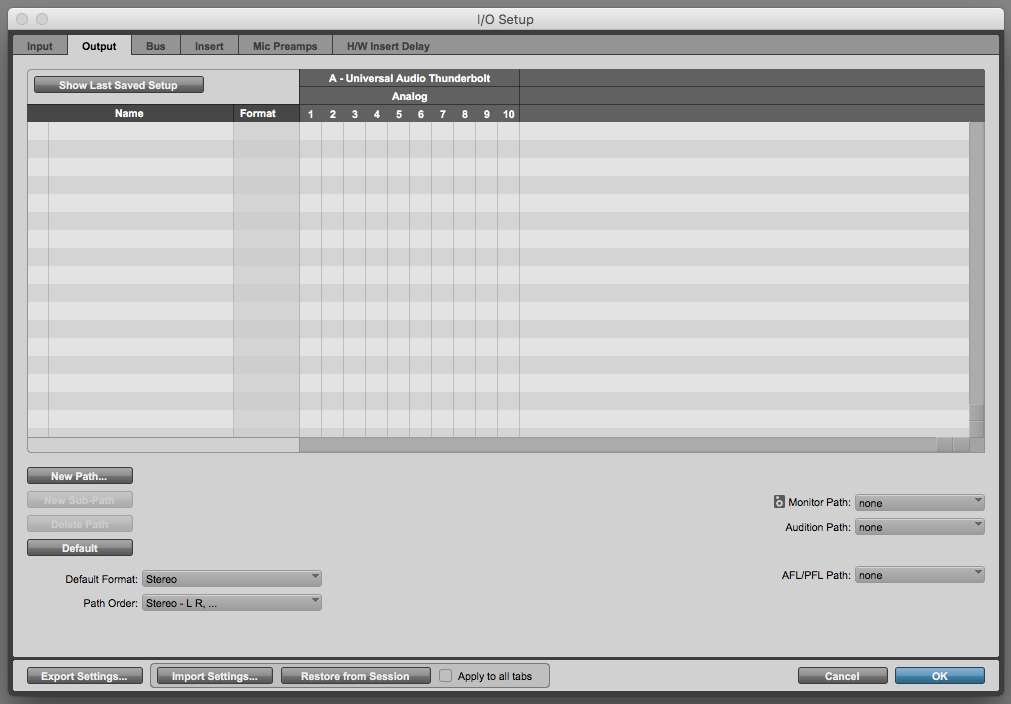
5. Navigate to the “Output” tab by clicking on “Output”. The I/O Setup window will show as:
6. At the Output tab, click on “Default” to apply the default (recommended) settings that Pro Tools assigns to our interface. The window will now show as:
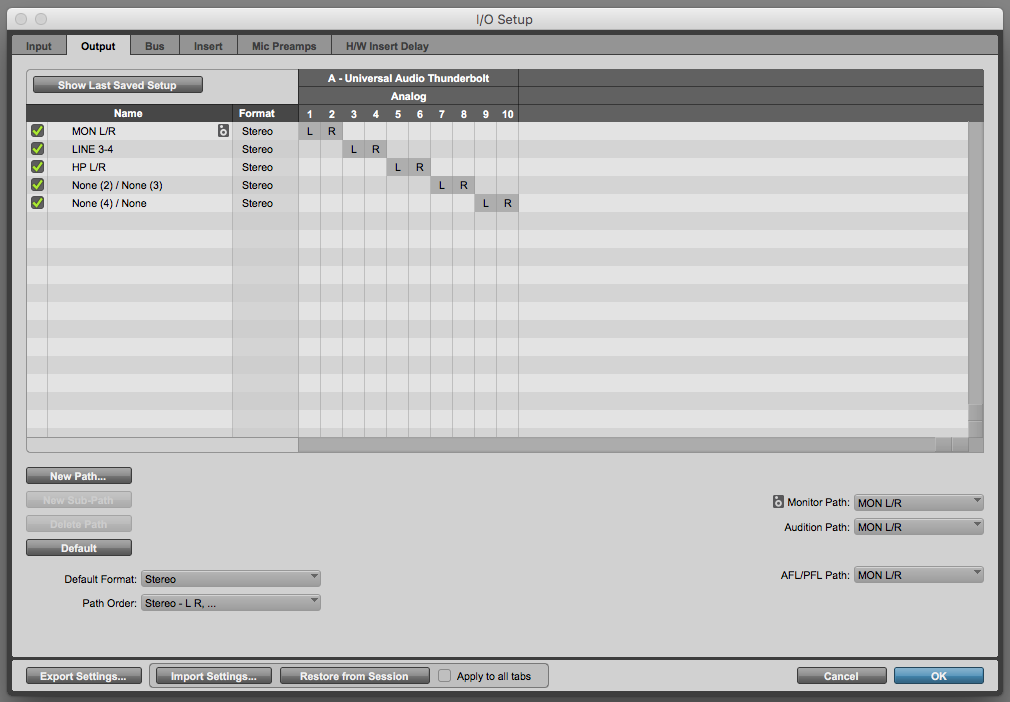
Just as it happened previously with the Input tab, tt is easy to note how these “Default” Onput settings added 2 additional pairs of analog outputs at the end of the list that realistically do not exist since this interface only has the 3 pairs of analog outputs. These last 2 pairs can be deleted if the user wants to see a “cleaner” output matrix, but realistically they do not affect the functionalities of the hardware nor the software. The only real outputs that come with this interface are the main output pair labeled as “MON L/R”, the additional line output pair labeled as “LINE 3/4” and the headphones output labeled as “HP L/R”.
7. In order to save the changes, click on “OK”. The I/O Setup window will close and the program will take the user back to the Edit window as:

At this point we have successfully setup our audio interface’s inputs and outputs. You are now good to get started making music in Pro Tools!
We hope this tutorial on How to setup an audio interface in Pro Tools has been helpful. If you’d like to learn how to use Pro Tools from a digital audio professional, call OBEDIA today to get started: 615-933-6775.
CLICK HERE to learn Avid Pro Tools one on one with a digital audio professional at OBEDIA.