The following tutorial shows the user how to tranpose MIDI in Studio One 4.
CLICK HERE to learn Presonus Studio One 4 one on one with a digital audio professional at OBEDIA.
During the recording stage of a song, the producer might encounter a situation in which a MIDI part has been recorded properly but when the singer is about to record the vocal parts, the singer is not capable of getting to that certain key at which the MIDI was recorded. One solution to this problem is to record the MIDI part again perhaps at a lower key so that the singer can sing to it easier. However, there is a function included in Studio One 4 and in most Digital Audio Workstations named “Transpose” that can help solve this issue in a faster way. The Transpose function in Studio One 4 lets the user select a group of MIDI notes and transpose or “move” them uniformly up or down to fall into a certain key.
This tutorial will present a step-by-step guide on how to transpose MIDI in Studio One 4.
- Open a Studio One 4 that contains at least one Instrument track with MIDI notes recorded:
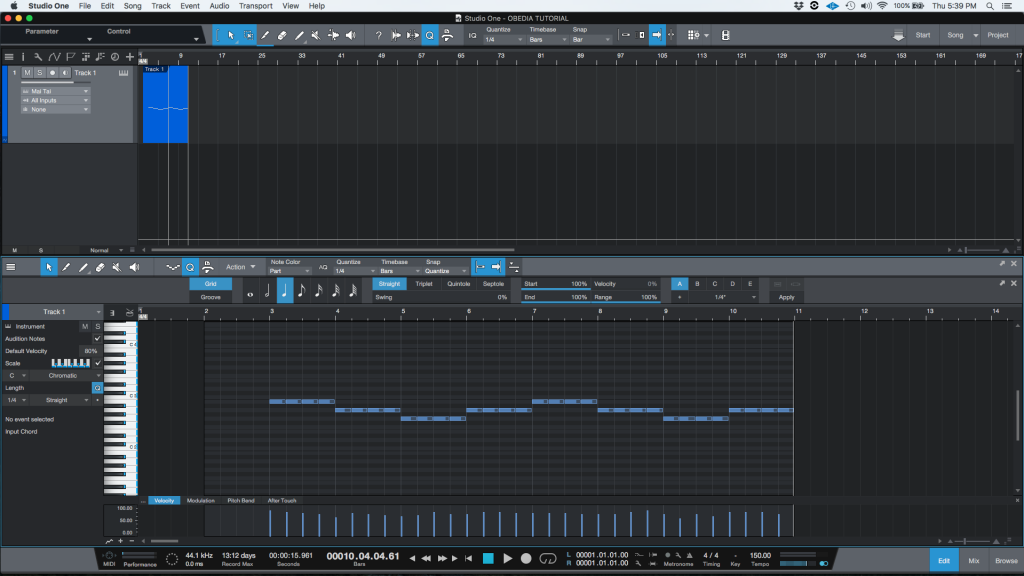
It is easy to see from the picture how the MIDI notes follow a progression of B2-A2-G2-A2.
For the purpose of this tutorial this progression will be transposed a whole octave down.
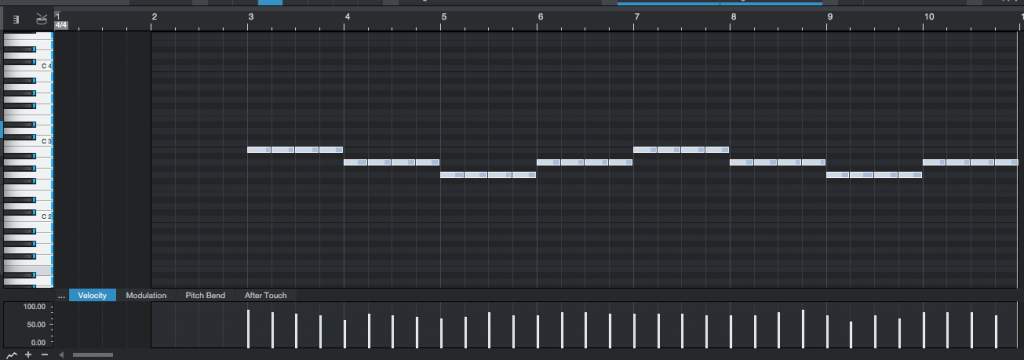
2. Click and drag on the notes to select all of them, they will be highlighted to indicate they have been selected properly:
3. Right-click on one of the notes and the following list of options will appear:
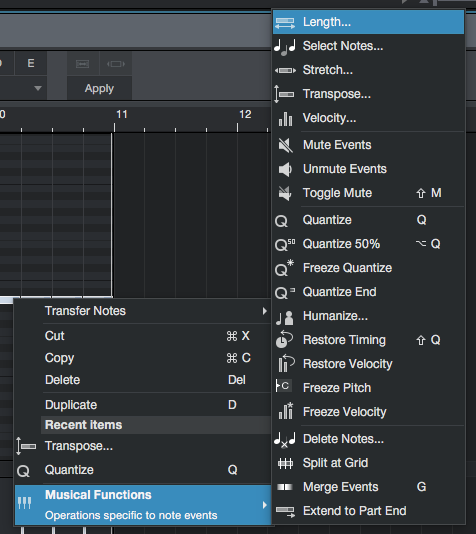
4. Click on: Musical Functions -> Transpose:
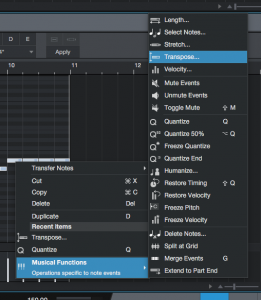
The Transpose window will appear as:
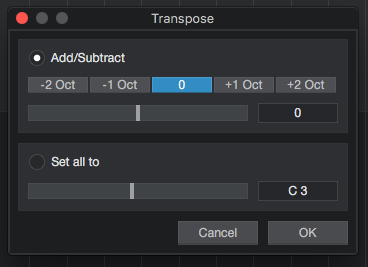
For the purpose of this tutorial, we will transpose the whole passage one octave down. Therefore from the “Add/Subtract” option, we can use the “-1 Oct” preset, that equals -12 semitones. After applying those changes, the Transpose window will look like this:
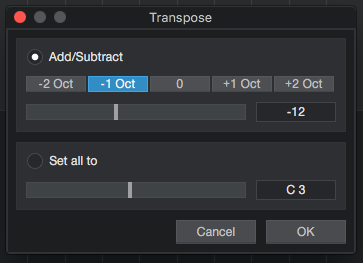
5. Press “OK” to apply changes, the Transpose window will close and the MIDI passage will now look as:
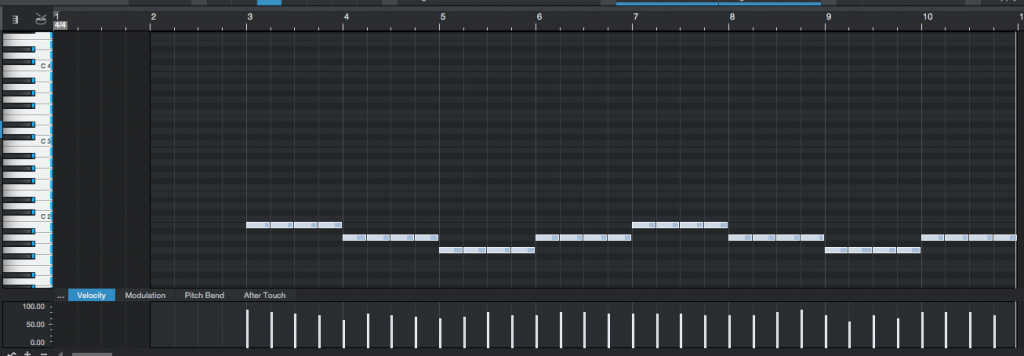
It is easy to see now how the notes have been dragged down by a full octave. The progression is now B1-A1-G1-A1. At this point we have successfully learned how to transpose MIDI in Studio One 4. The tutorial has now ended.
We hope this tutorial on how to transpose MIDI in Studio One 4 has been helpful! Call OBEDIA today to learn how to use Studio One 4 from a digital audio professional.
CLICK HERE to learn Presonus Studio One 4 one on one with a digital audio professional at OBEDIA.
