The following tutorial shows the user How to use Scope Plugin in Studio One 4.
Need a Pro Audio laptop to run Presonus Studio One 4 software and all of its features at its best? Check out the MC Mobile line of Pro Audio Laptops from PCAudioLabs.
On the modern days of audio mixing, the digital tools that engineers use in order to shape the recorded sound are called Plugins. Plugins can emulate the behavior of vintage analog pieces of gear, or simply act as clean/linear digital signal processors, performing tasks such as equalization, compression, limiting, expansion, gating, time-domain effects, etc. Studio One 4 comes with a variety of proprietary plugins that can help the user mix a music production completely “in-the-box”.
One of the most used processors that come with Studio One is the Scope, which can be defined as metering device that works as a digital oscilloscope, helping the engineer discover problems related to noise, interference and offending frequencies.
For the purpose of this tutorial, we will explain how to use the Presonus Scope plugin in Studio One 4:
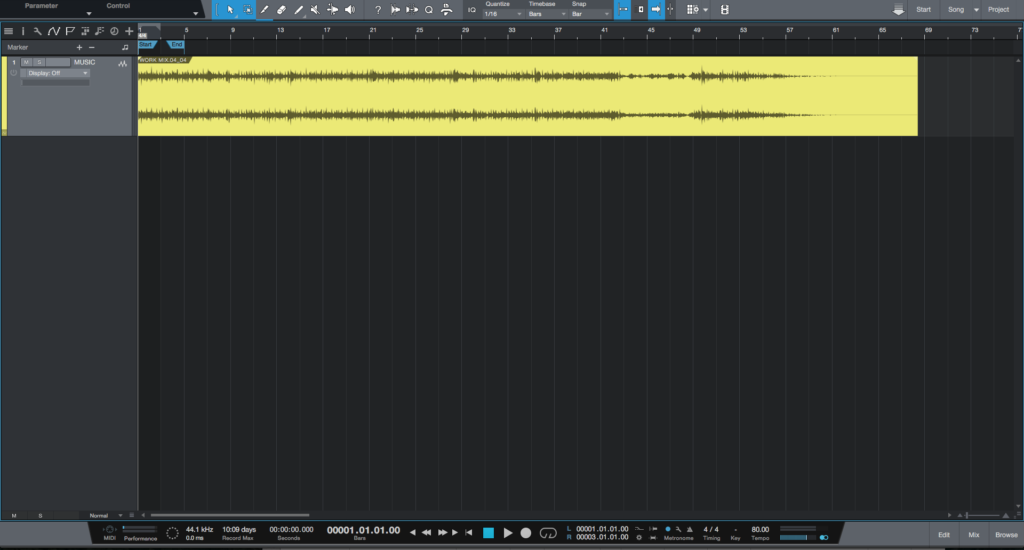
- Open or create a new Studio One 4 song:
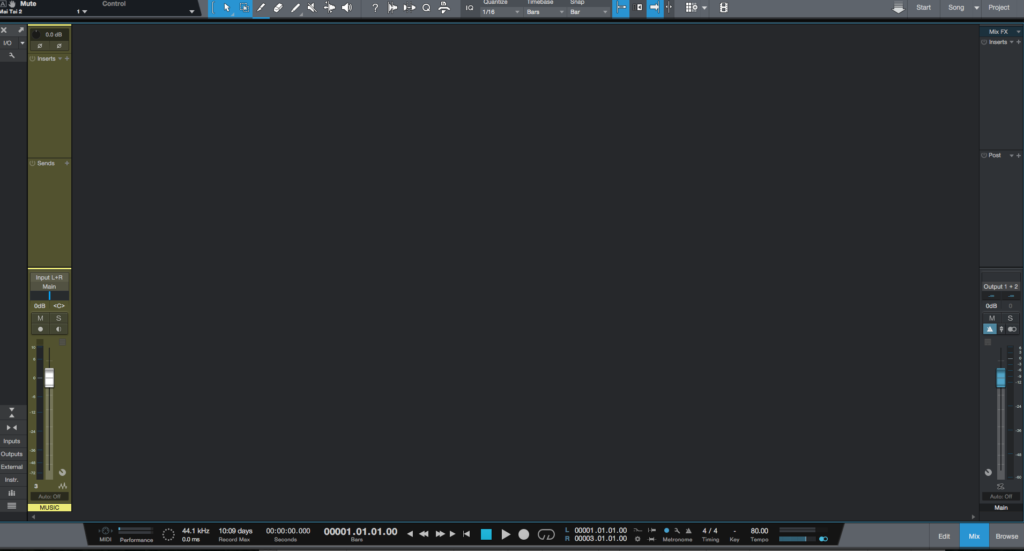
2. Open and maximize the MIX tab:
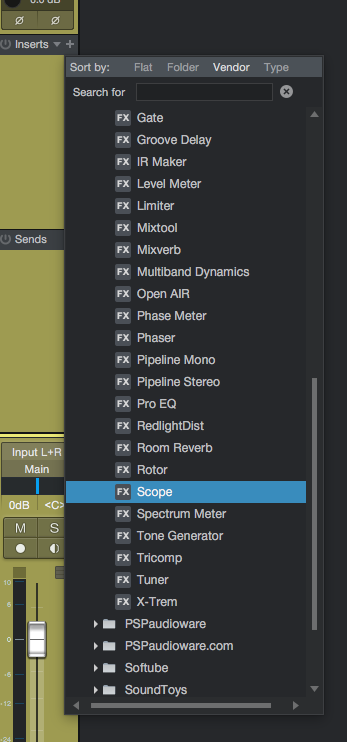
3. From the inserts list of the track, select “Scope”:
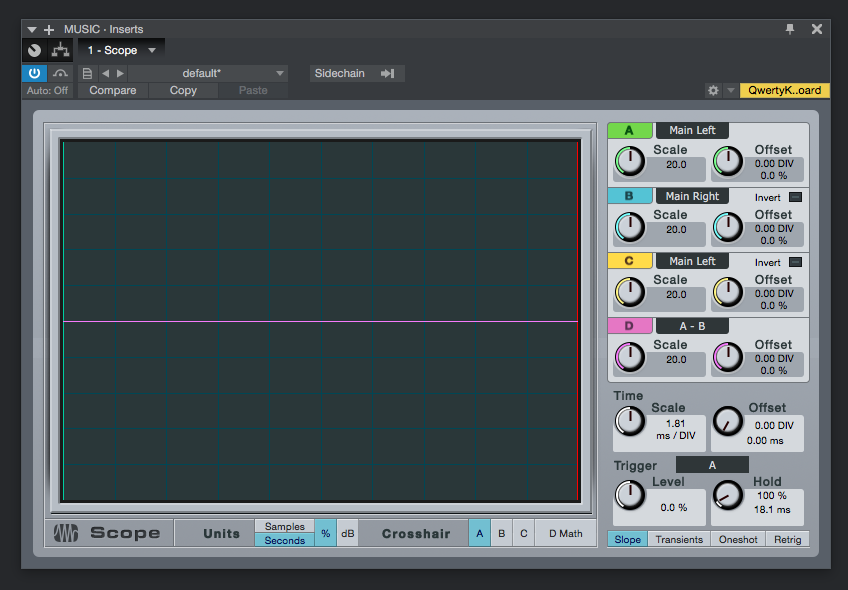
The Scope plugin window will open as:
It is easy to see from the previous picture, the Scope plugin has several parameters that can be explained as:
-
There are three signal channels and one math channel. Each channel can either show the left or right signal of the Insert Channel, or side-chain input, while the math channel can show the difference between two of the signal channels.
-
Each of the channels can be scaled and offset in the Y axis, and scaling is shown as percent of full scale per division. (Full scale is 1.f, equivalent to 0 dB.)
-
All channels can be activated/deactivated by clicking on the colored channel letter.
-
The time (x axis) can also be scaled and offset. This setting is for all channels. The units follow the samples/seconds switch on the left, and offset is shown with a green vertical line.
-
The scope is triggered from one of the following sources:
- Slope: Triggers when the signal level on a selected signal channel crosses a threshold level in the right direction.
- Transients: This uses the same audio channel, and the Slope and Level controls still apply, but the transient level is usually much more narrow: somewhere above 0% and typically around 1.5%
- External Signals: Notes sent to the scope MIDI input or not sent at all (free notes).
-
Engaging Oneshot turns triggering off after the first received trigger
-
The Hold control adjusts the length of time shown for a trigger signal, and during this period, no new signal triggers the scope. This is adjusted in percent of the display width and is also shown in the selected time unit and as a green vertical line. The display is clipped on a new trigger.
For the purpose of this tutorial, we will use the Scope at its default setting, making sure the Unit has been set to Seconds. After this has been set, the user can start the playback and the Scope should show the waveform as:
At this point we have successfully explained how to use and configure the Scope plugin in Studio One 4. The tutorial has now finished.
Using Presonus Studio One 4 software to produce music would be ideal with one of our professionally designed PCAudioLabs Systems due our high-performance specifications in order to work with any of the Digital Audio Workstations supported. If you would like to order one of our PCAudioLabs computers, please call us at 615-933-6775 or click this link for our website.


