The following tutorial shows the user the metronome basics in Studio One 4.
CLICK HERE to learn Presonus Studio One 4 one on one with a digital audio professional at OBEDIA.
Modern music has been characterized by being recorded following a “grid” that resembles a certain time signature. The “speed” or the “pace” of a song is determined by the “tempo” which in technical terms is referred to the beats per minute also known as “bpm”. Digital Audio Workstations include a tool often called “metronome” which is basically a bmp generator that the user can listen in order to follow the “speed” or the “pace” of the song. When all parts of the song have been recorded to a metronome (also known as the “click” in other DAWs), the audio waveforms and transients will follow the pre-configured time grid or time signature, ultimately making it easier for the mix engineer to edit the performances in case it is required.
This tutorial will present a step-by-step guide on the metronome basics in Studio One 4.
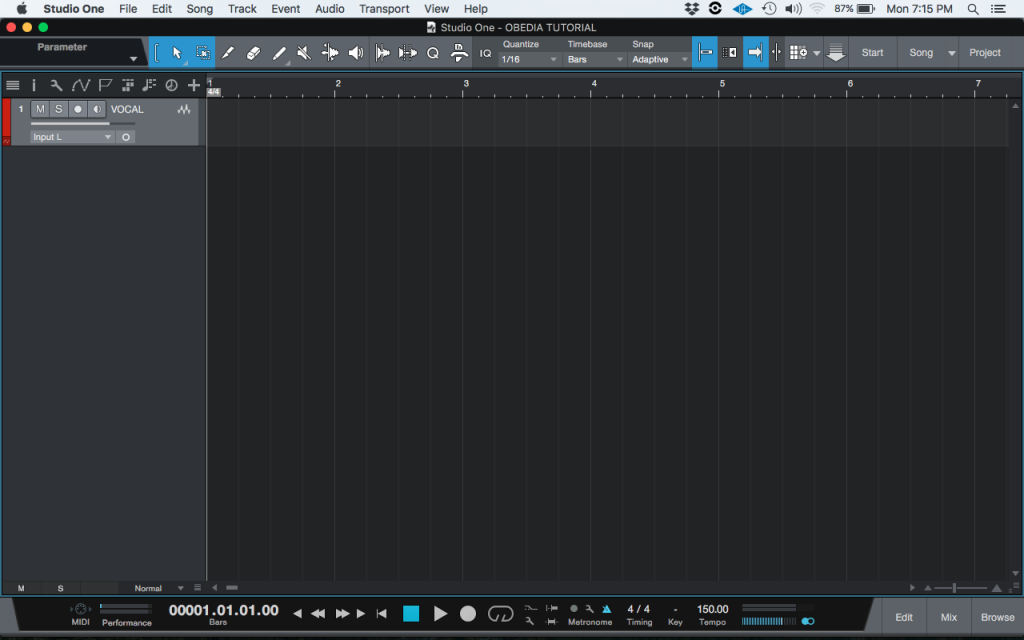
1. Open or create a new Studio One 4 Song:
![]()
2. Locate at the metronome section of the transport bar:
![]()
3. Configure the metronome section of the transport bar:
In order to configure this section, we must study its basic parameters.
The first parameter is the actual speed of the metronome, labeled as the “tempo”. This is found at the right side of this area:
![]()
It is easy to see how the tempo is set to 150 bpm. For the purpose of this tutorial, the tempo will be set to 120 bpm by simply clicking on it and typing 120 followed by pressing the enter key. After applying this change, the tempo should look like this:
![]()
The second parameter is related to the “metronome on/off” as well as the “precount”:
![]()
The metronome ON/OFF toggle is labeled by an icon that resembles an old analog triangular metronome as:
![]()
When this icon is colored as light blue, the switch is set to the ON position, meaning the metronome will play. This can be toggled to OFF by simply clicking on it. For the purpose of this tutorial, it will be left at the ON position.
The precount toggle is labeled by a small circle:
![]()
When this icon is colored as light blue, the switch is set to the ON position, meaning the precount will happen. This can be toggled ON/OFF by simply clicking on it. For the purpose of this tutorial, it will be set to the ON position by clicking on it once:
![]()
The last parameter is related to the metronome’s more complex setup, which will be explained on the following tutorial. It can be found by clicking on the icon that resembles a wrench tool:
![]()
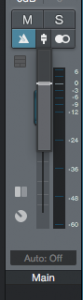
4. Configure the metronome level from the console tab:
Opening the console tab, it is easy to see the main output fader:

Underneath the mute button, there are two more metronome parameters:
![]()
The first parameter is the “Click ON/OFF” button, located to the left. This button basically enables or disable the metronome being fed to the main output. It should be left at the ON position (light blue).
The second parameter is the metronome level, it can be configured by clicking on the icon right next to the “Click ON/OFF” button and a small fader will appear. The user must click and drag to the desired level:
For the purpose of this tutorial, the metronome level can be left default.
At this point all the Studio One 4 metronome basics have been explained. The tutorial has now finished.
We hope this tutorial on metronome basics in Studio One 4 has been helpful! Call OBEDIA today to learn how to use Studio One 4 from a digital audio professional.
CLICK HERE to learn Presonus Studio One 4 one on one with a digital audio professional at OBEDIA.