
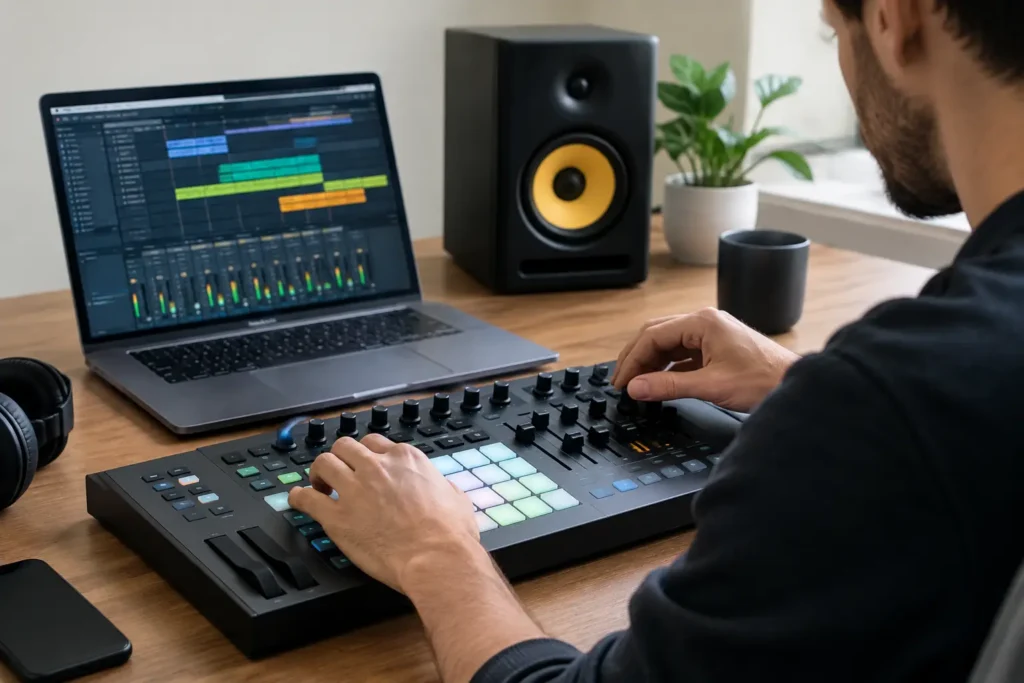
The difference between a controller that feels inspiring and one that collects dust usually comes down to MIDI controller mapping. Your knobs, faders, pads, and buttons should control the functions you reach for constantly – not a random collection of parameters that looked useful when you first opened the mapping window.
A good map gets your hands off the mouse at the right moments. It lets you ride a vocal delay, build a filter sweep, arm tracks, record automation, launch scenes, or adjust a headphone mix without breaking the creative momentum. A bad map creates jumps in volume, controls the wrong plug-in, or leaves you searching through menus while the idea disappears.
MIDI Controller Mapping Starts With the Job
Do not map everything. That is the fastest route to a cluttered, forgettable setup. Start by deciding what the controller is supposed to do in your studio.
A compact pad controller might be your writing tool: drums, clip launching, transport, and a few sound-shaping controls. A fader bank may be for mix automation and session navigation. A keyboard controller may need only the essentials: instrument performance, track volume, modulation, expression, transport, and plug-in control. One device can do all three jobs, but trying to make it do everything at once often makes every task slower.
Think in terms of repeated actions. If you touch a control in nearly every session, it is a strong candidate for mapping. If you use it once a month, it probably belongs in the software menu until it proves otherwise.
For most home studios, the highest-value assignments are transport controls, track selection, record arm, mute, solo, volume, pan, and a small number of plug-in parameters. On an instrument controller, filter cutoff, resonance, envelope amount, reverb send, and delay send are often more useful than mapping twenty obscure synth settings.
Know What Your Controller Is Sending
Before assigning anything in a DAW, identify the MIDI message your hardware sends. Most controls transmit one of several common types.
A keyboard key or drum pad usually sends MIDI notes. Notes are ideal for playing instruments, triggering drum samples, launching clips, or firing commands in DAWs that support note-based shortcuts. A knob, fader, or expression pedal usually sends a Continuous Controller message, commonly called a MIDI CC. These messages carry a value from 0 to 127 in standard MIDI.
Buttons may send a note, a CC value, or a toggle message. That distinction matters. A momentary button sends one value when pressed and another when released, while a toggle button changes state with each press. If a mapped mute button turns on but will not turn off, the controller and the DAW may not agree on the button behavior.
Some encoders send relative data instead of an absolute 0-to-127 position. Relative encoders report movement clockwise or counterclockwise, not a fixed value. They are excellent for plug-ins because the parameter does not jump when the knob is in a different physical position than the software control. But they must be configured correctly in both the controller and the DAW.
Your controller manual, editor software, or MIDI monitor can show what is being transmitted. This is not busywork. If you do not know what the hardware is sending, you are guessing at the first step.
Build a Map Around One Workflow
Writing and recording
For songwriting and tracking, map the controls that keep a performance moving. Play, stop, record, metronome, loop, undo, and marker navigation can save real time. Add track selection and record arm if your controller supports them reliably.
For software instruments, use a consistent layout. For example, map the leftmost knobs to tone controls, the middle knobs to modulation, and the rightmost knobs to effects. The exact parameters will change from one instrument to another, but the physical logic should stay familiar. When knob one is usually filter cutoff, your hands learn the system faster than your eyes do.
Mixing and automation
For mixing, faders are usually more valuable than knobs. Map faders to channel volume, then use buttons for mute, solo, select, and bank navigation. If your DAW and hardware support a control-surface protocol such as Mackie Control or HUI, use it when appropriate. These protocols can provide two-way communication, motorized fader behavior, track banking, names, meters, and transport integration that manual mappings cannot easily match.
There is a trade-off. A control-surface mode can be faster for conventional mixing, but it may limit custom assignments. A generic MIDI mode gives you more freedom to map plug-ins and unusual commands, but requires more setup and may not provide feedback from the DAW. Many producers get the best result by using a controller’s dedicated DAW mode for channels and transport, then reserving a custom layer or second device for creative effects.
When recording automation, map only the parameters you intend to perform. A filter sweep, delay feedback move, vocal throw send, or reverb transition can add energy. Accidentally writing automation to eight unrelated parameters can create a cleanup job that kills the benefit.
Live performance and clip-based work
Ableton Live users often need a different priority: clip launching, scene launching, device macros, sends, crossfader control, and clear visual feedback. In Studio One, Cubase, Logic Pro, and Pro Tools, the focus may lean more heavily toward transport, track control, automation modes, and plug-in parameters. The principle remains the same: map the controls that match the work you are doing, not the feature list on the controller box.
Prevent the Most Common Mapping Problems
The classic problem is the parameter jump. Your plug-in cutoff is set high, but the physical knob is low. The moment you touch it, the cutoff snaps to the knob’s current position. This can ruin a take or make automation sound abrupt.
Look for pickup, soft takeover, catch, or value scaling settings in the DAW or controller software. These features wait until the physical control reaches the current software value before taking over. They are especially useful with standard absolute knobs and faders.
For endless encoders, relative mode is often the better answer. However, relative modes are not universal. Different manufacturers use different relative message formats, and a DAW may expect a specific format. If the value races wildly, moves backward, or changes only in large steps, inspect the encoder mode before assuming the plug-in is broken.
Another common issue is duplicate MIDI input. A controller can appear in your DAW as a regular MIDI port, a DAW control port, and sometimes multiple virtual ports. If the same messages reach the DAW through more than one active path, a single knob turn may move a parameter twice as far or trigger two commands. Disable ports you do not need, then test one function at a time.
Also watch for MIDI channel conflicts. Two devices sending the same CC number on the same channel can control each other’s assignments unexpectedly. Separate devices by channel when practical, especially in larger setups with pedals, keyboards, pad controllers, and external hardware.
Save Templates Before You Need Them
Once a mapping works, save it in more than one place. Save the controller preset in the hardware or editor application, then save a DAW template with the expected tracks, instruments, buses, and mappings already in place. If a plug-in supports its own presets or MIDI learn assignments, save those as well.
Name presets clearly. “Controller Preset 3” is not helpful six months from now. “Logic Writing Keys,” “Cubase Mix Faders,” or “Live Performance Pads” tells you what the setup is for before you load it.
Templates are where MIDI controller mapping becomes a workflow advantage instead of another technical project. You should be able to open a session, turn on the controller, and work. If every new song requires rebuilding assignments, the setup is not finished.
When Manual Mapping Is Not the Right Fix
Sometimes the problem is not mapping at all. The controller may need a driver update, the DAW may need a specific control-surface profile, a plug-in may not expose the parameter you want to automate, or the MIDI port may be blocked by another application. MIDI learn will not fix a device that the computer does not see correctly.
This is where generic tutorials can waste a lot of time. A video showing one version of Ableton Live, one controller firmware revision, and one operating system may not match your setup. The right answer depends on the exact controller, DAW version, plug-ins, and goal. OBEDIA’s one-on-one remote sessions are built for that kind of real-world troubleshooting and setup, without asking you to translate a generic lesson into your own studio.
Start with one useful layer, test it in a real song, and adjust the assignments that slow you down. The best controller map is not the most complicated one. It is the one that helps you make the next decision while the music is still playing.