The following tutorial shows the user an Overview of the different views in Studio One 4.
CLICK HERE to learn Presonus Studio One 4 one on one with a digital audio professional at OBEDIA.
Just as other commercial Digital Audio Workstations, Studio One 4 presents a set of “views” that the user can toggle to develop certain tasks or functions of the software. The vast majority of DAWs in the market present the idea of detached windows for each function, conversely, Studio One 4 presents the philosophy of the windows or views being consolidated into a single window with “tabs”.
For the purpose of this tutorial we will show how to toggle between the main view, console view, edit view and browser view.
PART I: MAIN VIEW
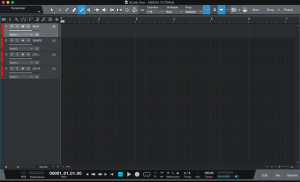
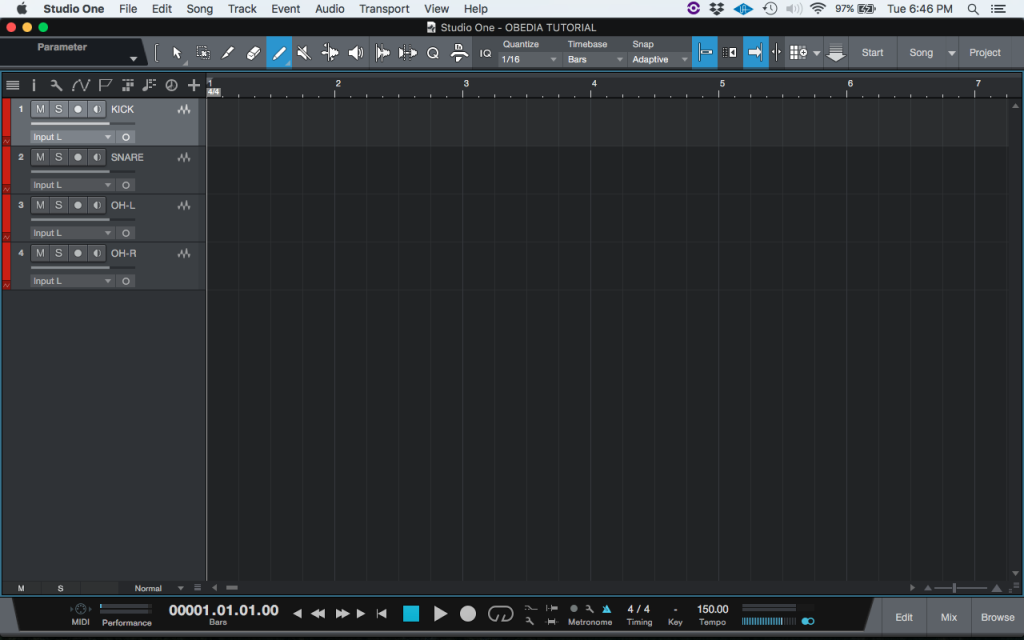
1. Open a Studio One 4 song:
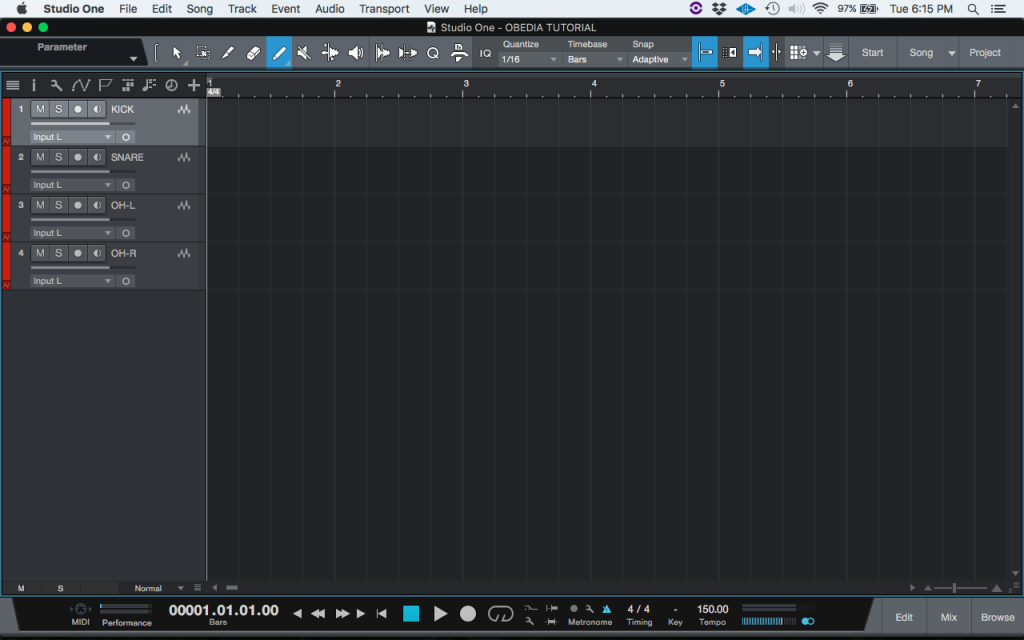
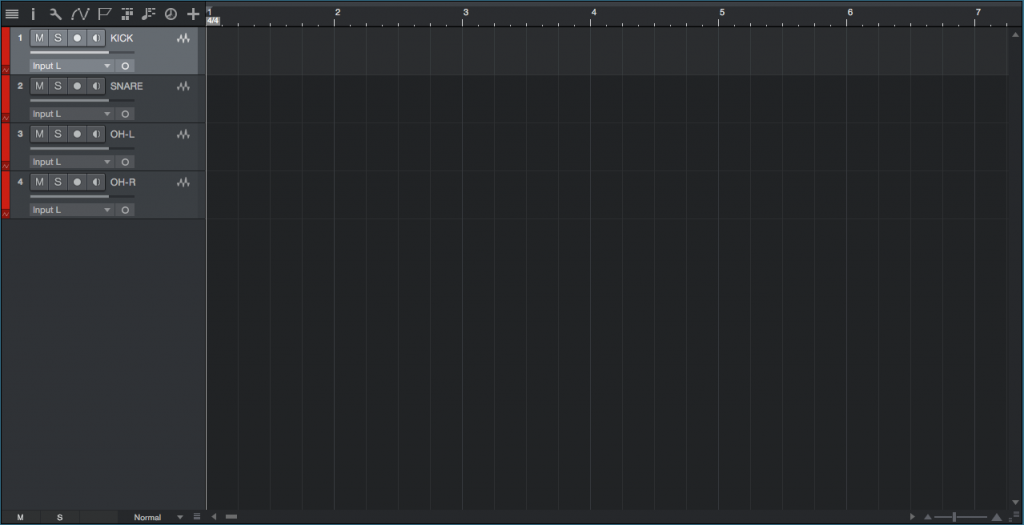
The Main View is the basic Studio One 4 view, easy to recognize because this is the default view as soon as a Song is opened or created. This is where all the tracks are located in the timeline:
PART II: BROWSER
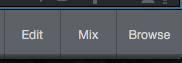
2. On the bottom right of the window, click on “Browse”:
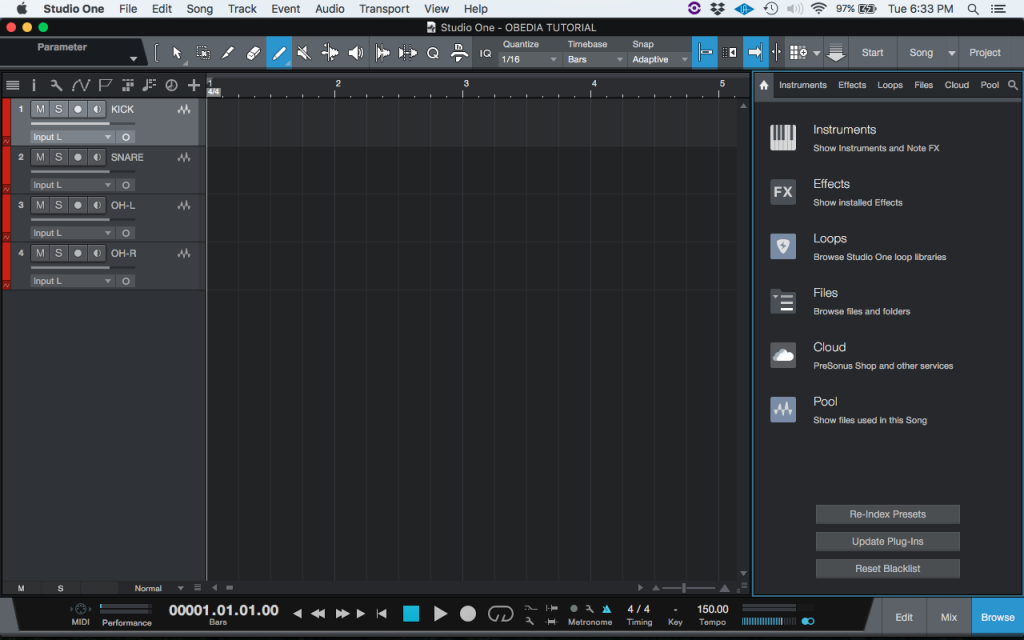
3. The Browser view will open as:
Zooming into the Browser view:
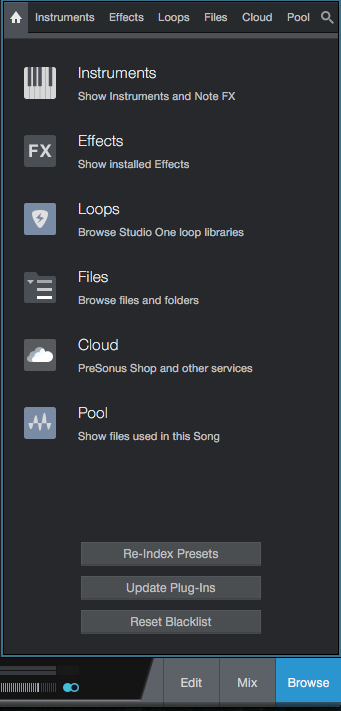
This is the Browser view, it gives the user the possibility of browsing the computer’s hard drive in order to drag and drop Instruments, Effects, Loops and Files into the Song without the need of using a third-party file explorer program.
Clicking again on the “Browse” button will close the browser view:
PART III: CONSOLE
4. On the bottom right of the window, click on “Mix”:
5. The Console view will open as:
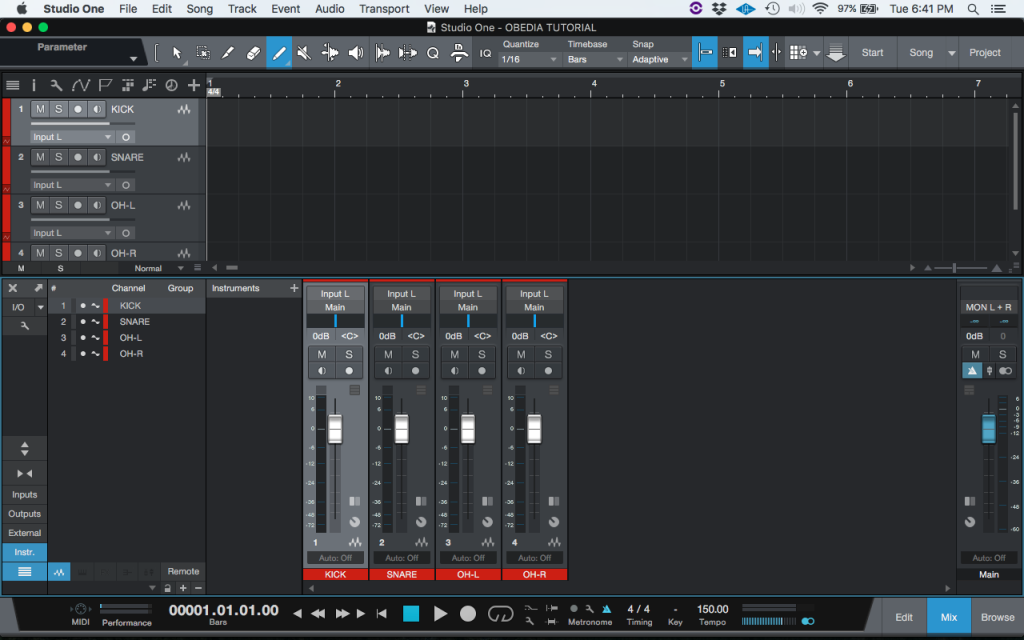
Zooming into the Console view:
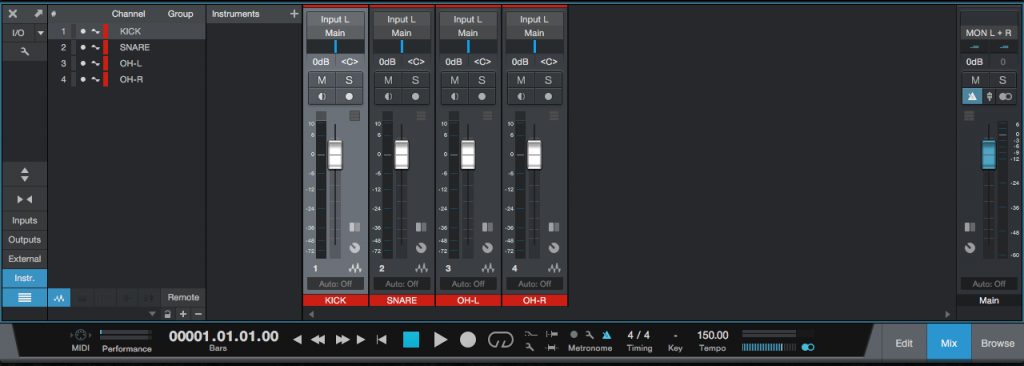
This is the Console view. It gives the user all the functions needed to “mix” the tracks, resembling behavior and visuals of an analog console in which every track is shown as a vertical channel strip where inserts can be added, and each one has a fader, solo/mute button and pan pot. This is the view where the vast majority of the static mix will be done by applying the desired processing to the tracks, bussing, effects, etc.
Clicking again on the “Mix” button will close the Console view:
PART IV:EDITOR
6. On the bottom right of the window, click on “Edit”:
7. The Editor view will open as:
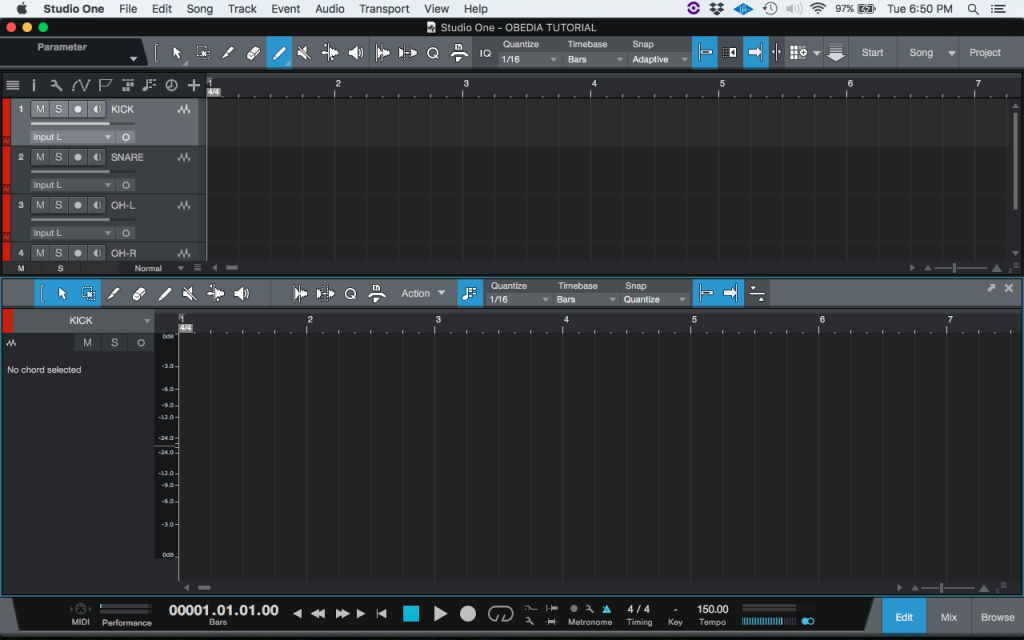
Zooming into the Editor view:
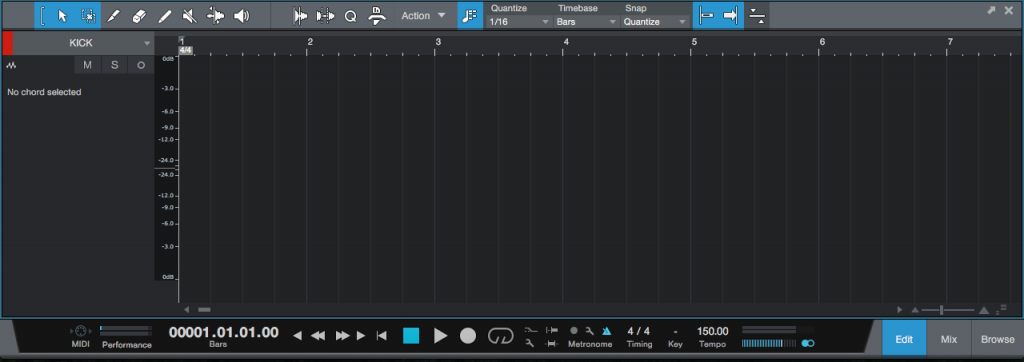
This is the Editor view. It gives the user all the functions needed to perform all the audio and MIDI editing tasks needed for the production. Tools such as the Split, Eraser, Paint, Quantize, Audio Bend and Strip Silence are located on this window.
Clicking again on the “Edit” button will close the Editor view:
At this point we have successfully explained the most common Studio One 4 views. The tutorial has now finished.
We hope this overview on the most common Studio One 4 views has been helpful! Call OBEDIA today to learn how to use Studio One 4 from a digital audio professional.
CLICK HERE to learn Presonus Studio One 4 one on one with a digital audio professional at OBEDIA.