The following tutorial shows the user How to create a Bus in Studio One 4.
CLICK HERE to learn Presonus Studio One 4 one on one with a digital audio professional at OBEDIA.
As the vast majority of modern Digital Audio Workstations, Studio One 4 gives the user the possibility of creating a “bus” where certain tracks can be routed and processed as a whole, emulating this classic routing capability of analog consoles.
In general, a bus can be seen as another pair of channels where tracks can be routed, giving the engineer the possibility of processing the bus as a “whole” using the same tools that are applied to individual tracks such as EQ, compression, etc.
For the purpose of this tutorial we are going to create a “Drum” bus where all the drum tracks will be routed. The user can then process this bus with any tool desired.
This tutorial will present a step-by-step guide on how to create and setup a Bus for proper use in Studio One 4.
1. Open or create a new Studio One 4 song that contains several tracks:
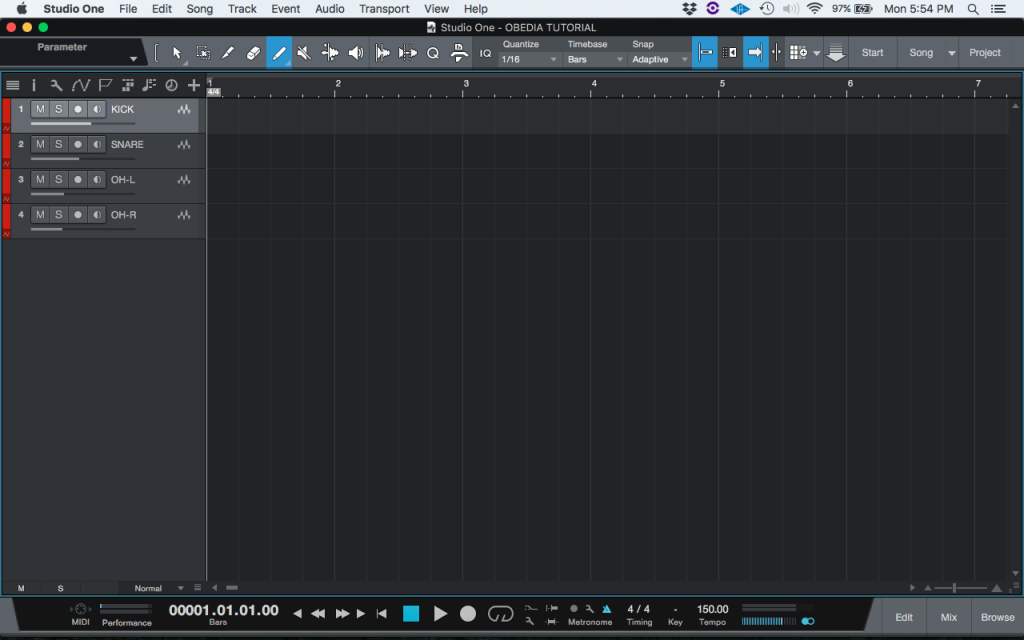
Note there are four tracks in the Song. These tracks are all part of a drum kit:
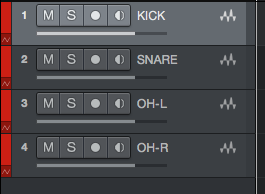
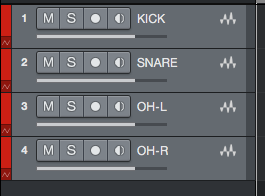
2. Command+Click all the tracks so they are all selected, they will appear as highlighted:
3. Right-click on any of the selected tracks, and the following window will appear:
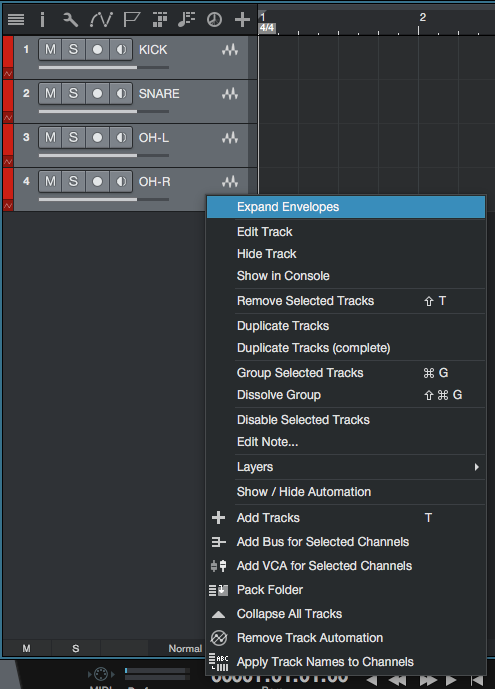
4. Click on: Add Bus for selected channels:
![]()
After clicking on this, the Bus will appear one the Console window as:
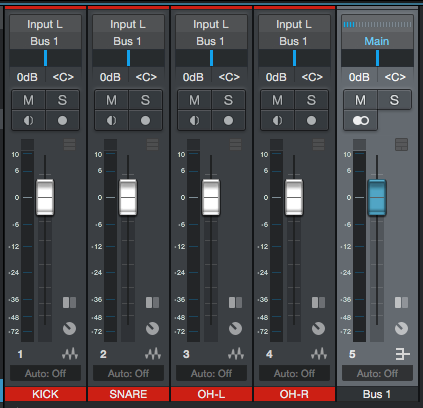
Note how the outputs of the individual tracks are routed to “Bus 1” meaning they are routed to our new Bus. Pressing the mute button on the bus will mute the overall contribution of the individual tracks that are summed by the bus. Pressing the solo button on the bus will solo all the individual tracks.
Just as regular audio tracks, the bus can be processing using any plugin.
The bus name can be change by double clicking the name of the bus “Bus 1” and typing the desired name, in this case we will type “Drums”:
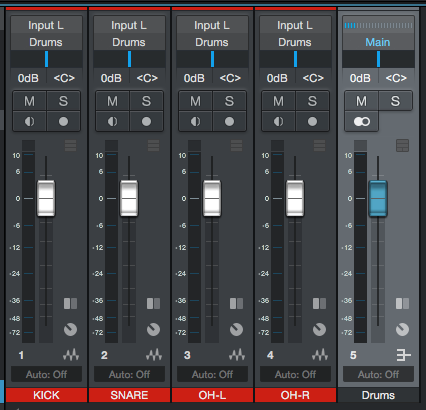
Note how the Bus is now labeled as “Drums” and the outputs of the individual tracks are routed to “Drums”.
At this point the Bus has been created and configured. It is ready to be used. The tutorial has now finished.
We hope this tutorial on how to create and configure a Bus in Studio One 4 has been helpful! Call OBEDIA today to learn how to use Studio One 4 from a digital audio professional.
CLICK HERE to learn Presonus Studio One 4 one on one with a digital audio professional at OBEDIA.
