
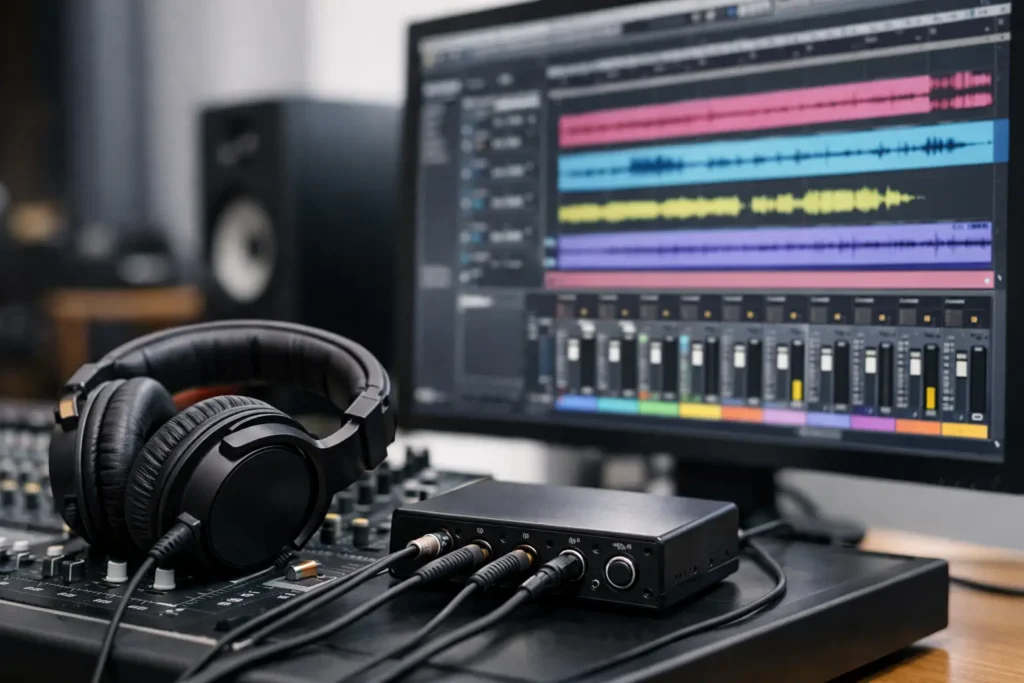
A singer asks for more vocal, the drummer needs click, and the guitarist wants less reverb. If you cannot route headphone mixes in DAW sessions correctly, every one of those requests turns into a stop-and-start technical problem. Get the routing right before the session begins, and performers can focus on their takes instead of fighting the headphones.
The good news is that the underlying setup is nearly the same in Pro Tools, Studio One, Logic Pro, Cubase, and Ableton Live. The names of the menus change. The signal flow does not.
What a Headphone Mix Actually Needs
A headphone mix is a separate monitor mix, often called a cue mix, sent to a musician during recording. It is not necessarily the same mix coming from your main speakers. That distinction matters because the balance that helps an artist perform is often very different from the balance you need to judge a recording.
A vocalist may want their voice louder and drier than it is in the control room. A drummer may need a loud click and enough bass to lock in with the song. Someone recording acoustic guitar may want almost no click at all. One shared headphone feed forces everyone to accept the same balance. Separate cue mixes let each performer hear what helps them deliver a better take.
Your DAW handles the mix decisions. Your audio interface provides the physical outputs that carry those mixes to a headphone amplifier, distribution system, or a dedicated headphone output. You need both parts working together.
Start With the Hardware Output Map
Before opening a send menu, confirm what outputs your interface actually provides. A basic two-output interface can usually send only the main stereo mix to headphones. Some interfaces have a separate headphone jack, but that jack may simply mirror outputs 1-2 rather than act as an independent stereo output.
For one truly separate stereo headphone mix, you generally need at least four available line outputs. Outputs 1-2 can feed your studio monitors, while outputs 3-4 feed a headphone amplifier or an interface headphone bus assigned to those outputs. For two independent stereo mixes, you need two more output channels, typically 5-6.
Do not assume the number of physical jacks tells the whole story. Check your interface control software and its driver settings. Many units let you assign a headphone jack to a pair of DAW outputs, while others route it only through the interface’s internal mixer. Either approach can work, but you need to know which one you are using.
Also verify that the DAW can see every hardware output. In Pro Tools, this happens in the I/O Setup. Logic Pro uses Audio MIDI Setup and its output configuration. Studio One, Cubase, and Ableton Live each have audio device and output configuration pages where you activate the output pairs you intend to use. If outputs 3-4 are not enabled there, they will not appear as available destinations later.
Route Headphone Mixes in DAW Sessions With Aux Sends
The standard DAW method is simple: create a stereo auxiliary bus for each headphone mix, send every needed track to that bus, then route the bus to unused hardware outputs.
For example, create a stereo bus named “Cue 1.” On each recording or playback track, create a send to Cue 1. Then create a stereo aux track named “Headphones 1,” set its input to Cue 1, and assign its output to hardware outputs 3-4. Connect outputs 3-4 to a headphone amp, and that cue mix is ready for a musician.
Some DAWs let you route sends directly to an output without creating an aux track. That can work, but the dedicated aux track is easier to manage. It gives you one clear place to control the total cue level, add talkback, mute the mix, and see whether signal is reaching the headphones.
For a second performer who needs a different balance, repeat the process with Cue 2 and another output pair. Keep the naming obvious. “Singer Cue,” “Drummer Cue,” and “Producer Cue” are better than “Bus 7,” “Aux 12,” and “Output B.” Clear labels save time when someone asks for a change while wearing headphones.
Use Pre-Fader Sends for Independent Balances
Set your headphone sends to pre-fader in most recording situations. A pre-fader send takes signal before the channel fader, so adjusting your control room mix does not change the artist’s headphone balance.
This is the part that causes the most confusion. If a send is post-fader, lowering a loud guitar in your speaker mix also lowers it in the guitarist’s headphones. The artist may suddenly think something is wrong, when you were only making a control room adjustment.
Pre-fader sends give you independent control. You can turn the singer’s vocal up in their cue mix without changing the vocal level in your main mix. You can also lower the click in your speakers while keeping it strong in the drummer’s headphones.
There are exceptions. If you are building a simple, shared headphone mix that should closely follow your rough mix, post-fader sends can be convenient. For tracking multiple performers, though, pre-fader is the safer default.
Keep Effects Under Control
Performers often want a little reverb or delay because a completely dry vocal can feel uncomfortable. The problem is latency. A plug-in that sounds great in a mix may introduce enough delay to throw off a singer’s timing.
Use low-latency monitoring features when your DAW and interface support them. Record with a modest buffer size, such as 32 or 64 samples if your system can handle it, and avoid high-latency processing on tracks being monitored live. Look-ahead limiters, linear-phase EQs, some pitch correction modes, and certain mastering plug-ins are common troublemakers.
If a vocalist needs reverb, send their vocal to a simple, low-latency reverb return and include that return in the cue bus. Do not print the effect unless that is an intentional creative decision. The artist can hear the space while you retain a clean recorded vocal.
Add Talkback Without Putting It on the Recording
Talkback is one of the most useful parts of a professional headphone setup. It lets you speak to performers without recording your voice onto their tracks or blasting it through the control room monitors.
Create a dedicated talkback input from a spare microphone, then send it to each headphone cue bus. Do not route that input to the main mix or record-enable it. Use a mute button, a keyboard shortcut, or a momentary talkback control if your interface offers one.
If you have only one microphone available, you can still communicate, but be careful about routing. The fastest workaround is often to use the interface’s built-in talkback feature, if present. It keeps the function outside the DAW and avoids accidental routing to a recording track.
Avoid the Problems That Make Headphone Mixes Fail
Feedback and accidental doubling usually come from circular routing. If the headphone aux is sent back into itself, sent to the main mix and returned to the cue, or fed through an interface loopback channel, the result can be a rising feedback loop or a strange doubled signal. Trace the path from track to bus to hardware output. Every signal should have a clear destination and no route back to its own source.
Another common problem is monitoring the same input twice. This happens when direct monitoring is active in the interface software while input monitoring is also active in the DAW. The performer hears two versions of their voice separated by a few milliseconds. Disable one monitoring path. Which one you choose depends on whether you need DAW effects in the headphones.
Watch the cue bus level as carefully as the control room output. Headphones can get loud quickly, especially when a musician asks for “more me.” Set a sensible master level before handing over the headphones, then make smaller adjustments at the individual send level. Protecting hearing is part of running a serious session.
A Practical Session Check Before Record
Before anyone starts tracking, speak into every microphone, play the song, and listen to each cue output yourself. Confirm that every performer hears the required tracks, click, and talkback. Then ask one direct question: “What do you need more or less of?”
That quick check catches most routing mistakes before they disrupt the session. It also tells performers that you are prepared, which helps them relax and focus on the performance.
If your routing is not behaving the way it should, do not spend an hour comparing generic tutorials that use a different DAW, interface, and driver setup than yours. An OBEDIA one-on-one session can trace the actual signal path in your system and get your cue mixes working while you are at the computer.
A good headphone mix is not about making everything loud. It is about giving each performer enough of the right information to play with confidence. Build that path once, label it clearly, save it as a template, and your next recording session starts with music instead of troubleshooting.