
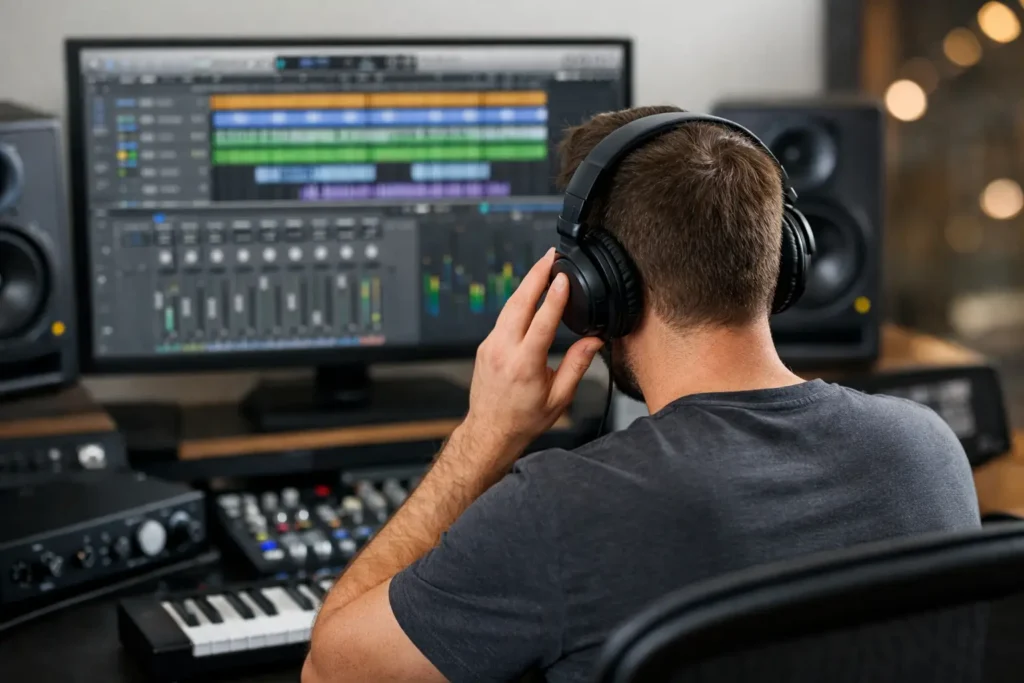
You just recorded a take, pressed play, and the meters are moving. But your speakers or headphones are dead silent. If you are asking, “why cant i hear playback,” do not start randomly changing settings or reinstalling your DAW. Playback problems usually come down to one broken link in a short signal path: the session output, the DAW audio device, the interface routing, or the physical monitoring setup.
The fastest fix is to troubleshoot in order. Confirm where audio is present, then follow it toward your ears. That keeps a five-minute routing correction from becoming an afternoon of frustration.
Why Can’t I Hear Playback? Start With the Meters
Open the session and press Play. Watch the meter on the individual track, then the master or main output channel. This immediately narrows the problem.
If the track meter is not moving, the issue is inside the session. The track may be muted, its clips may be on a different lane, the track could be disabled, or the playback cursor may simply be outside the audio region. Check the track’s mute and solo status first. A soloed track can make it seem like the entire session has stopped working, especially when that soloed track contains no audio at the current timeline position.
If the track meter moves but the master meter does not, inspect the track output assignment. A vocal track might be sending to an unused bus instead of the main output. It may also be routed to a subgroup whose output is not assigned correctly. This is common in templates, imported sessions, and projects opened on a different system.
If the master meter moves, your DAW is producing audio. At that point, stop looking for missing clips or plug-in issues. The problem is between your DAW’s selected output and your speakers or headphones.
Confirm the Correct Audio Device Is Selected
Your computer can often see more audio devices than you realize: a USB interface, built-in speakers, a webcam microphone, Bluetooth headphones, a monitor with HDMI audio, and virtual audio drivers. Your DAW only sends playback to the device selected in its audio settings.
Open your DAW’s audio preferences and make sure your actual interface is chosen as the playback device. In Pro Tools, this begins in the Playback Engine and then continues in Setup > I/O. In Studio One, check Audio Setup and Song Setup. Logic Pro users should check Settings > Audio, while Ableton Live users should open Preferences > Audio. Cubase users will find the relevant settings under Studio Setup and Audio Connections.
Do not assume that seeing your interface’s name means everything is correct. The interface may be selected for input but not output, or the DAW may have loaded an old output configuration. Confirm the output ports correspond to the physical outputs you use – commonly outputs 1 and 2 for main studio monitors.
A quick test helps here. Create a new blank session, add one audio file or software instrument, and route it directly to the main output. If the new session plays normally, your interface and driver are likely fine. The original project has a routing or session-specific configuration issue.
Match the Session Output to Real Hardware Outputs
A master fader labeled “Main Out” is not proof that it reaches your speakers. That label can point to any available output pair. If your monitors are connected to interface outputs 1-2 but the session main output is assigned to 3-4, the DAW can show a healthy master meter while you hear nothing.
Check your main output assignment and compare it with the labels on the back of the interface. Then check the interface control software, if it has one. Interfaces from Universal Audio, Focusrite, PreSonus, RME, MOTU, and others may use mixer software that can route, mute, or attenuate output signals independently of the DAW.
This matters because there are two separate jobs happening. Your DAW sends audio to an interface output. The interface then decides what gets sent to its monitor outputs, headphone outputs, or digital connections. Either stage can be wrong.
Check the Interface, Speakers, and Headphones
When master meters move but you still cannot hear playback, inspect the hardware before changing more software settings. Confirm the interface is powered on, connected directly to the computer, and not using a loose USB hub connection. Then turn up the physical monitor knob. It sounds obvious, but monitor level controls are frequently bumped, and some interfaces have separate monitor and headphone volume controls.
For speakers, verify that they are powered on, their own volume controls are up, and the cables are connected to the interface’s monitor outputs. If you use balanced cables, make sure both the left and right connections are secure. Test with headphones directly in the interface. If headphones work and speakers do not, the DAW is not the problem. Look at the monitor output routing, speaker power, cables, or monitor controller.
For headphones, check which headphone jack you are using. Many interfaces mirror the main outputs to the headphone jack, but others allow a separate cue mix or output pair. Your DAW could be playing through outputs 1-2 while the headphones are assigned to a different hardware source. In that case, you may hear live input monitoring but not DAW playback, or the opposite.
Bluetooth devices deserve special caution. They can connect to the computer while your DAW remains assigned to the interface, and they add latency that makes recording impractical. For serious production work, use your dedicated audio interface and wired monitoring whenever possible.
Look for Mute, Solo, and Monitoring Traps
The frustrating part of DAW troubleshooting is that a project can be technically correct while one small button changes what you hear. Inspect the master channel for mute, dim, or an automated volume level. Also check buses, aux tracks, and monitor sections. A muted bus can silence every track feeding it.
Input monitoring can create another confusing symptom. Suppose you can hear your microphone or guitar when recording, but cannot hear the track during playback. That often means your interface’s direct monitoring is active, while the DAW’s playback output is misrouted or muted. Direct monitoring lets you hear an input before it passes through the DAW. It does not prove the DAW playback path is working.
Conversely, if you hear doubled vocals or guitar while recording, you may be hearing both direct monitoring and software monitoring at once. The fix depends on your interface and workflow. Turn off one monitoring path, not both.
Plug-ins can also cause silence, although less often than routing errors. A noise gate with the threshold set too high, an aggressive mute automation lane, or a gain plug-in turned all the way down can stop audio on a track. Bypass plug-ins temporarily if the track meter shows signal before inserts but not after them.
Reset I/O Only When You Know What It Changes
Most DAWs offer a way to reset audio input and output settings. This can be useful after moving a project from another studio, changing interfaces, or updating drivers. It can also erase custom routing that was working perfectly.
Use an I/O reset when you have confirmed the interface driver is selected and the project’s outputs no longer match the available hardware ports. After resetting, verify every important path: main outputs, headphone cues, external hardware sends, and recording inputs. If you run a more complex setup with submixes, loopback channels, ADAT expansion, or monitor controllers, take screenshots of your routing first.
The trade-off is simple: resetting can restore a basic working setup quickly, but it is not a substitute for understanding where your signal is going.
When the Problem Is a Driver or System Conflict
If your DAW cannot see the interface at all, shows an error when opening the audio engine, or loses playback after the computer wakes from sleep, you may be dealing with a driver or system issue. Restart the DAW first, then restart the interface and computer if needed. On Windows, make sure the manufacturer’s ASIO driver is installed and selected rather than a generic driver. On Mac, confirm that the interface is recognized in the operating system’s audio settings and that no other application has created a conflicting configuration.
Also check sample rate. A session at 48 kHz may not play correctly if an interface, digital preamp, or external clock source is locked to 44.1 kHz. Digital connections such as ADAT and S/PDIF introduce clocking considerations that basic USB setups do not have. If you see clicks, errors, distorted playback, or a DAW that refuses to start audio, sample rate and clock source deserve attention.
Get Back to Making Music
Audio playback is not supposed to be a mystery. Start at the track meter, follow the signal to the master output, verify the DAW device and hardware output pair, then test your interface and monitoring chain. That process works whether you are in Ableton Live, Logic Pro, Pro Tools, Studio One, or Cubase.
If your routing is more complicated than the usual checklist, stop burning creative time on generic guesses. A live one-on-one session with an OBEDIA engineer can inspect your actual DAW, interface, and signal flow with you in real time. The goal is not just to get sound back today. It is to know exactly where to look the next time your session goes silent.