This tutorial will cover Tempo Operations in Ableton Live.
To learn Ableton Live one on one with a pro audio trainer, click here.
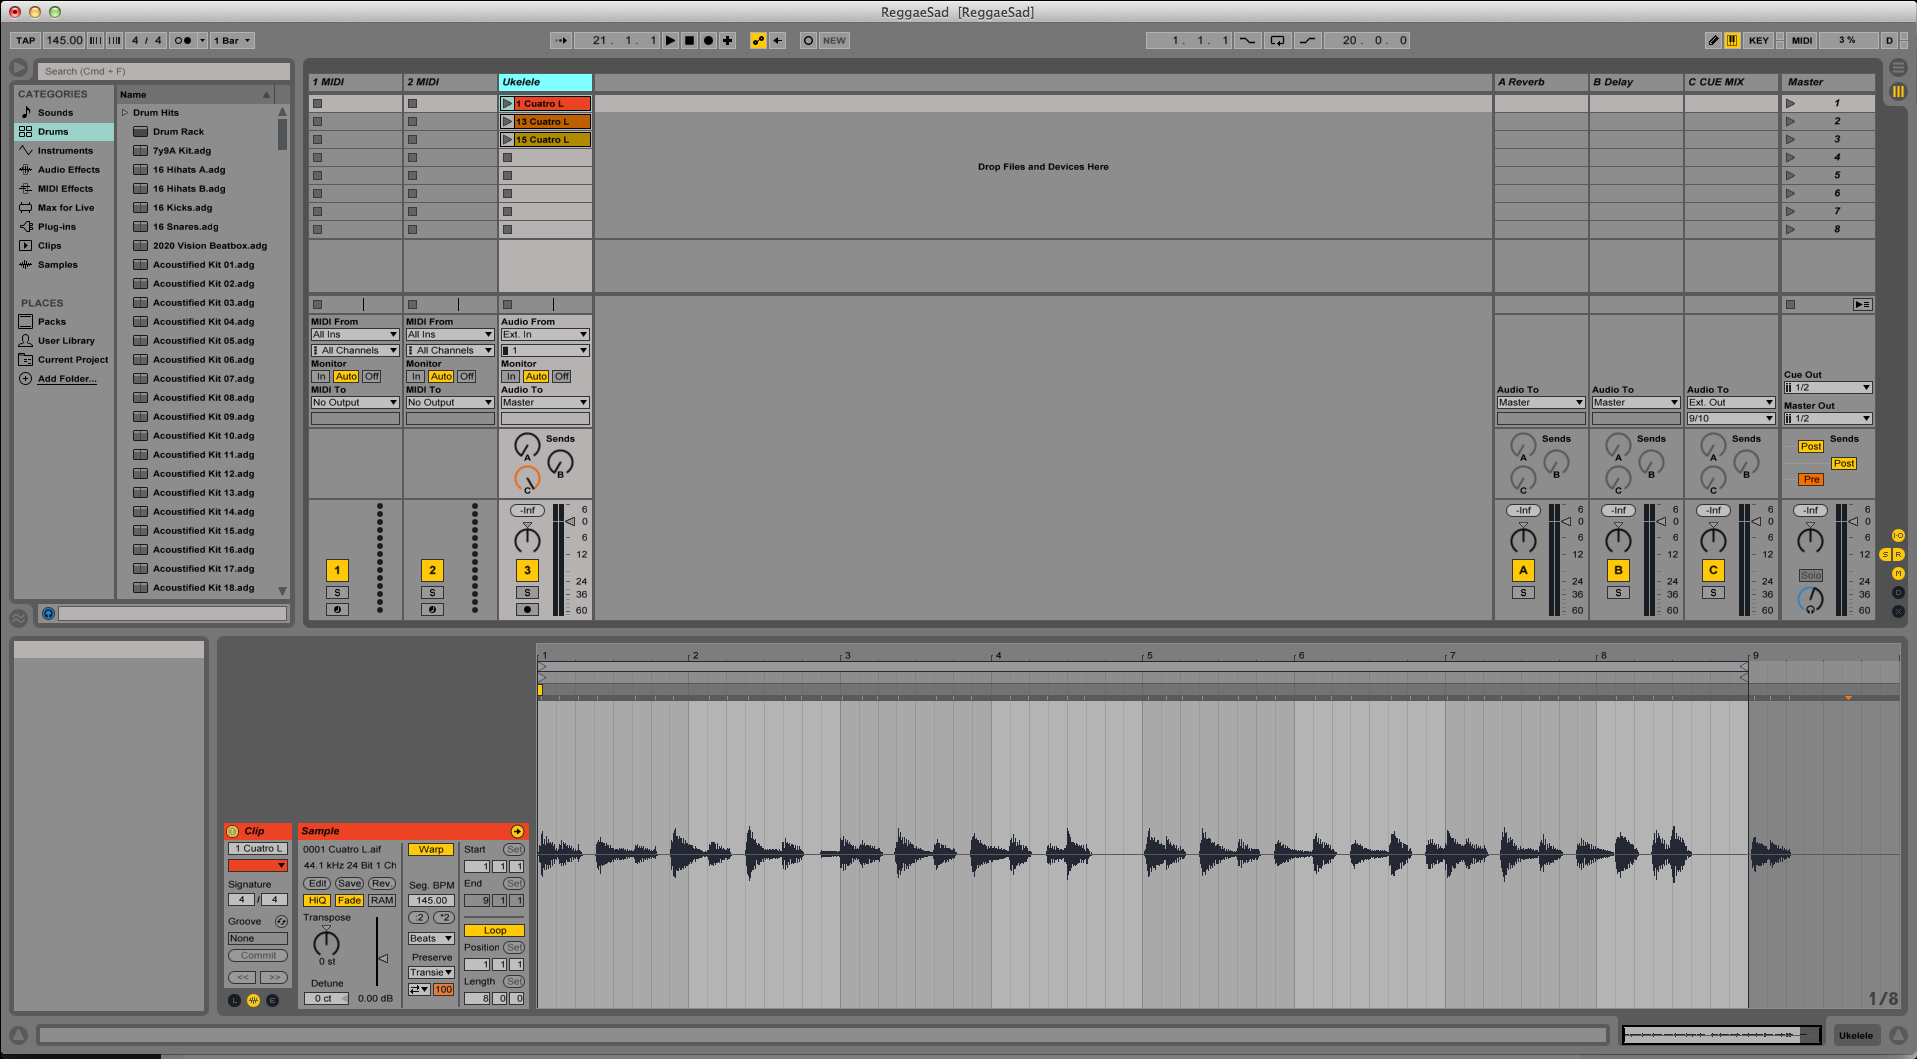
For the purpose of this tutorial, we have already created a Live Set that looks like this:
All the tempo operations in Ableton are found at the top left side of the window:
![]()
The first tempo operation is called “Tap Tempo” and it is denoted by its own icon:
![]()
To use this function, click on this icon once per beat to set Ableton’s tempo. The metronome and all warped audio clips will follow your tapping.
The second tempo operation is called “Tempo” and it is denoted by its own icon:
![]()
This is the current tempo for this Live Set. While it is active, all warped clips will play at this tempo as well as all MIDI events.
Tempo can be changed by clicking on it, and dragging up or down depending on user’s preference. Alternatively, the user can also double-click on it and manually type a tempo, and press enter to make changes effective.
The third tempo operation is called “Tempo Nudge Down” and it is denoted by its own icon:
![]()
By clicking on this option, the tempo of the song will temporarily decrease, making it easy to sync with live musicians or other sources.
The fourth tempo operation is called “Tempo Nudge Up” and it is denoted by its own icon:
![]()
By clicking on this option, the tempo of the song will temporarily increase, making it easy to sync with live musicians or other sources.
The fifth tempo operation is called “Time Signature Numerator/Denominator” and it is denoted by its own icon:
![]()
By dragging up or down the “numerator” (number on the left) the user can adjust the number of beats per bar. Alternatively, the user can click and type in a number.
By dragging up or down the “denominator” (number on the left) the user can adjust the length of a beat. Alternatively, the user can click and type in a number.
The sixth Tempo Operation in Ableton is the “Metronome” and it is denoted by its own icon:
![]()
By clicking on the left side of this icon (where the little grey/black circles are located), the user can turn ON or OFF the metronome.
By clicking on the little triangle to the right of this icon, the user can select the length of the metronome’s count-in.
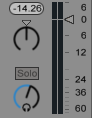
In order to adjust the metronome’s volume, the user must use the blue knob located at the bottom left of the master fader:
The seventh Tempo Operation in Ableton is the “Quantization Menu” and it is denoted by its own icon:
![]()
By clicking on this option the user can select the global quantization value, which is used to avoid rhythmical errors when playing clips or start recording new clips.
By default Ableton is set to 1 Bar of global quantization, but this can be changed or even disabled.
We hope you found this article about Tempo Operations in Ableton Live useful!
If you have more questions, or want to learn Ableton Live one on one with a pro audio trainer, click here or call us at 615-933-6775!