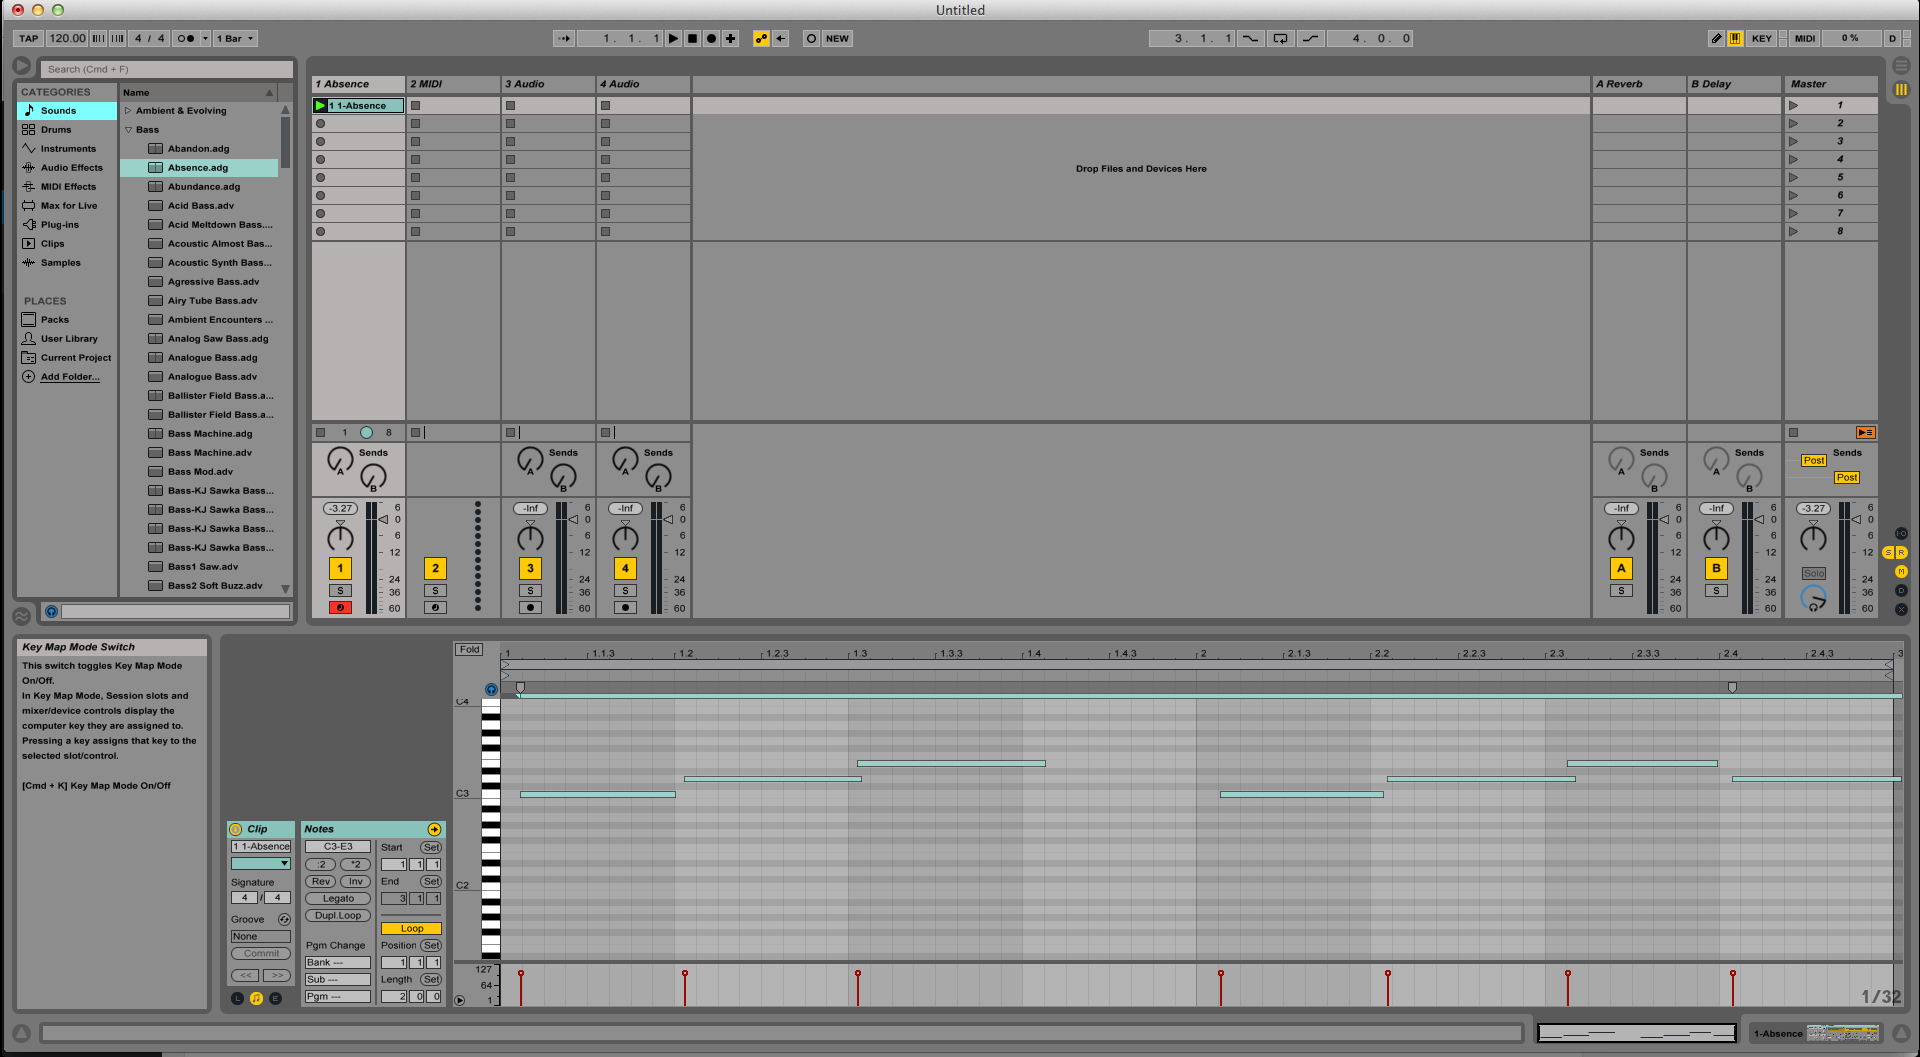
This tutorial explains MIDI clip operations in Ableton Live, and the different MIDI CLIP operations that can be applied at the Clip Overview window.
The tutorial assumes the user has already created an Ableton Live Set and has at least one track with MIDI information recorded into it.
To learn Ableton Live one on one with a pro audio trainer, click here.
A basic Ableton Live Set would look like this:

Let’s take a look at the MIDI Clip operation options:

- The very first option available is the “Clip Activator”, labeled as the yellow circle with a letter “i” inside, right next to the word “Clip”
![]()
When clicked, the clip is inactive. If the user clicks on it again, the clip is back to active.
2. The second option is the clip name:
![]()
By double clicking on it, the user can now type a new name for the clip. By default clips are named after the name of the sound applied to the track.
3. The third option is the clip color selector:
![]()
By clicking on it, a drop-down menu will appear with several colors. The user can select any of the colors and the clip will change to the new selected color.
4. The fourth option is the time signature:
![]()
By clicking on it, the user can manually type the desired time signature of the clip. By default, Ableton clips are 4/4.
5. The fifth option is related to applying “grooves” to the clip:

With this option, the user can select a groove from the groove pool to apply to the clip. The function can be committed if the user wants to. The groove can be also nudged forward and backward in time.
6. The sixth and last option is related to the different views that can be toggled:
![]()
There are three views that can be toggled:
- Launch box
- Notes box
- Envelope box
By default the only box that is enabled is the notes box, but the user can change this.
This is a quick overview of MIDI clip operations in Ableton Live.
If you have more questions, or want to learn Ableton Live one on one with a pro audio trainer, click here or call us at 615-933-6775!
