This tutorial shows the first part of a series of tutorials on how to setup an audio interface in Studio One 4. Part I will explain the Audio Setup, while part II will explain the I/O Setup.
CLICK HERE to learn Presonus Studio One 4 one on one with a digital audio professional at OBEDIA.
Just as any other Digital Audio Workstation software, the user must configure the audio interface in order to route its signals in and out of the computer for recording and playback purposes. Once a Song in Studio One has been created, the next step is to setup the proper interface.
This tutorial will present the first part of a step-by-step guide on how to setup an audio interface in Studio One 4, more specifically the “Audio Setup” window:
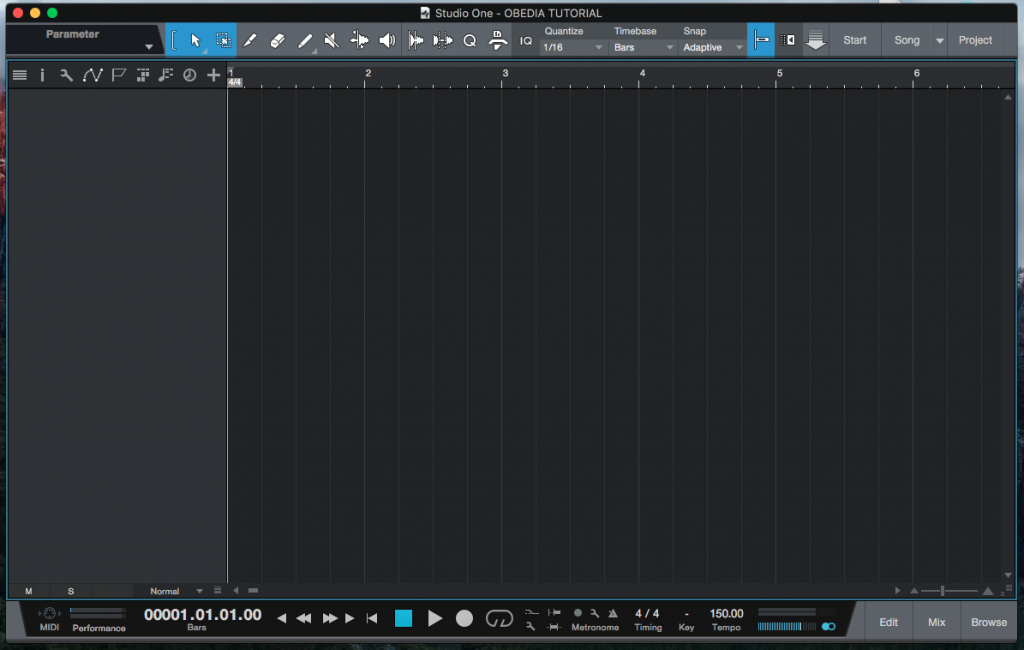
1. Open or create a new Studio One 4 Song:
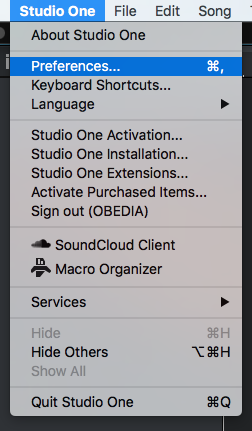
2. From the top menu bar click on: Studio One -> Preferences
3. The Preferences window will open as:
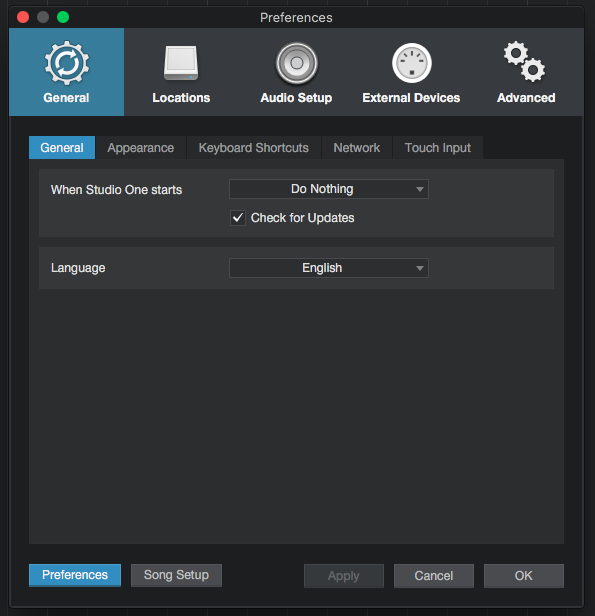
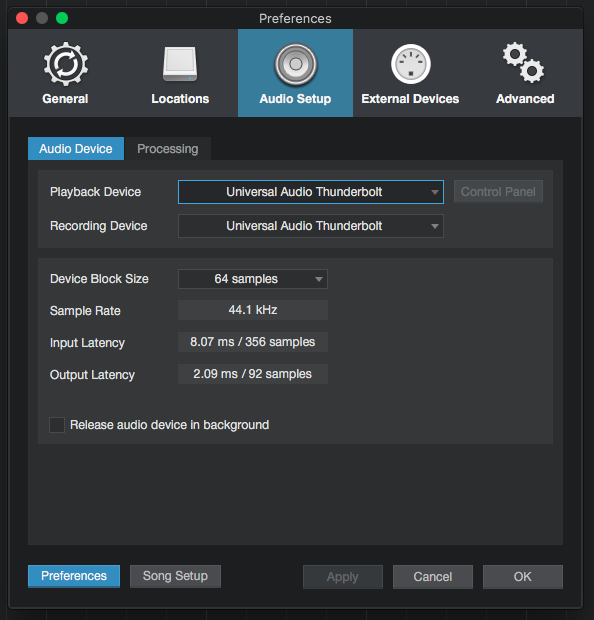
4. Click on the “Audio Setup” tab:
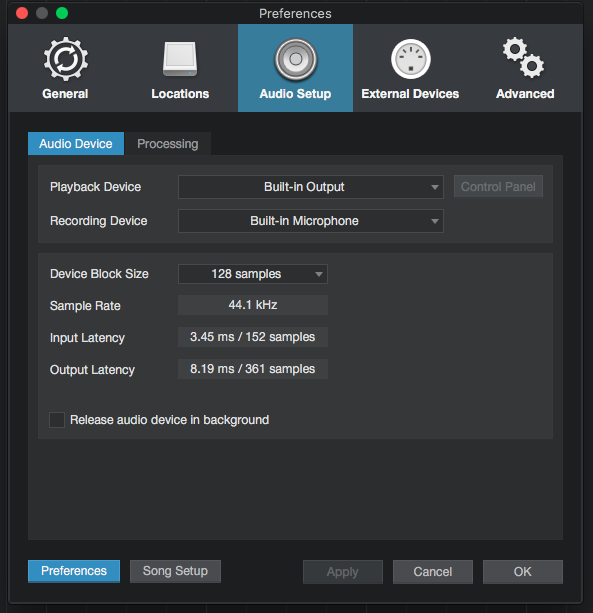
This window shows the different audio setup options the user must configure in order to select the proper audio interface to use with the software. This options are:
- Playback Device: This field has a drop-down list where the user can select the desired device for playback. For the case of this tutorial, we want to select the Universal Audio Apollo Twin interface.
- Recording Device: This field has a drop-down list where the user can select the desired device for recording. For the case of this tutorial, we want to select the Universal Audio Apollo Twin interface.
- Device Block Size: This field has a drop-down list where the user can select the desired buffer size for audio processing. In general, small block sizes are used for recording, so that latency is short, while larger blocker sizes are used for mixing so the audio processing and computation of plugins is smoother. For the purpose of this tutorial, we will set it to 64 samples.
- Release Audio Device in background: This function is disabled by default. When engaged, the currently used audio device is made available to other applications when Studio One is minimized. For the purpose of this tutorial we will leave the option unchecked.
5. Apply the changes to the configurations and the window will look like:
6. Press OK to save the changes. The Preferences window will close:
We have now finished configuring the Audi Setup in Studio One 4. Do not forget to check the second part of this series, related to I/O Setup.
We hope this tutorial on how to configure the Audio Setup in Studio One 4 has been helpful! Call OBEDIA today to learn how to use Studio One 4 from a digital audio professional.
CLICK HERE to learn Presonus Studio One 4 one on one with a digital audio professional at OBEDIA.