This tutorial shows the second part of a series of tutorials on how to setup an audio interface in Studio One 4. Part I explained the Audio Setup, while part II will explain the I/O Setup.
CLICK HERE to learn Presonus Studio One 4 one on one with a digital audio professional at OBEDIA.
Just as any other Digital Audio Workstation software, the user must configure the audio interface in order to route its signals in and out of the computer for recording and playback purposes. Once a Song in Studio One has been created, the next step is to setup the proper interface.
This tutorial will present the second part of a step-by-step guide on how to setup an audio interface in Studio One 4, more specifically the “Audio I/O Setup” window:
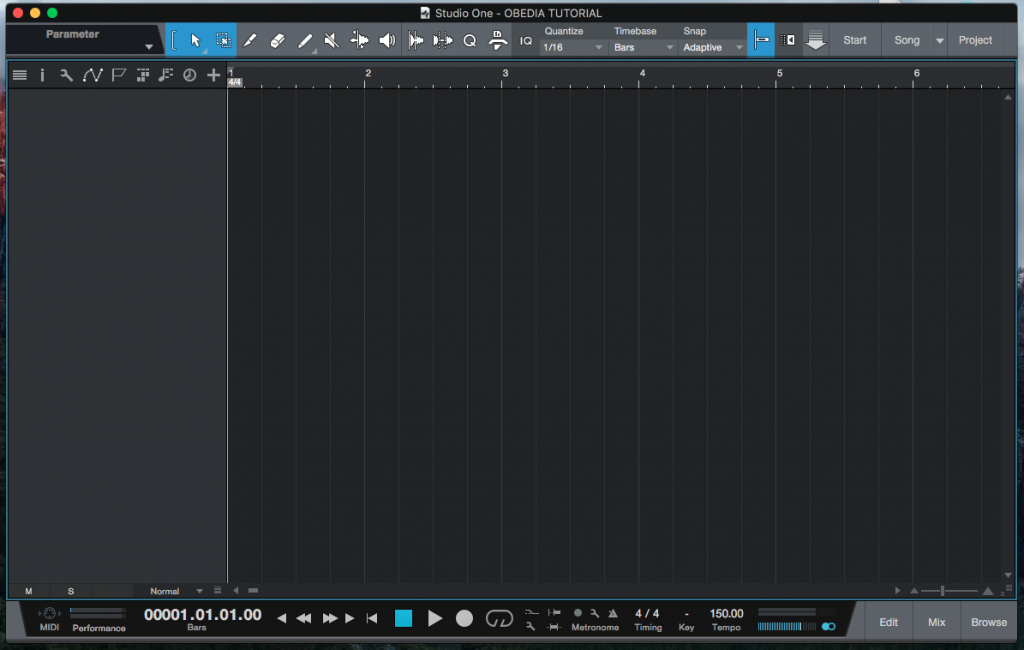
1. Open or create a new Studio One 4 Song:
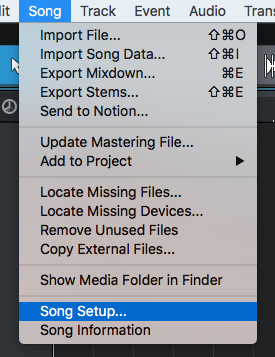
2. From the top menu bar click on: Song -> Song Setup:
3. The Song Setup window will open as:

4. Click on the “Audio I/O Setup” tab:
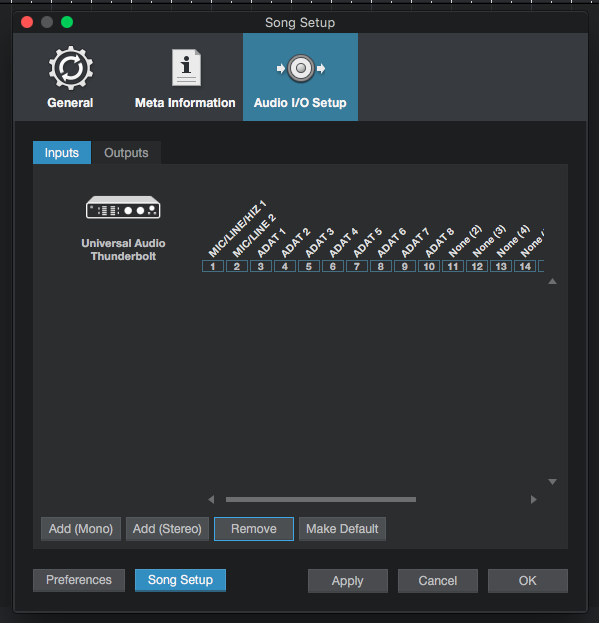
It is easy to see how the I/O Setup opens on the input tab. This tab shows a matrix of possible inputs the user can create to route signals into the audio interface.
Since we have previously selected the proper interface, it is easy to see how it shows labeled as “Universal Audio Thunderbolt” on the left side of the window, under the small picture of an interface.
This interface has 2 analog inputs and 8 digital inputs, which are not being used, therefore we will only for with the first two analog, labeled as “Mic/Line/HiZ 1” and “Mic/Line 2”.
This inputs need to be added to the matrix by clicking on “Add (Mono)” or “Add (Stereo)” depending on the case, so that they communicate with the software.
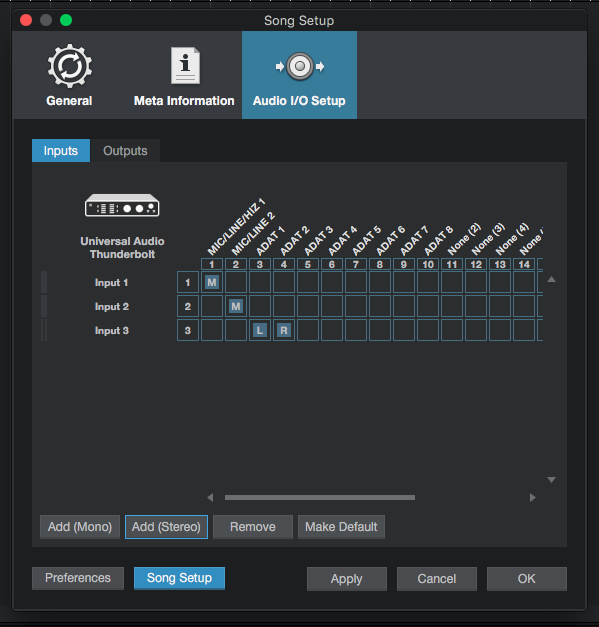
5. Press “Add (Mono)” twice to add inputs 1 and 2 as mono:
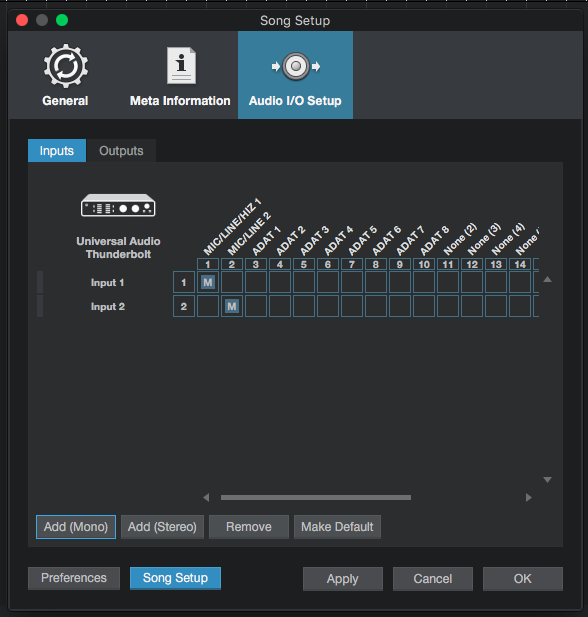
It is easy to see now how analog inputs 1 and 2 have been added to the inputs matrix as mono inputs. It is also useful and recommended to add them as a stereo pair in order to use it when recording stereo pairs.
6. Press “Add (Stereo)” once to add inputs 1 and 2 as a stereo pair:
Note how the stereo pair was created for ADAT 1 and 2, instead of Analog 1 and 2. This can easily be fixed by clicking on the cell of Mic/Line/HiZ 1 of the third row as:
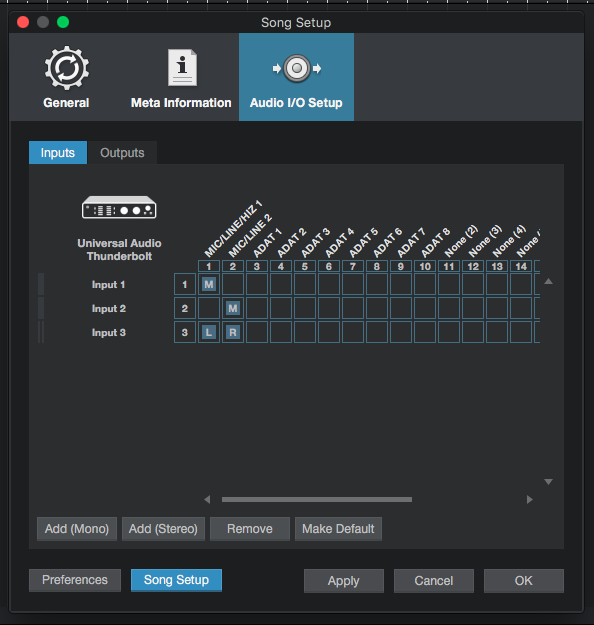
At this point we have finished setting the input tab of the I/O Setup. We have added both of our analog inputs as independent mono inputs as well as a stereo pair. The ADAT inputs have not been added since we have nothing connected to them, therefore they can be left un-assigned to the matrix. We can now progress to the outputs tab.
7. Click on “Outputs” to navigate to the outputs tab:

The interface we are using for this tutorial has 3 pairs of outputs, Analog 1-2, Analog 3-4 and Headphones.
It is easy to see how Studio One automatically creates a pair for Analog Outputs 1-2 since most likely those are going to be the outputs that most users will use to connect their monitor speakers. We must create two more output pairs: Analog Outputs 3-4 and the Headphones.
8. Press “Add (Stereo)” twice to add two stereo pairs of outputs:
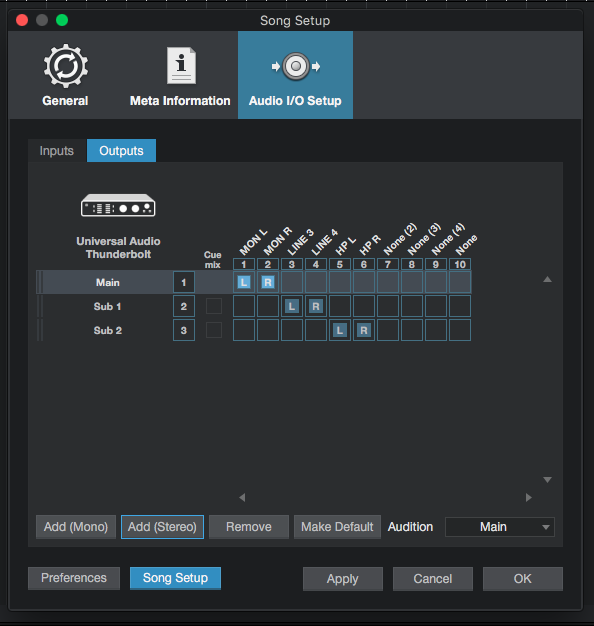
It is easy to see how we now have 3 pairs of outputs, correctly routed to their analog destinations.
We have now finished configuring the I/O Setup in Studio One 4.
We hope this tutorial on how to configure the I/O Setup in Studio One 4 has been helpful! Call OBEDIA today to learn how to use Studio One 4 from a digital audio professional.
CLICK HERE to learn Presonus Studio One 4 one on one with a digital audio professional at OBEDIA.