
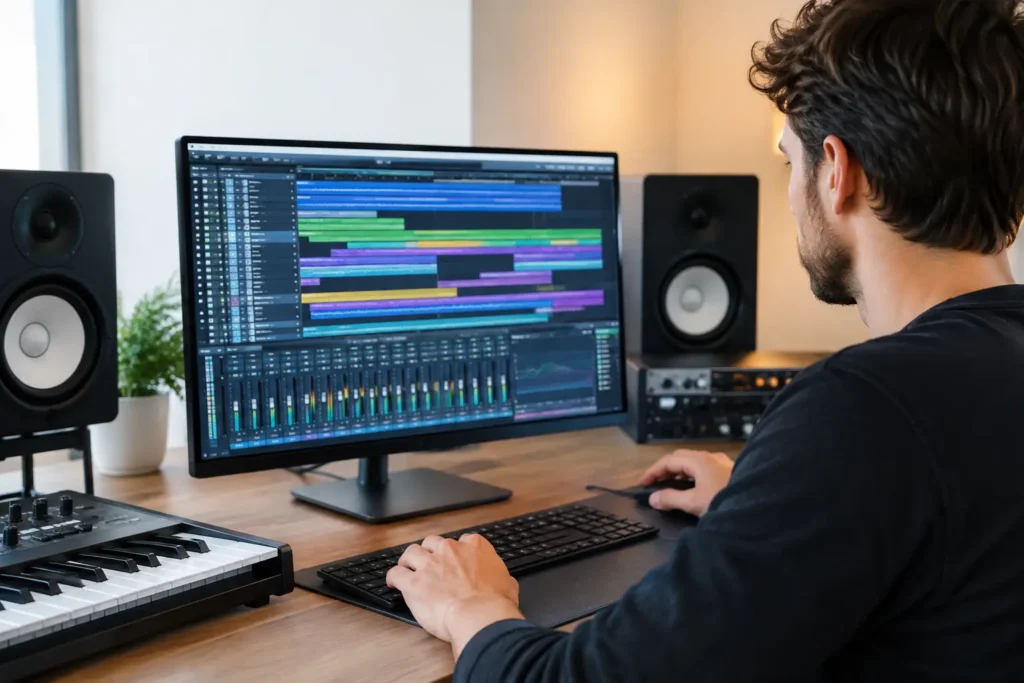
Cubase training should help you finish the song in front of you, not send you through six hours of videos looking for one setting buried in a menu. Cubase is a deep DAW with serious recording, MIDI, editing, mixing, and scoring capabilities. That depth is a strength when you know where to work. When you do not, it can turn a simple task like routing a headphone mix or tightening a vocal into a stalled session.
The fastest path is not learning every feature in Cubase. It is learning the right feature for the production decision you need to make right now, using your interface, controllers, instruments, plug-ins, and version of Cubase.
What Good Cubase Training Actually Covers
A generic Cubase course often starts at the beginning and moves in a fixed order. That can be useful for a brand-new user, but it breaks down quickly when your actual problem is specific. Maybe your microphone is recording on only one side. Maybe your MIDI keyboard triggers sound but will not record. Maybe you have a strong arrangement but your mix collapses when you add vocals.
Good training starts with the session and the obstacle. An experienced engineer can see whether the issue is an input connection, a driver setting, a routing decision, an editing workflow, or a production choice. Those are very different problems, even when they all feel like, “Cubase is not working.”
For most home studio users, the work usually falls into four areas:
- Recording and routing audio through the correct inputs, outputs, buses, and cue mixes.
- Building MIDI parts with virtual instruments, chord tracks, drum programming, and controllers.
- Editing performances with comping, timing correction, pitch tools, quantization, and automation.
- Mixing and exporting tracks that translate beyond your headphones or studio monitors.
You do not need equal depth in every area on day one. A singer-songwriter recording vocals and acoustic guitar has different priorities than a producer programming electronic drums or an engineer tracking a full band. Training should match the music you are trying to make.
Start With a Session That Does Not Fight You
A great production day begins before you press Record. Cubase offers templates, track presets, input busses, control room options, and project settings that can save enormous time. It can also create confusion if those elements were never configured around your studio.
Your first goal should be a reliable default project. Set the sample rate and buffer size for the type of session you are running. Confirm that your audio interface inputs are named clearly. Create the recording tracks you use most often, whether that means lead vocal, guitar DI, stereo keys, drum programming, or podcast narration. Make sure your metronome, count-in, monitoring, and recording folder are behaving the way you expect.
This sounds basic, but it prevents the most expensive kind of studio problem: stopping a creative idea to troubleshoot technology. If you repeatedly set up the same tracks, effects sends, headphone routing, or export format, turn that work into a template. The time savings add up quickly.
Know When Latency Is the Real Problem
Many recording complaints are actually latency complaints. You play a note and hear it late. You record a vocal and it feels disconnected from the track. You insert a few plug-ins and suddenly the system feels sluggish.
The fix depends on where the delay is being introduced. A lower buffer size can make recording more responsive, but it demands more from your computer. A higher buffer size is often better for mixing, when responsiveness matters less and plug-in load matters more. Direct monitoring through an interface can help in some recording setups, but it may not let the performer hear software effects in the same way.
There is no single setting that is best for every session. The useful skill is knowing how to move between recording and mixing modes without guessing.
Cubase Training for MIDI That Sounds Musical
Cubase is capable of far more than placing notes on a piano roll. Its MIDI tools can help you move from a rough idea to an arrangement with intentional rhythm, dynamics, articulation, and movement. But MIDI can sound mechanical when every note is perfectly aligned, every velocity is identical, and every instrument is treated like a keyboard patch.
Start by getting the performance into the project quickly. Record with a click if it helps, but do not quantize every note automatically. Listen for what made the part feel good in the first place. Then correct the notes or timing that distract from the groove. Quantization strength, swing, and individual note edits often produce a more believable result than snapping everything to the grid.
For drums, focus on velocity, note length, and small timing differences between hits. For orchestral libraries, learn how your specific instrument handles articulations, expression, modulation, and key switches. For synth parts, automation can be the difference between a static loop and a performance that develops over a full song.
Cubase also gives you arrangement tools that are valuable when the song is not fully formed. Markers, arranger tracks, chord tracks, and track versions can help you try alternate structures without destroying the original idea. This is where one-on-one instruction is especially useful: an engineer can help you choose a workflow that supports your genre rather than forcing you into someone else’s method.
Edit Without Editing the Life Out of It
Editing is supposed to improve a performance, not remove its character. Cubase gives you powerful tools for vocal comping, audio alignment, hitpoint detection, slicing, pitch correction, and timing adjustment. Used carefully, they can take a good recording to a professional level. Used aggressively, they can create artifacts, phase issues, and performances that no longer feel human.
A practical vocal workflow begins with organization. Use lanes or track versions to preserve takes, then build a comp from the best phrases rather than trying to force one full take to work. Clean obvious breaths, noises, or timing issues where they pull attention from the lyric. Correct pitch only as much as the song needs. A modern pop vocal may call for a different approach than a folk, rock, jazz, or singer-songwriter record.
The same judgment applies to drum and multi-mic editing. Tightening a loose performance can be helpful, but moving one microphone track without the related tracks can create phase problems. Before using a fast editing command, understand what audio is grouped and what will move together. A few minutes of guidance here can prevent hours of repair work later.
Mixing in Cubase Means Making Decisions
A mix is not a checklist of plug-ins. It is a series of decisions about what the listener should hear first, what should support it, and what can move out of the way. Cubase provides the tools, but it cannot make those decisions for you.
Begin with gain staging and balance. Bring up the core elements of the song before reaching for EQ or compression. If the vocal cannot be heard, first ask whether the arrangement or level balance is the problem. If the kick and bass fight, decide which one owns the lowest range and shape the other around it. Effects should create space, depth, energy, or character, not hide an unfinished balance.
Routing matters here. Group channels let you control related tracks together. FX channels provide shared reverbs and delays. Sends give you a cleaner way to place multiple instruments in the same space. Automation lets the mix respond to the song section by section instead of sitting at one fixed level.
The trade-off is complexity. A large template with dozens of buses and processing chains can be efficient for an experienced engineer, but overwhelming for a newer producer. Build only the routing you can hear a reason for. Add sophistication when it solves a real production need.
Export the Right File the First Time
A finished mix can still fail at the export stage. Before rendering, verify the project start and end points, sample rate, bit depth, channel format, and whether you are exporting a mix, stems, or individual tracks. Leave appropriate headroom if the song is headed to mastering. If you are sending files to a collaborator, clear file names and consolidated audio can save everyone a frustrating round of messages.
This is also a good time to check the mix on more than one playback system. Your studio monitors may reveal balance problems, headphones may expose edits and reverb tails, and a car or small speaker may tell you whether the vocal and hook are carrying the song. Translation is the real test.
Why Live Help Beats Another Random Tutorial
Tutorials are useful when they answer your exact question. The problem is that they often do not. The instructor may use another Cubase version, a different operating system, a different interface, or a production style far from your own. You can copy every step and still end up stuck because one setting in your studio is different.
Live Cubase training changes the equation. Instead of collecting disconnected tips, you can show an engineer your actual screen, project, hardware, and goal. You get an answer, but you also learn why the answer works and how to recognize the same issue next time. That is how a temporary fix becomes a usable skill.
OBEDIA provides that kind of real-time, one-on-one guidance for users who would rather make progress in their own sessions than keep piecing together advice from videos, forums, and manuals. Whether you are building your first recording template or finishing a release-ready mix, direct feedback keeps the learning connected to the music.
Your next Cubase session does not need to be a fight with routing, menus, or settings. Pick the one task keeping the song from moving forward, solve it properly, and get back to making the record.