
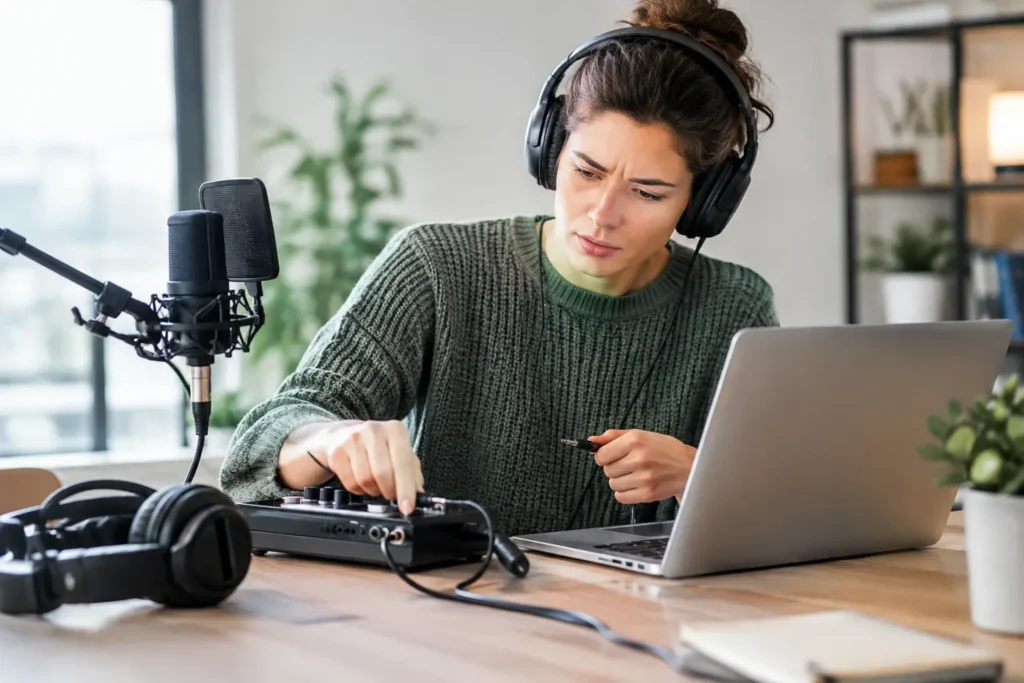
Your vocalist is ready, the session is open, and the input meter will not move. That is when home studio troubleshooting examples become more useful than another vague tutorial. Most recording problems are not mysterious. They are a broken connection somewhere in the signal path, a conflicting setting, or a DAW configured for a device it can no longer see.
The fastest fix is rarely clicking every button until something changes. Work from the physical source toward the recording track, change one variable at a time, and confirm what each meter is telling you. That process works in Studio One, Pro Tools, Cubase, Logic Pro, Ableton Live, and nearly every other modern DAW.
Start With the Signal, Not the Panic
A home studio has several signal paths operating at once: audio inputs, audio outputs, MIDI control, software routing, clocking, and computer communication. A problem in one path can look like a problem in another. For example, silence on a vocal track may be caused by the microphone, cable, interface preamp, operating system permission, DAW input assignment, track monitoring setting, or track record-arm state.
Before changing settings, define the symptom precisely. Is the source reaching the interface? Is the DAW receiving it? Is it recording but not playing back? Is it playing back but not reaching your speakers? The answer narrows the search immediately.
Home Studio Troubleshooting Examples for Audio Problems
1. The microphone is connected, but the DAW gets no input
Start at the interface. Speak into the mic and watch its hardware input meter or indicator. If it does not react, the DAW is not the issue yet. Confirm that the correct input gain is turned up, the XLR cable is fully seated, and the microphone does not require phantom power that is currently off.
Condenser microphones generally need 48V phantom power. Dynamic microphones generally do not, although leaving phantom power on with a properly wired balanced dynamic mic is usually not harmful. Do not turn phantom power on or off with speakers cranked, and never use it as a substitute for checking the microphone type.
If the interface meter moves but the DAW track stays silent, open the DAW’s audio device settings. Make sure the interface is selected as the active audio device, then verify that the interface input has been enabled in the DAW’s input configuration. Finally, assign that exact input to the track, record-arm the track, and turn on input monitoring if your DAW requires it.
This is a common place where generic advice wastes time. “Check your input” is not enough. You need to know whether Input 1 on the front of your interface is actually labeled Input 1 inside the current song or template.
2. You can see audio on the track, but cannot hear playback
If the waveform records and the channel meter moves during playback, the recording worked. The problem is now on the output side. Check the track output assignment first. It may be routed to a headphone bus, an inactive output pair, or a bus that never reaches the main outputs.
Then inspect the master or main output channel. Is it muted? Is its fader down? Is it assigned to outputs 1-2, while your monitors are plugged into 3-4? Interfaces with multiple outputs make this mistake easy, especially after switching between headphones, external speakers, and loopback channels.
Also check the simple physical details: monitor volume, speaker power, interface monitor knob, and headphone level. It sounds basic because it is basic, but it is still the right order of operations. A DAW cannot fix a monitor controller turned all the way down.
3. The recording is distorted even though the track fader is low
A track fader controls playback level after the signal has been recorded. It cannot repair distortion created at the microphone preamp, instrument output, analog input, or converter. If an incoming vocal or guitar is clipping, turn down the gain at the source or interface before recording again.
Watch the interface input meter and the DAW input meter. Aim for healthy level with peaks safely below 0 dBFS. There is no prize for recording as hot as possible. Modern 24-bit recording gives you enough usable headroom to leave room for loud singers, aggressive guitar picking, and unexpected peaks.
If a guitar is plugged into a line input instead of an instrument or Hi-Z input, it can sound weak, harsh, or noisy even without clipping. This is not a mixing problem. Use the proper input mode or a DI box, depending on your interface and guitar setup.
4. Headphones have an echo or distracting delay while recording
That echo is latency: the time it takes for audio to enter the interface, travel through the DAW, process, and return to the headphones. The first fix is to reduce the audio buffer size in the DAW’s audio settings. A lower buffer reduces latency but uses more CPU. A higher buffer gives the computer more breathing room but increases delay.
For tracking, a low buffer is usually appropriate if the session is stable. For mixing a dense project with virtual instruments and plug-ins, raise it. If lowering the buffer causes pops, clicks, or CPU overloads, do not keep forcing it. Disable high-latency plug-ins while recording, freeze or print virtual instruments where appropriate, and close other applications competing for system resources.
Many interfaces also offer direct monitoring. This lets the performer hear the input before it travels through the DAW, producing near-zero-latency monitoring. The trade-off is that you may not hear software effects such as a vocal reverb or amp simulator in the same way. Some interfaces provide a software mixer that lets you blend direct sound with DAW playback, which is often the practical answer.
MIDI and Software Problems That Look Like Hardware Failures
5. The MIDI keyboard powers on, but no instrument plays
A lit keyboard only proves it has power. It does not prove the DAW is receiving MIDI, the track is listening to the correct port, or a virtual instrument is loaded. First, look for MIDI activity in the DAW when you press a key. If there is no activity, confirm the keyboard appears in the operating system and is enabled in the DAW’s MIDI preferences.
If MIDI reaches the DAW but there is no sound, check the instrument track. It needs a loaded instrument, a valid output route, and an audio output path to your speakers or headphones. If you see notes recording in the MIDI editor but hear nothing, you have already narrowed the problem: the controller and MIDI connection are working. Focus on the instrument, track routing, and output monitoring.
MIDI channel settings can matter, but do not start there unless you have a multi-device or multi-channel setup. In many home studios, accepting all MIDI channels while diagnosing gets you working faster. You can refine channels once the basic path is confirmed.
6. The DAW cannot find your interface after an update
Operating system updates, driver changes, USB power management, and device permissions can all make a formerly stable interface disappear. Begin by fully quitting the DAW, power-cycling the interface, and reconnecting it directly to the computer. Avoid troubleshooting through an unpowered hub if you can.
Next, verify that the interface appears in the computer’s audio settings. If the operating system cannot see it, reinstalling or updating the manufacturer’s current driver may be necessary. If the operating system sees it but the DAW does not, select it again in the DAW’s audio device panel and confirm that the I/O configuration is still correct.
On a laptop, check microphone permissions as well. Modern operating systems can block a DAW from accessing audio inputs even when the interface is functioning perfectly. That can produce the frustrating combination of an interface that plays sound normally but records nothing.
7. Your session plays at the wrong speed or has digital clicks
A project that sounds unusually slow, fast, pitched up, or full of repeating digital clicks may have a sample rate or clocking mismatch. If the interface is set to 48 kHz but the session expects 44.1 kHz, the result can be wrong playback behavior or failed audio communication. External digital devices add another layer because one device must provide clock and the other must follow it.
For a straightforward USB interface with no external digital gear, set the DAW and interface to the same sample rate and restart the audio engine if needed. For S/PDIF or ADAT setups, confirm the clock source and cable connection. Random clicks that remain after buffer adjustments often point to clocking, not computer speed.
Workflow Fixes That Prevent the Next Breakdown
8. A template opens, but inputs and outputs are missing
Templates save time until they carry routing from an old interface, a previous driver, or another studio. Build one clean template after your system is working: named tracks, confirmed inputs, usable headphone routing, basic buses, and a sensible default sample rate. Then test it by closing and reopening the DAW before trusting it for a client or collaborator session.
9. Plug-ins cause crashes, missing effects, or no sound
When a session suddenly crashes, opens with disabled plug-ins, or starts producing errors, isolate the change. Did you install a new plug-in, update the DAW, change an operating system setting, or open a project created on another machine? Remove or temporarily bypass the suspected plug-in and test again.
Do not assume every installed plug-in is compatible with your DAW version, processor architecture, or operating system. Keep installers and license details organized, but also be selective. A smaller collection of stable tools beats a folder full of unknown variables when you are trying to finish music.
10. You have tried everything and the problem keeps returning
Repeated problems usually mean the studio needs a system fix, not another temporary workaround. Document your interface settings, preferred buffer sizes, cable layout, driver versions, and DAW routing. Take a screenshot when a configuration is working. That reference can save hours after an update or hardware change.
If the issue involves your exact computer, interface, DAW version, plug-ins, and routing, a live session with an experienced engineer is often faster than collecting conflicting answers from forums. OBEDIA’s one-on-one remote support is built for that moment: trace the actual setup, fix the immediate issue, and show you why it happened so you can work with confidence next time.
The goal is not to become a full-time IT department for your studio. The goal is to recognize the signal path, make a clean diagnosis, and get back to recording before the creative moment disappears.