The following tutorial shows the user how to create and configure an audio track in Studio One 4.
CLICK HERE to learn Presonus Studio One 4 one on one with a digital audio professional at OBEDIA.
Just as any other Digital Audio Workstation, Studio One has the ability to record, edit, mix and master digital audio content. Digital Audio in Studio One is recorded into an “Audio Track”. These audio tracks resemble a regular channel strip from an analog console that has its own input and output, the ability of connecting audio processing devices in series (or parallel), a pan pot, mute/solo switches and a fader at the end.
Audio tracks are used to record digital audio that has been converted from analog by the interface. Most sources that are recorded with a microphone or using a DI box can be recorded into an audio track. Some examples of these could be: a guitar amp that has been recorded with a mic, a bass guitar that has been recorded using a DI box, a piano that has been recorded using a stereo pair of microphones or a vocalist that has been recorded using a microphone.
This tutorial will present a step-by-step guide on how to create and setup an audio track for proper use in Studio One 4.
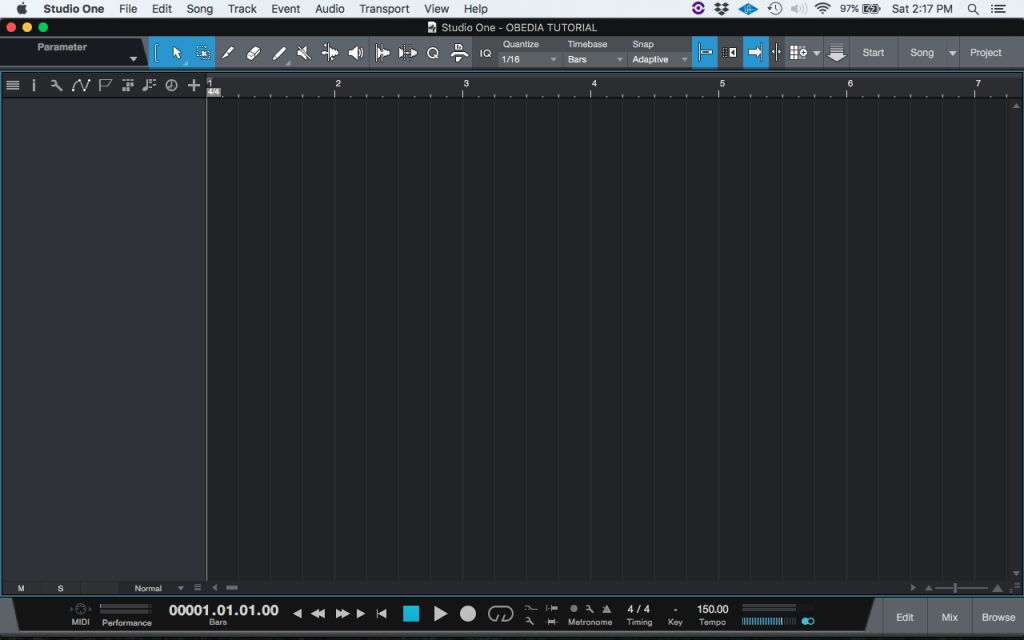
1. Open or create a new Studio One 4 Song:
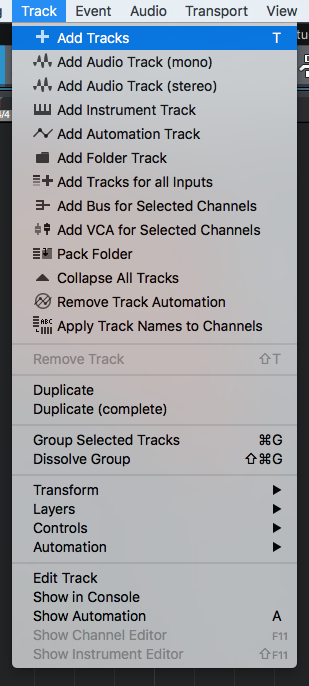
2. From the top menu bar click on: Track -> Add Tracks
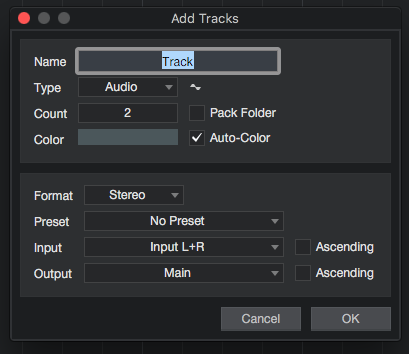
3. The “Add Tracks” window will open as:
4. Configure the “Add Tracks” window to create a new mono audio track:
In order to do this, we must explain the important parameters of this window. These are:
- Name: This field lets the user type the name of the track. For the purpose of this tutorial we will type “Vocal”.
- Type: This drop-down list lets the user select the type of track created. The possible options are “Audio”, “Instrument”, “Automation” and “Folder”. For the purpose of this tutorial we will select “Audio”.
- Count: This field lets the user type the number of tracks that want to be created. For the purpose of this tutorial.
- Color: Clicking on this drop-down box lets the user pick the color of the track. Alternatively the option “Auto-Color” can be selected so the software will automatically assign the color. For the purpose of this tutorial the color will be red, and “Auto-Color” will be unchecked.
- Format: This drop-down list lets the user select between Mono or Stereo tracks. For the purpose of this tutorial we will select mono.
- Preset: This drop-down list lets the user select a preset that will be assigned to the track upon creation. This preset will contain plugins and general audio processing. For the purpose of this tutorial “No Preset” will be selected.
- Input: This drop-down list lets the user select the desired input for the track. For the purpose of this tutorial we will select “Input L”.
- Output: This drop-down list lets the user select the desired output for the track. For the purpose of this tutorial we will select “Main”.
After applying these parameters, the “Add Tracks” Window should look like this:
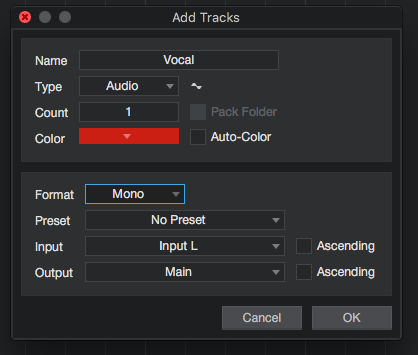
5. Press “OK” to save changes and create the track:
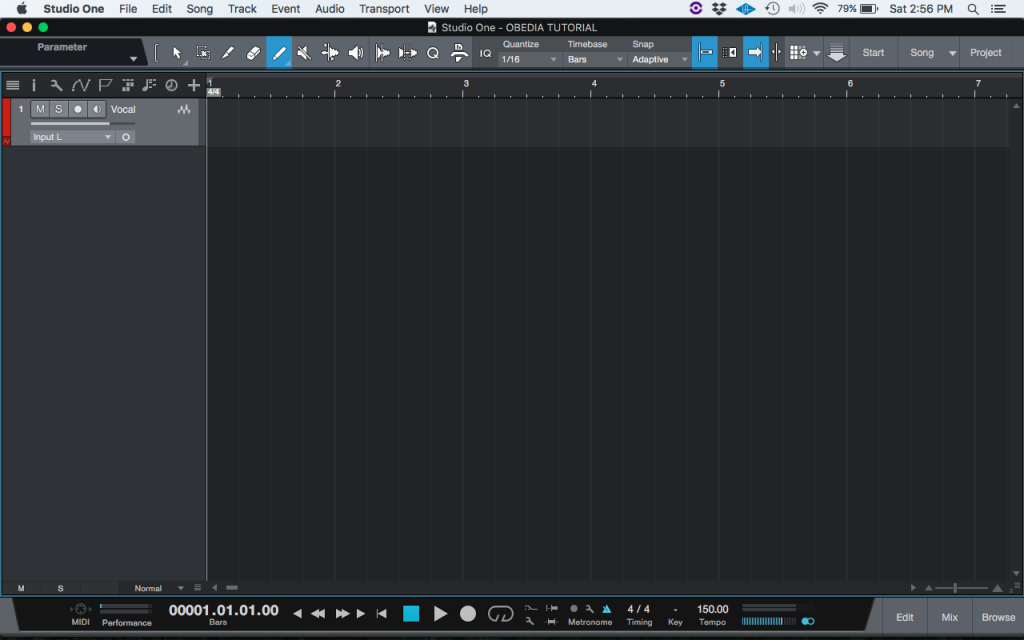
It is easy to see how at this point we have successfully created an audio track and configured its input and output for proper recording and playback of audio material in Studio One 4. The tutorial has now finished.
We hope this tutorial on how to create and configure an Audio Track in Studio One 4 has been helpful! Call OBEDIA today to learn how to use Studio One 4 from a digital audio professional.
CLICK HERE to learn Presonus Studio One 4 one on one with a digital audio professional at OBEDIA.