The following tutorial shows the user how to create clip groups in Pro Tools.
CLICK HERE to learn Avid Pro Tools one on one with a digital audio professional at OBEDIA.
From previous tutorials, the user has learned how to create Track Groups. This time the user will be shown how to work with Clip Groups. It is very important to understand that Clip Groups and Track Groups are not the same, even though user might tend to confuse them due their names.
Clips groups are used to link several clips from a track or a group of tracks into a single “Clip Group”, which is specially useful when manually editing or time-aligning tracks that have been previously sliced into smaller clips. Another way to see clip groups is as an easier way to “render” a clip without actually creating a new file. Clips that have been grouped will visually appear as a single clip, and the user might think they have been rendered into a new file but the reality is that no new file has been created, and the individual clips are still there, but they are shown differently.
The following tutorial shows a step-by-step guide on how to create clip groups in Pro Tools.
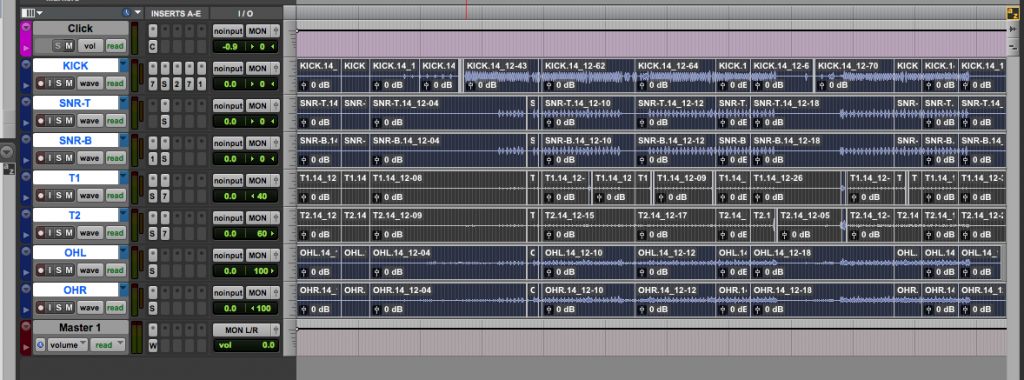
1. Open a Pro Tools session
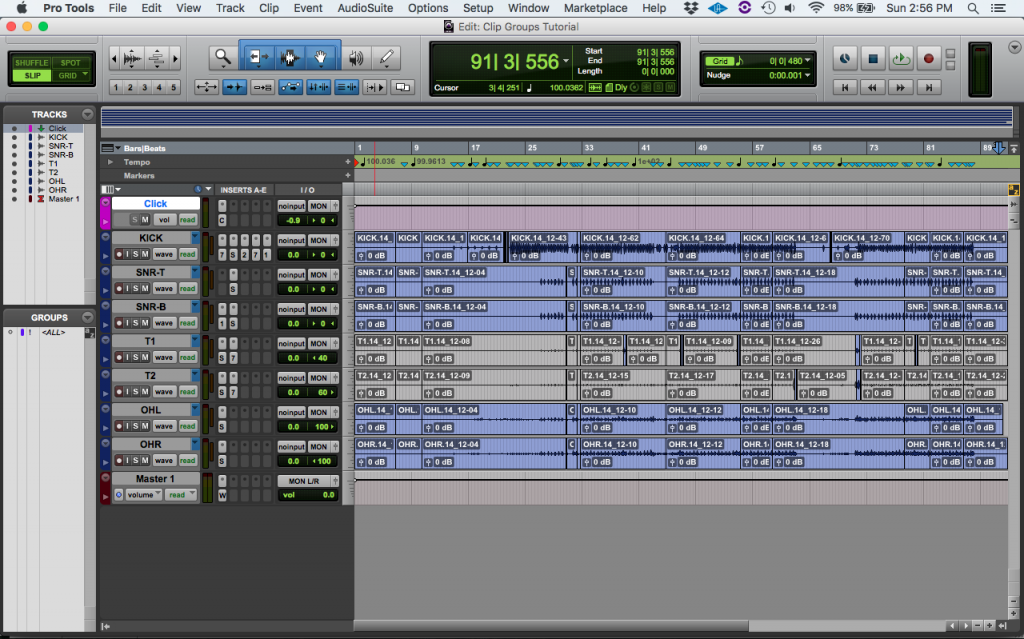
It is easy to see how all the drum tracks that are shown, have several clips, perhaps they have been edited to time align certain parts. These clips can be “grouped” in order to only “see” a single clip, which makes it more pleasant for viewing.
2. In order to group these clips, all the clips must be selected, this can be done by clicking and dragging the mouse on top of them as:
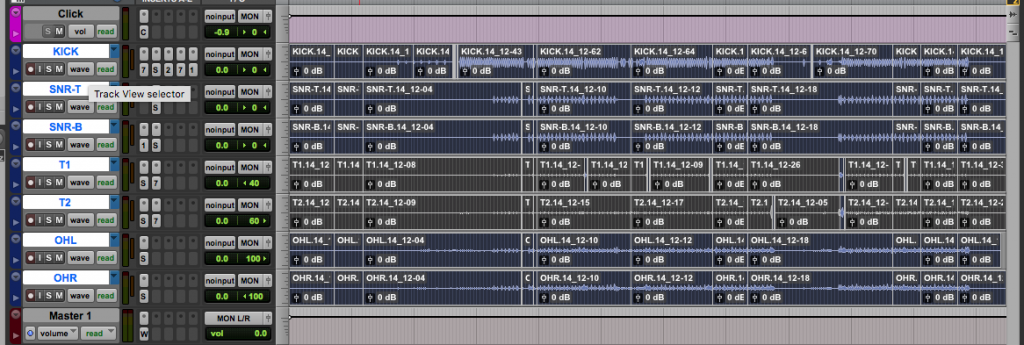
It is easy to see how they appear highlighted, telling the user they have been selected. At this point the user can now group the clips.
3. Group the clips by clicking on the top menu bar: Clip -> Group.

4. The clips are now grouped as:
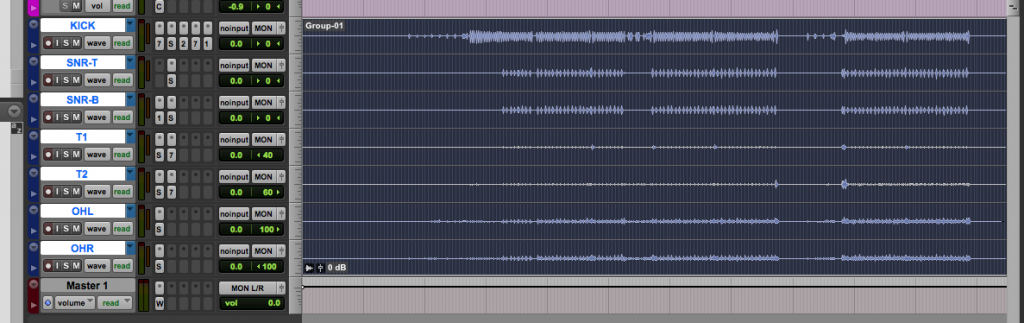
Now that the clips have been grouped, they appear as if the tracks had been “rendered”. However, this is not the case, new audio files have not been created. The idea of having these clips grouped, is that the user can now drag them in time together, and when this is done, the clips can be un-grouped to see the original clips.
Note the label “Group-01” on the top left of the first track. This lets the user know the clips have been grouped.

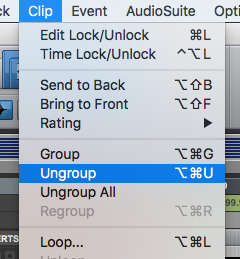
5. (OPTIONAL) The clips can be un-grouped by clicking on the top menu bar: Clip -> Un-group:
The clips will be un-grouped and they will look just as they did before:
You now know How to Create Clip Groups in Pro Tools!
Was this tutorial on How to Create Clip Groups in Pro Tools useful?
If so:
CLICK HERE to learn Avid Pro Tools one on one with a digital audio professional at OBEDIA.