The following tutorial shows the user how to Input Quantize when recording MIDI in Pro Tools.
CLICK HERE to learn Avid Pro Tools one on one with a digital audio professional at OBEDIA.
On previous tutorials we have explained how to record MIDI in Pro Tools as well as how to quantize a MIDI passage after it has been recorded.
Digital Audio Workstations that have MIDI capabilities also give the user the possibility of quantizing the performance “on-the-fly” while it is being recorded. Avid Pro Tools calls this function “Input Quantize”. This function basically “drags” the notes being recorded to a pre-defined grid so that when the recording stops, the part is perfectly quantized. The different options included in this function are the exact same options presented in the regular “Quantize” function (such as strength, grid, etc) the only difference is that they happen while it is being recorded, instead of after, ultimately saving time from the recording session.
This tutorial will present a step-by-step guide on how to input quantize a MIDI recording in Pro Tools. The tutorial assumes the user has already create a Pro Tools session that contains at least one track with MIDI information recorded. These operations have been explained on previous tutorials by OBEDIA.
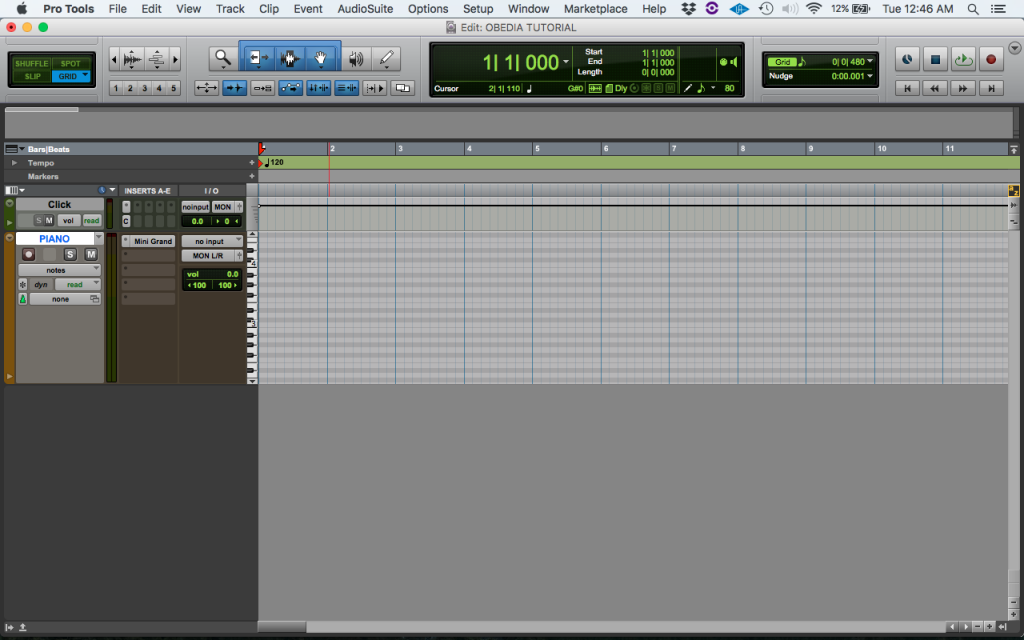
1. Open or create a new session. Make sure it contains a Virtual Instrument ready to record and a click track:
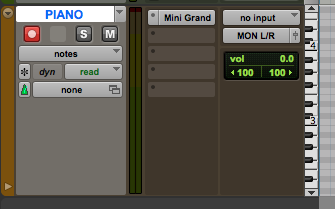
2. Record enable the virtual instrument:
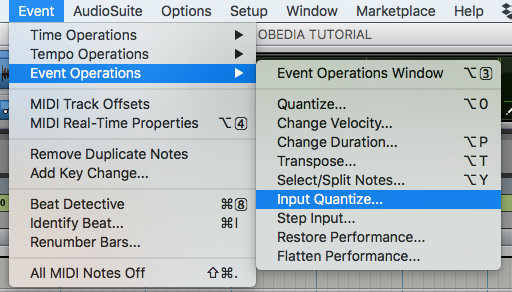
3. From the top menu bar click on: Event -> Event Operations -> Input Quantize
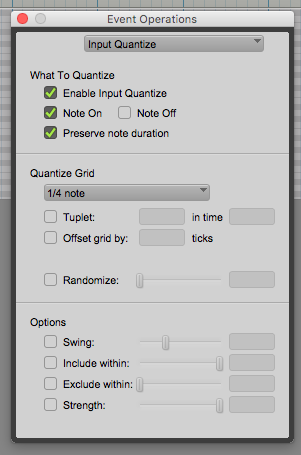
4. The Event Operations window will open in the “Input Quantize” option as:
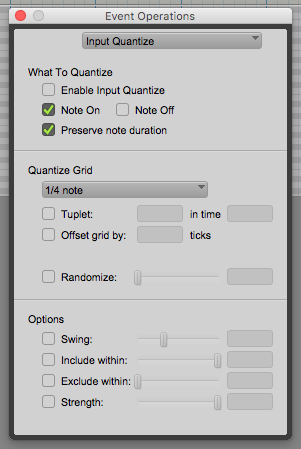
This window lets the user configure the different parameters of the Input Quantize function. Before we apply this procedure, it is important that we explain the most important parameters of this window. These parameters are:
- Enable Input Quantize: This basically acts as an ON/OFF switch for the Input Quantize function. When the option is checked, the Input Quantize will be ON, otherwise it will be OFF (and the passage will not be quantized).
- Note On: When this option is checked, the start of every note will be dragged to the nearest grid mark selected.
- Note Off: When this option is checked, the end of every note will be dragged to the nearest grid mark selected.
- Preserve Note Duration: When this option is checked, the original duration of the note will be preserved after it is dragged to the nearest grid mark.
- Quantize Grid: This option lets the user select the desired grid to use as the quantization reference. If the user selects 1/4 for example, the notes will be dragged to the nearest quarter note. As a rule of thumb, the grid should be selected to match the smallest note played.
- Strength: This option lets the user type a percentage number. This percentage represent how much will the notes be dragged to the nearest grid mark. A 50% setting will set the notes in a middle point between their original position and the grid mark. A setting of 100% will move the notes to match the grid mark perfectly. If this option is unchecked, the quantize function will work as if the strength was set to 100%.
5. Now that we have explained the most important parameters of this function, we can progress into configuring the Input Quantize window for our needs as:
- Enable Input Quantize: Checked.
- Note On: Checked.
- Note Off: Unchecked.
- Preserve Note Duration: Checked.
- Quantize Grid: 1/4.
- Strength: Unchecked.
After applying these changes, the window will look like this:
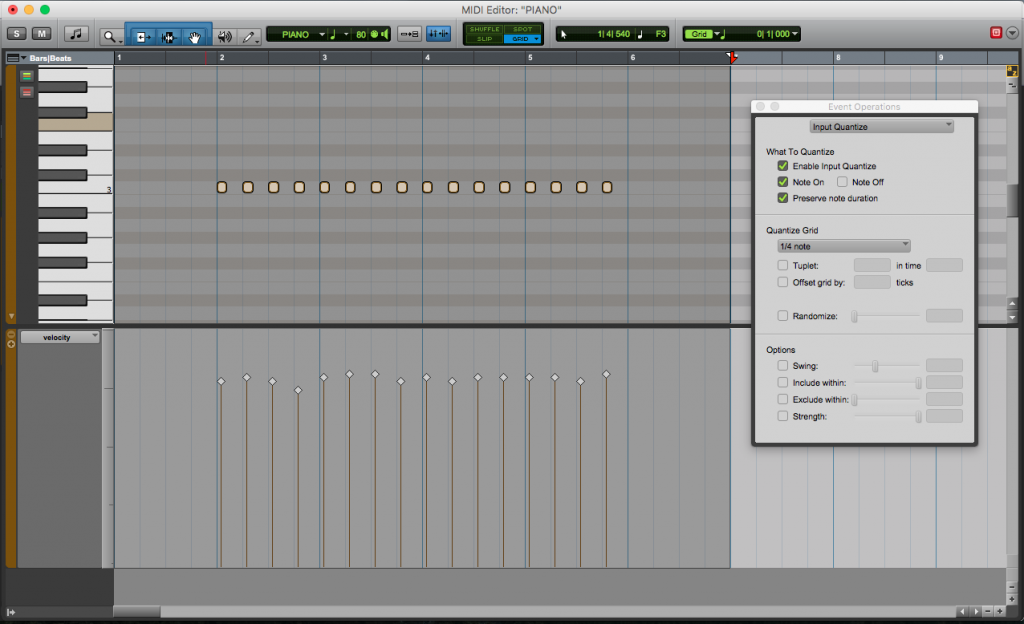
The Input Quantize function is now ready to be used. For the purpose of this tutorial we have assigned the input quantize grid to quarter notes.
6. With the previous window still opened, press the master record enable button followed by the play button (from the transport bar) to start the recording procedure.
Play the notes you want to record. Press the stop bar when finished in order to stop the recording.
For the purpose of this tutorial we have played a C note for four bars following a quarter note pattern. The performance was not perfect because the player was not a keyboardist, however, it is easy to see how the MIDI clip shows the notes perfectly aligned to the quarter note grid due the Input Quantize function being activated while recording.
At this point the user has learned how to use the Input Quantize of MIDI recording in Pro Tools.
We hope this tutorial on how to Input Quantize MIDI in Pro Tools has been helpful! Call OBEDIA today to learn how to use Pro Tools from a digital audio professional.
CLICK HERE to learn Avid Pro Tools one on one with a digital audio professional at OBEDIA.