The following tutorial shows the user how to record MIDI in Studio One 4.
CLICK HERE to learn Presonus Studio One 4 one on one with a digital audio professional at OBEDIA.
Digital Audio Workstations nowadays not only are capable of recording digital audio information, but also MIDI information that can be used to trigger virtual instruments or hardware synthesizer units that accept MIDI messages. Modern music is characterized by mixing audio coming from real recorded instruments and “electronic” sequenced textures that might come from virtual instruments. Studio One 4 gives the user of recording MIDI information that can trigger both Studio One’s stock instruments as well as third party virtual instruments.
This tutorial will present a step-by-step guide on how to record MIDI in Studio One 4.
- Open or create a new Studio One 4 Song:

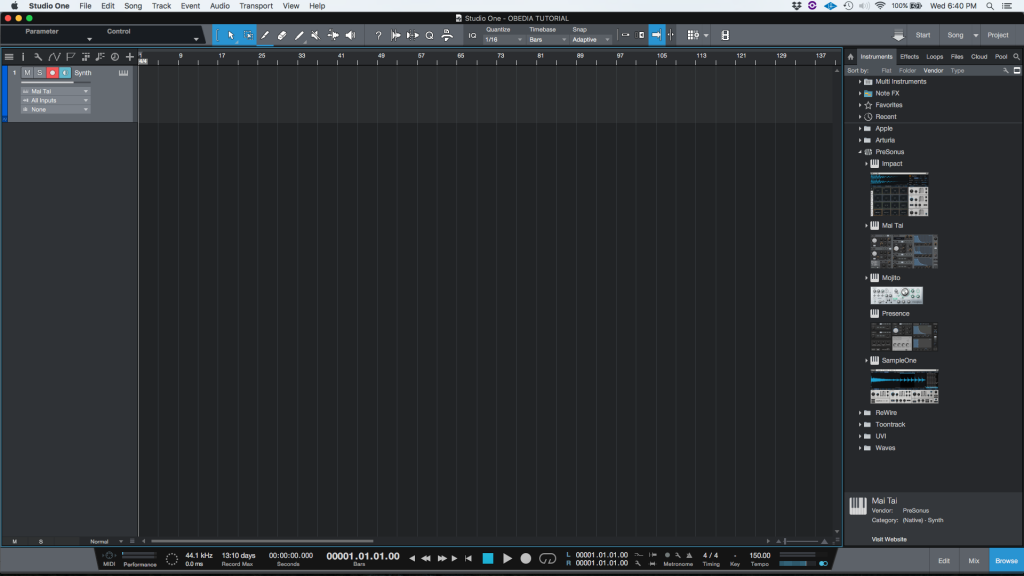
2. As explained on previous tutorials, create a new Instrument track and assign a virtual instrument to it:
For the purpose of this tutorial we assigned the MaiTai stock virtual instrument from PreSonus and the track was labeled as “Synth”:

3. Record enable the instrument track:
4. Press the record button and start playing the part:
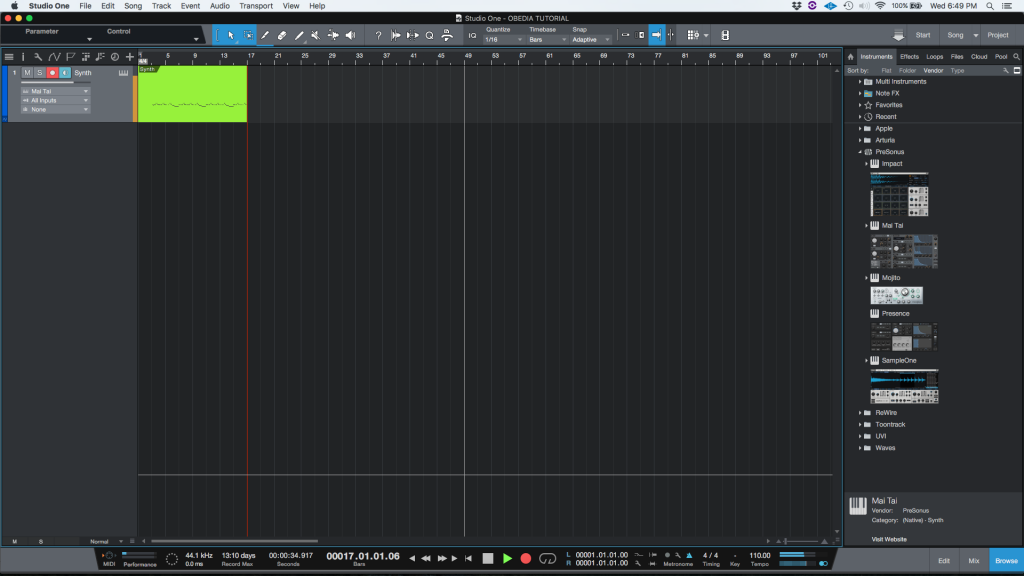
5. Press the spacebar to stop the recording:
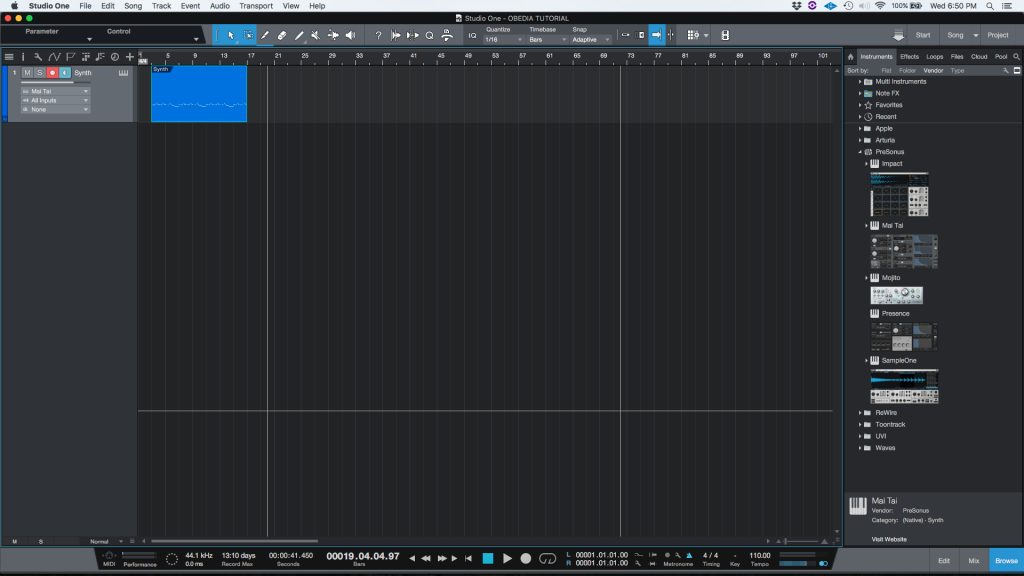
6. Disable de record-enable on the instrument track:

At this point we have finished recording the MIDI part in Studio One 4. The user can now press the spacebar in order to playback the recorded material. The tutorial has now finished.
We hope this tutorial on how to record MIDI in Studio One 4 has been helpful! Call OBEDIA today to learn how to use Studio One 4 from a digital audio professional.
CLICK HERE to learn Presonus Studio One 4 one on one with a digital audio professional at OBEDIA.