
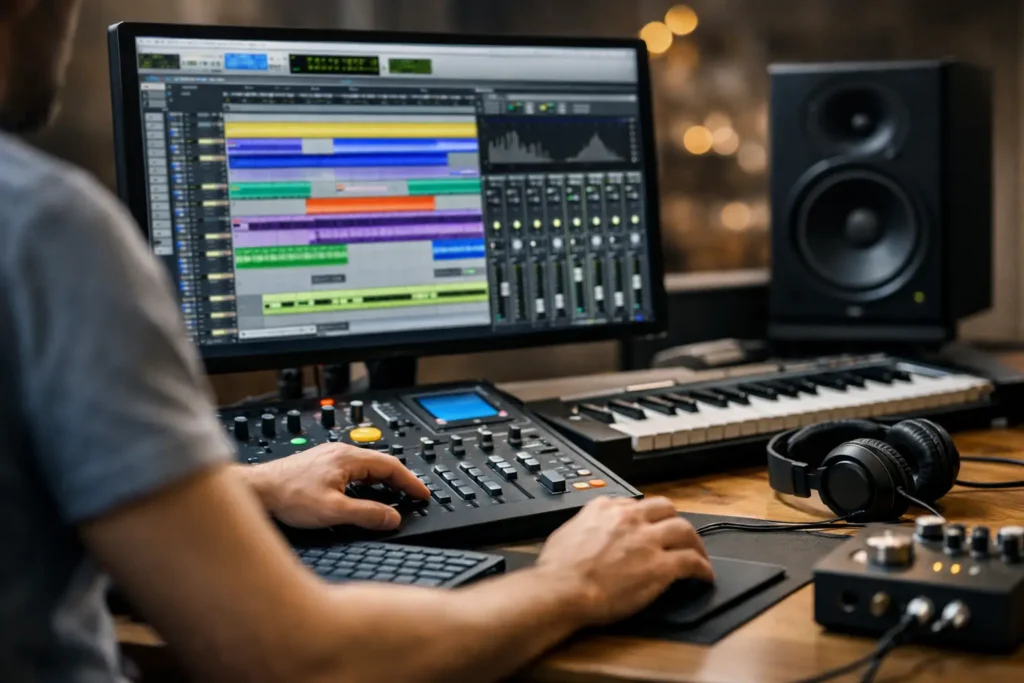
A Pro Tools session rarely falls apart because someone does not know where the Record button is. It falls apart when the interface is not communicating, the headphone mix is wrong, playlists are disorganized, latency makes a performance feel late, or an edit takes 20 minutes longer than it should. Those are not small problems when an artist is waiting in the booth and the creative momentum is disappearing.
Pro Tools remains a serious production platform because it can handle demanding recording, editing, and mixing work without forcing you into a simplified workflow. But that flexibility comes with a trade-off: there are many ways to do the same task, and the wrong setup can make a straightforward session unnecessarily difficult. The goal is not to memorize every menu. The goal is to build a system that lets you record ideas, make decisions, and finish music faster.
Start With a Pro Tools Session That Will Not Fight You
The most useful work in Pro Tools happens before the first take. A session template should reflect the kind of work you actually do, whether that means vocal production, beat-making, podcast editing, band tracking, or mixing. Starting from a blank session every time may feel clean, but it often means repeating the same routing, labeling, and setup mistakes.
Build templates with tracks already named, color-coded, and routed. For a vocal production template, that may include a lead vocal track, doubles, harmonies, an ad-lib bus, a vocal aux, a reverb send, a delay send, and a print track. For recording live instruments, include the correct input assignments, headphone cue sends, talkback routing, and a basic rough-mix balance.
Set the session sample rate and bit depth deliberately. If you are recording new audio for a music release, 24-bit recording is generally the practical baseline. The sample rate depends on the project, your delivery needs, and your system resources. Higher sample rates can be useful, but they also increase drive use and CPU load. A 48 kHz session is often a sensible choice for projects that may touch video, while 44.1 kHz remains common for music-only releases.
Save the session to a dedicated project folder and make sure audio files are copied into that location. Do not let a session pull critical takes from a Downloads folder, a desktop, or a removable drive you may not have next week. Use Save Copy In when handing a project to another engineer or archiving a finished job. It is a simple habit that prevents the dreaded missing-files message later.
Record Without Creating Problems for Tomorrow
Recording is not just about capturing a signal. It is about capturing a signal that can be edited, comped, tuned, and mixed efficiently later.
Before recording, confirm the basics: the correct microphone or instrument is on the intended interface input, the track input matches that interface channel, phantom power is only on when needed, and the source is arriving at a healthy level without clipping. If the meter is flat, do not assume Pro Tools is broken. Trace the signal path from the source through the interface control software and into the track input.
Latency deserves the same attention. When performers say their vocal feels behind the beat, the issue may be buffer size, plug-in delay, direct monitoring configuration, or a cue mix that is returning through a delayed path. Lower buffer settings help during recording, while higher settings can give the system more breathing room during mixing. There is no single perfect setting for every stage of production.
For vocal tracking, use playlists rather than creating a new track for every take. Playlists keep alternate takes connected to the same channel processing and routing, while making it easier to compare performances. Label takes as you go if the session is moving quickly. “Lead Verse 2 Take 7” is far more useful than a row of unnamed clips when you return to the song three days later.
A separate headphone mix can make a real performance difference. The artist may need more of their voice, less reverb, or a louder reference track than you want in the control-room mix. If they are struggling to hear the groove, no compressor setting will solve that problem.
Edit Faster by Learning the Right Pro Tools Habits
Editing in Pro Tools can be extremely fast, but only when your shortcuts and edit modes match the task. Smart Tool is valuable because it combines trim, selector, and grab functions in one place. It is also easy to make accidental changes when you are working too quickly. Zoom in before cutting, and listen across every edit instead of trusting the waveform alone.
For dialogue, vocals, and instruments, clean clip boundaries matter. Use fades to prevent clicks, especially when joining clips that do not cross at zero. Batch Fades can save substantial time on dense editing, but do not apply it blindly to musical material where fade shape and timing affect the feel.
Elastic Audio can help correct timing, but it is not magic. The wrong algorithm, excessive stretching, or aggressive warp markers can leave vocals grainy and drums smeared. Use it to make controlled corrections, then listen in context. If a performance needs to be rebuilt from the ground up, a better take is usually faster than trying to force a bad take into time.
For vocal comping, make decisions with the song playing rather than auditioning isolated syllables for too long. A technically perfect word can be emotionally wrong. Build the best complete performance first, then repair the few moments that pull attention away from the lyric.
Keep Mixing Decisions Clear and Reversible
A messy mix session is usually a routing problem before it is a plug-in problem. Group related tracks to buses: drums, instruments, lead vocals, backgrounds, effects returns, and mix bus. That structure makes broad moves possible without losing control of individual sounds.
Use sends for shared effects such as reverbs and delays instead of placing the same reverb plug-in on every vocal track. This reduces CPU demand and helps place multiple elements in the same space. Insert effects are still appropriate when processing needs to affect only one source, such as corrective EQ, compression, tuning, or distortion.
Commit or freeze tracks when heavy virtual instruments and processor-hungry plug-ins start slowing the session down. This is not surrendering flexibility. It is protecting your ability to make decisions without playback errors, lag, and constant interruptions. Keep the original track inactive if you may need to revise it, then print the version that lets the session run reliably.
Automation is where many mixes stop sounding static. Write or draw small level changes before reaching for another compressor. Automate delay throws at the end of phrases. Pull a distracting guitar down for one line of the verse. Raise a key lyric by a fraction of a decibel. These moves are often more effective than adding more processing.
Do Not Mix Through Guesswork
When something sounds wrong, isolate the category of problem. Is it source quality, arrangement, gain staging, frequency masking, stereo placement, dynamics, or monitoring? Randomly cycling through presets may occasionally land on a workable sound, but it teaches you very little and wastes time.
Reference tracks can help, provided you level-match them and use them to evaluate broad characteristics rather than copy settings. Listen to low-end balance, vocal placement, brightness, width, and how the arrangement opens from section to section. Your song may need different choices, but a reference can reveal where your monitoring or decision-making is drifting.
When Pro Tools Technical Problems Need a Real Answer
Some problems are easy to solve with a preference change. Others involve the interaction between your operating system, interface driver, plug-in versions, hard-drive performance, session settings, and routing. That is why generic advice can be so frustrating. A video showing someone else’s version of the software, interface, and session template may not address what is happening on your system.
Common trouble signs include CPU overload messages, interface recognition failures, crackles during playback, missing audio files, unavailable inputs, inactive plug-ins, and sessions that open slowly or refuse to open at all. Do not change ten settings at once. Make a copy of the session, test one variable, and document what changed. That is how you find a repeatable fix instead of creating a new problem.
If you are losing hours to a setup issue or cannot translate a production goal into a working workflow, one-on-one remote help is often the faster route. OBEDIA works directly with your actual Pro Tools session, hardware, and objectives, so the answer is built around the way you work rather than a generic example.
The best next step is not learning every feature in the manual. Pick the point where your sessions repeatedly slow down – recording vocals, editing drums, routing effects, managing plug-ins, or finishing mixes – and improve that workflow until it becomes automatic. Every minute you recover from the technical side is a minute you can put back into the music.