
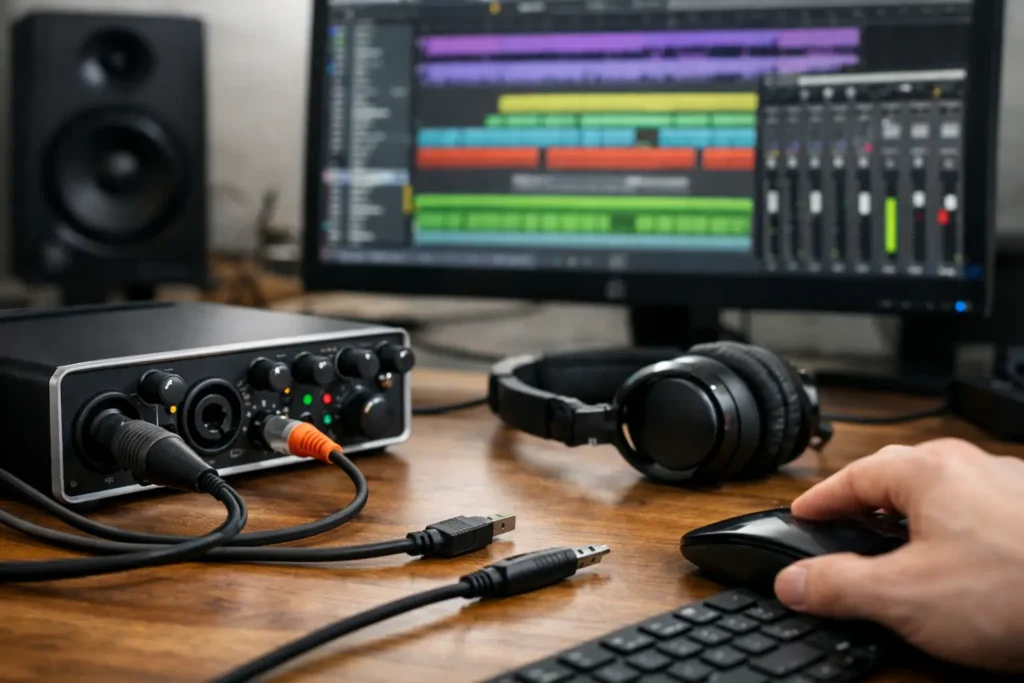
Your session was working yesterday. Today, your DAW cannot see the interface, the input list is empty, or playback sounds like a digital demolition project. That is the reality of fixing interface driver conflicts: the problem often looks like a bad mic, a broken cable, or a DAW failure when the real issue is the communication path between your computer, audio interface, operating system, and recording software.
Do not start changing every setting you can find. Random troubleshooting creates new variables and makes a simple driver issue harder to identify. Work from the computer outward, verify one stage at a time, and make sure your DAW is using one clearly defined audio device.
What an Interface Driver Conflict Actually Is
An audio driver is the software layer that lets your operating system and DAW communicate with an interface. On Windows, that usually means a manufacturer ASIO driver. On macOS, many interfaces use Core Audio directly, though the manufacturer may still provide control software, firmware tools, or a dedicated driver.
A conflict occurs when more than one application, driver, virtual audio device, or system setting tries to control the same audio hardware in an incompatible way. It can also happen when an old driver survives an interface upgrade, a DAW selects the wrong audio engine, or an operating system update changes security permissions.
The symptoms vary, but the patterns are familiar: no inputs in Pro Tools, Studio One, Cubase, Ableton Live, or Logic Pro; playback through laptop speakers instead of monitors; distorted audio at normal levels; clicks and pops; recurring buffer errors; or a DAW that crashes when its audio device is selected.
The key distinction is this: a conflict is not always a defective driver. Sometimes the driver is fine, but the wrong application has control of the interface, the sample rates do not match, or a virtual device has taken over the audio routing.
Start With the Simplest Physical Checks
Before reinstalling software, confirm that the interface itself is stable. Connect it directly to the computer rather than through a hub or display dock. A hub may work for storage and still cause intermittent trouble with an interface, especially if it shares power or bandwidth with other devices.
Try a known-good USB, Thunderbolt, or USB-C cable. USB-C describes the connector, not the capability. Two identical-looking cables can behave very differently. If your interface has its own power supply, make sure it is connected and stable. Then restart the interface and the computer fully, not just the DAW.
If the interface is not recognized by the operating system, do not troubleshoot inside the DAW yet. Your DAW cannot use hardware the computer does not see.
Confirm Which Device the Computer Sees
On Windows, check Device Manager and the interface manufacturer’s control panel. On Mac, check Audio MIDI Setup and, if applicable, the manufacturer’s control application. You are looking for the actual interface name, not a generic fallback such as “Windows Audio,” “Primary Sound Driver,” or “Built-in Output.”
If the interface appears and disappears when you reconnect it, suspect the cable, port, hub, power, or hardware connection before blaming the DAW. If it appears consistently but has no audio, move on to driver and routing checks.
Fixing Interface Driver Conflicts on Windows
Windows is powerful for production, but it gives you many ways to accidentally send audio through the wrong system. Most professional interfaces should use their manufacturer’s current ASIO driver in your DAW. ASIO4ALL can be useful for unsupported consumer devices, but it is not a replacement for a proper manufacturer driver when one exists.
Open your DAW’s audio device settings and select the interface’s named ASIO driver. Do not select DirectSound, MME, WASAPI, or a generic Windows driver for a serious recording session unless you have a specific reason. Those options may produce higher latency, missing input channels, or unreliable performance.
If the correct ASIO driver is missing, first close every audio-related application. That includes browsers with video tabs open, Discord, Zoom, streaming software, standalone amp sims, and system audio utilities. Some interfaces and drivers can be shared, while others behave badly when another program changes the sample rate or holds exclusive access.
Then check the Windows sound settings. Set the interface as the system device only if you genuinely want Windows audio through it. For many studio setups, keeping the interface available for the DAW while using a separate device for everyday system sound reduces surprises. Either approach can work, but avoid having Windows change formats behind your back.
If you recently installed a new interface, remove the old manufacturer driver and any duplicate control software before reinstalling the current driver. Do not stack versions on top of each other. Download the correct driver for your exact model and current Windows version, install it as instructed by the manufacturer, and restart before opening the DAW.
Match Sample Rate and Buffer Settings
A 48 kHz interface and a 44.1 kHz session do not always cause a failure, but they can cause silence, errors, speed changes, or strange digital artifacts when the driver is not switching properly. Set the sample rate in the interface control panel first, then match it in the DAW session.
Set the buffer size based on the job. Tracking virtual instruments or vocals usually calls for a lower buffer, such as 64 or 128 samples, if the system can handle it. Mixing with larger sessions often works better at 256, 512, or 1024 samples. A lower number is not automatically more professional. The right setting is the lowest stable buffer for recording and the highest practical buffer for heavy mixing.
macOS Conflicts Usually Show Up as Permissions or Routing Problems
On a Mac, Core Audio handles much of the basic driver communication, but that does not mean every interface is plug-and-play forever. Operating system updates can affect older control software, firmware compatibility, microphone permissions, and background extensions.
First, confirm that your DAW has microphone access in macOS Privacy & Security settings. This permission can affect audio input access even when you are recording through an external interface. If the DAW has output but no available input channels, this is one of the first places to look.
Next, open Audio MIDI Setup. Verify that the interface is present, its clock source is correct, and its sample rate matches your session. If you created an Aggregate Device to combine multiple interfaces, understand the trade-off: aggregates can be useful, but they add complexity. Different devices have different clocks, and drift correction can create instability. If possible, record through one primary interface instead of combining unrelated devices.
Virtual routing software can also complicate macOS setups. Devices created by streaming, screen capture, conferencing, or loopback applications may appear ahead of your interface in a DAW device list. Choose the actual interface unless you intentionally need that routing. If you do need it, document the signal path so you can restore it after a reboot or software update.
Rebuild the DAW Connection Without Rebuilding Your Whole System
When the operating system sees the interface but the DAW does not behave, reset the DAW’s audio configuration before taking more drastic steps. Select the correct driver or Core Audio device, confirm the playback engine, and rebuild the DAW’s input and output paths if needed.
This step matters because DAWs remember old hardware names and channel assignments. You may have installed a new interface that offers inputs 1-8 while your previous configuration still expects “Input 1 Left” or an old digital pair. The interface is working, but the session is routed to channels that no longer exist.
In Pro Tools, check the Playback Engine and I/O Setup. In Studio One, verify the Audio Device and Song Setup I/O configuration. In Cubase, confirm the ASIO driver and audio connections. In Ableton Live, verify the input and output configuration after selecting the driver. In Logic Pro, check the input and output devices under Audio settings. The names differ, but the workflow is the same: select the physical interface, enable the channels you need, and assign tracks to real inputs.
Do not confuse a driver conflict with monitoring configuration. If your input meter moves but you cannot hear yourself, the driver may be fine. You may need to enable input monitoring in the DAW, raise the interface’s monitor mix, or choose the correct monitor outputs.
When Reinstalling Is the Right Move
Reinstall only after you have confirmed the basic connection, selected the correct device, closed competing applications, and checked sample rate settings. A clean reinstall is appropriate when the driver will not load, the device is absent from its own control panel, the DAW crashes specifically when the device is selected, or an update left you with duplicate or corrupted components.
Write down your interface model, firmware version, operating system version, DAW version, driver version, sample rate, buffer size, and the exact error message before changing anything. Those details turn a vague “my interface is broken” problem into something that can be solved quickly.
If the setup still refuses to cooperate, this is where a live screen-sharing session can save hours. OBEDIA support works through the actual driver, DAW, interface settings, and routing on your system instead of handing you another generic checklist.
Your music does not need a perfect computer to move forward. It needs one stable audio path you understand well enough to trust when the red light is on.