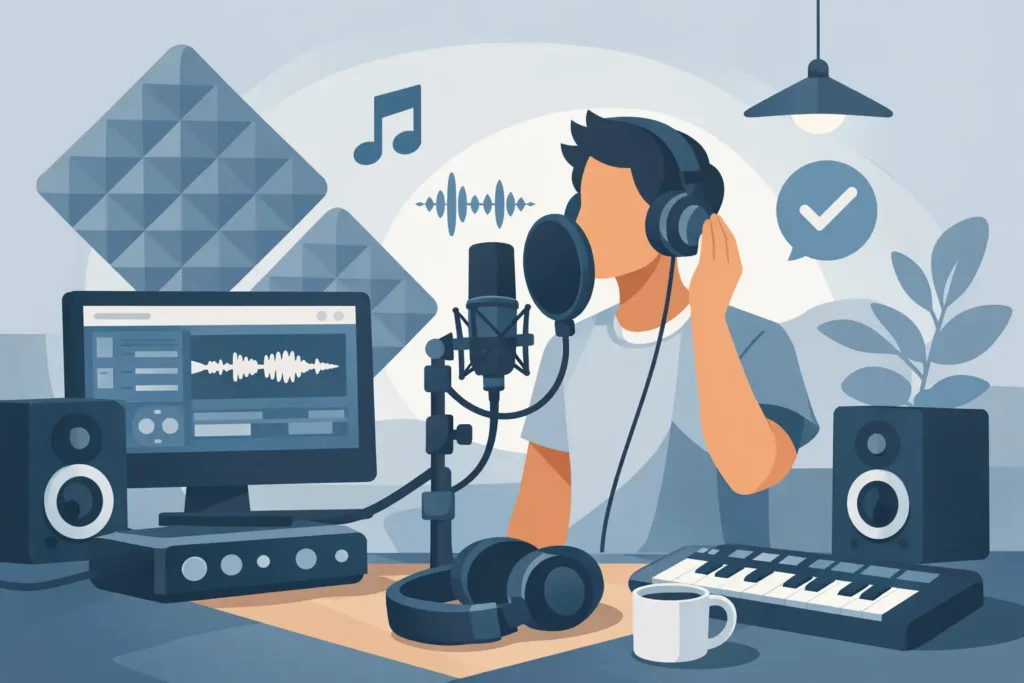
A great vocal recording usually falls apart before you ever hit Record. It happens in the room, in the headphone mix, in the gain staging, and in the singer’s comfort level. If you want to record vocals at home professionally, you do not need a luxury studio. You need a controlled signal chain, smart setup choices, and a workflow that does not fight the performance.
What actually makes a vocal sound professional
Most home studio users assume the microphone is the main factor. It matters, but not as much as people think. A professional vocal usually comes from four things working together: a quiet recording space, a mic that fits the voice, healthy input levels, and a performer who can hear themselves properly.
If one of those parts is weak, the result sounds amateur fast. A great mic in a reflective bedroom still sounds like a reflective bedroom. A clean room with a bad headphone mix leads to flat, pitchy takes. Expensive gear cannot fix a poor recording chain.
That is the first mindset shift. Stop chasing gear upgrades before you fix the basics.
Start with the room, not the mic
If your room sounds harsh, boxy, or roomy, your vocal will too. That is true even if you are using a strong interface and a respected condenser mic. Bare walls, glass, hardwood floors, and corners all create reflections that get printed into the track.
The fastest improvement is usually moving your setup. Record away from windows, avoid the dead center of the room, and stay out of corners unless they are properly treated. A closet full of clothes can help in some cases, but not every closet sounds good. Some are too boxy and create muddy low mids.
What you want is controlled absorption around the singer, especially behind and beside the mic position. That does not mean covering the whole room with cheap foam. Foam alone often reduces a little top end and leaves the ugly midrange problems behind. Dense broadband treatment works better, and placement matters more than quantity.
If treatment is limited, make the best of what you have. Turn off fans, air conditioning if possible, noisy lights, and anything that hums. Listen to the room with headphones on and the mic armed. If you hear the room, the mic hears more.
Choosing the right mic for the job
To record vocals at home professionally, you need the right mic for the voice and room, not the most expensive model in your budget. In many home studios, a dynamic microphone can outperform a condenser because it picks up less room sound and can handle strong vocalists well.
A condenser often gives you more detail and air, but that detail includes your room. If your space is untreated, bright condensers can make things worse. A dynamic mic may sound more controlled and easier to mix.
There is also no single best vocal mic. Some voices need top-end sparkle. Others need a smoother, more controlled response. A thin singer through a hyped mic can turn brittle quickly. A darker voice may benefit from a mic with more presence.
Use a pop filter either way. It is not optional if you want a clean take. Plosives from P and B sounds can ruin an otherwise strong performance and force you into edits you should not need.
Mic position matters more than most people realize
A common home studio mistake is singing too close, too straight on, and too loud into the capsule. That creates plosives, harshness, and inconsistent tone. Start with the singer about 6 to 10 inches from the mic with a pop filter in place, then adjust from there.
Aim the mic slightly off-axis if the vocalist is aggressive or sibilant. That small angle can reduce harsh consonants without changing the whole sound. If proximity effect is making the vocal too boomy, back the singer off a bit. If the take feels thin and weak, moving closer may help.
Consistency matters. If the singer moves wildly during the take, the tone changes constantly. Some movement is natural and musical, but big swings in distance create level and EQ problems you will hear later in the mix.
Set input gain for headroom, not ego
A lot of bad home recordings come from recording too hot. People still think they need to push the preamp because louder looks better on the meter. In a modern DAW, that is the wrong move.
Your goal is a clean signal with headroom. For most vocal recordings, peaks somewhere around -12 dBFS to -6 dBFS are completely fine. You do not get bonus quality for flirting with clipping. You get distortion, ruined takes, and a singer who now has to do it again.
Also watch for hidden clipping on the way in. A clean-looking DAW meter does not always mean the mic preamp or interface input is happy. Listen for crunch, edge, or a pinched tone when the vocalist gets loud.
If the singer has big dynamics, set gain for the loudest section, not the quiet verse. Quiet parts can be brought up later. Clipped choruses cannot be repaired in a way that sounds truly professional.
Build a headphone mix the singer can actually perform with
This is one of the biggest differences between frustrating sessions and productive ones. If the artist cannot hear themselves clearly, the performance suffers immediately. Pitch slips. Timing gets cautious. Energy drops.
Start with low-latency monitoring. If the buffer is too high and the singer hears delay in the headphones, they will fight the track. Many interfaces offer direct monitoring, and many DAWs can be configured for low-latency tracking. The exact method depends on your setup, but the goal is simple: the vocalist should feel connected to the music, not delayed from it.
Then build the cue mix around confidence. Most singers want more of their own voice than you think. Some want a little reverb to help them phrase naturally. That is fine if it is only in the headphones and not printed unless you intentionally want that effect. Too much dry vocal in the headphones can feel exposed and uncomfortable. Too much reverb can hurt pitch and articulation. This is one of those areas where it depends on the singer.
Get the performance before you chase perfection
A technically clean vocal that has no emotion will still sound wrong. The best home vocal recordings come from sessions that protect the performance. That means having your session ready before the singer steps up. Name tracks clearly. Set levels ahead of time. Test the chain. Remove distractions.
Do not make the vocalist stand there while you troubleshoot routing or search through plugins. That kills momentum fast.
When recording, capture full takes first. Then go back for punch-ins or comping sections if needed. Starting with constant micro-fixes can make the singer tense and self-conscious. Often the best phrasing, tone, and emotion happen in a pass that is not technically perfect from start to finish.
Keep water nearby. Watch mouth noise. If clicks and lip smacks are getting excessive, that can be a hydration issue, a mic issue, or both. Small adjustments can save a lot of editing later.
Basic processing while tracking – less is usually better
You do not need a heavily processed vocal on the way in to sound professional. In fact, printing too much compression, EQ, or saturation without experience can box you into bad choices.
A light amount of compression while monitoring can help some singers perform better, especially if their dynamics are wide. But printing that compression is a different decision. If you know exactly why you are doing it and your hardware or plugin chain is solid, fine. If not, keep the recorded track clean.
The same goes for EQ. High-pass filtering while monitoring can clean up headphone mud, but committing to aggressive tonal shaping before the mix is rarely necessary in a home studio workflow. Professional results usually come from good capture first, then controlled processing after.
Edit and comp with restraint
Once the takes are recorded, resist the urge to over-edit every syllable. A professional vocal is tight and intentional, but it is still human. Over-tuning, hard cuts, and excessive timing correction can make the track feel smaller instead of better.
Comp for emotion and consistency first. Then fix obvious distractions. Clean up breaths only when they are distracting. Remove clicks, pops, and headphone bleed. Tighten timing where it actually helps the song.
Pitch correction is a tool, not a rescue plan. If the original takes are weak, no plugin is going to turn them into a believable lead vocal. Strong recording decisions upfront still matter more than post-production repair.
The real difference between decent and professional
If you want to record vocals at home professionally on a consistent basis, the difference is not one magic plugin or one famous mic. It is repeatability. Can you get a clean, confident, mix-ready vocal every time you open the session? Can you diagnose why a take sounds harsh, dull, roomy, noisy, or weak instead of guessing?
That is where most people get stuck. Not because they lack talent, but because every room, mic, interface, DAW, and vocalist combination behaves differently. Generic advice only gets you so far. Sometimes what you need is someone who can hear the problem, look at your exact setup, and fix it in real time.
If your vocals still sound homemade after doing the basics right, the issue is usually not motivation. It is calibration. A few smart changes to mic choice, room position, gain staging, or monitor setup can save months of trial and error. That is why personalized training matters.
Good vocal recordings are not mysterious. They are built on controlled choices, made on purpose. Once your setup supports the performance instead of fighting it, your vocals stop sounding like demos and start sounding like records.