
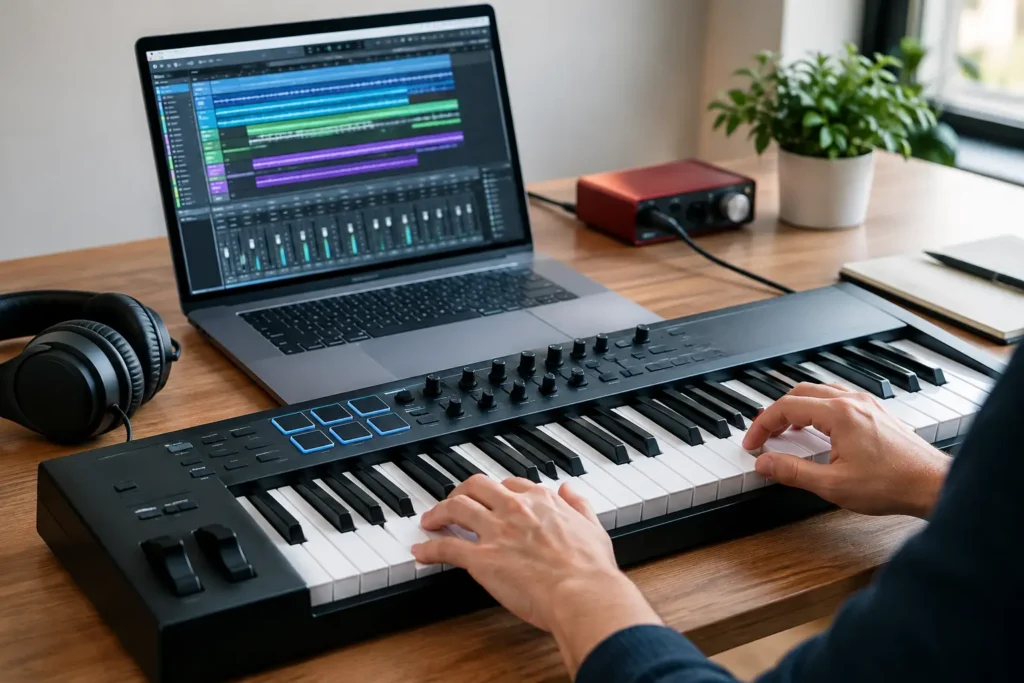
A MIDI controller for Cubase should make writing, recording, and mixing feel faster – not give you another menu to troubleshoot. The right choice depends less on the number of controls printed on the box and more on what you actually do in Cubase: play parts, program drums, automate mixes, control virtual instruments, or all of the above.
Too many producers buy a controller because it looks impressive, then use it only as a piano keyboard. Others spend hours trying to force every fader and encoder to control Cubase before they have finished a single track. A useful controller fits your current workflow, then gives you room to grow.
What a MIDI Controller Changes in Cubase
Cubase is deep enough that a well-configured MIDI controller can save real time. You can record expressive MIDI performances, trigger drum sounds, adjust instrument parameters, write automation, and control selected mixer functions without reaching for the mouse every few seconds.
That does not mean every controller needs pads, faders, transport buttons, and 61 keys. A songwriter building chords and vocal arrangements has different needs than a beat producer programming drums or a mix engineer riding levels. Start with the task that slows you down most. If playing bass lines into a virtual instrument is the bottleneck, key feel and range matter more than eight assignable faders. If you are constantly drawing drum notes in the Key Editor, responsive pads may matter more than extra octaves.
The practical question is simple: what do you want your hands to do while Cubase is open? Your answer should guide the purchase.
Choose Keys for the Parts You Actually Play
For most Cubase users, a keyboard controller is the foundation. Twenty-five keys are compact and affordable, but they can feel cramped when you are recording two-handed piano, string arrangements, or wide synth parts. A 49-key model is often the sensible middle ground for a home studio. It gives you usable range without consuming your entire desk.
Sixty-one or 88 keys make sense if piano performance is central to your music. The trade-off is space, cost, and desk ergonomics. Do not buy an 88-key weighted controller just because it appears more professional if most of your tracks involve bass, leads, and simple chord layers. A smaller controller that stays within reach will get used more often.
Key action matters as well. Semi-weighted keys suit many producers because they handle synth parts, organs, and basic piano work comfortably. Fully weighted hammer-action keys are better for players who need a piano-like response. Mini keys can work for travel or a tight desktop setup, but they are less forgiving when you are trying to record an accurate performance.
Velocity response is not a minor detail. Cubase records the velocity you play, and velocity often controls more than volume in virtual instruments. It may change articulation, filter brightness, sample layers, or drum impact. If your parts feel lifeless or every snare lands at the same intensity, the issue may be your playing, controller curve, or instrument settings – not the DAW.
Pads, Knobs, and Faders: Buy Control With a Purpose
Pads are useful when they solve a real performance problem. They are excellent for finger drumming, triggering percussion, launching one-shot effects, and entering notes into drum instruments. But pads vary widely in sensitivity. Cheap pads that require excessive force will not make drum programming more musical. If finger drumming is a major part of your process, test pad response when possible or choose a controller known for adjustable velocity sensitivity.
Knobs are usually the most valuable extra controls for sound design. Assign them to filter cutoff, resonance, envelope times, effects sends, or macros in a virtual instrument. Recording these movements into Cubase gives a static part motion and character. Eight good encoders you understand are more useful than 32 controls you never map.
Faders can be helpful for volume automation and balancing groups, especially if you prefer mixing with your hands. They are not essential for everyone. If you mix primarily with a mouse and spend more time composing than balancing, a controller with fewer faders and better keys may be the stronger investment.
Transport controls are convenient, but do not let them decide the purchase. Play, stop, record, cycle, and marker buttons are valuable only if they work reliably with your Cubase setup. A controller that has excellent keys and pads but requires a few minutes of mapping is still a better choice than a poorly built unit with a flashy transport section.
Setting Up a MIDI Controller in Cubase
A clean setup prevents the most common frustration: the controller appears connected, but Cubase does not respond the way you expect. Connect the controller directly to the computer when possible, particularly during initial setup. USB hubs can work, but a crowded or underpowered hub can cause intermittent connections.
After Cubase recognizes the device, open Studio Setup and check MIDI Port Setup. Confirm that the controller input is available and, for a performance keyboard, included in All MIDI Inputs if that is how you want to work. Then load a VST instrument, select or create an instrument track, and verify that incoming MIDI reaches the track.
If pressing keys produces no sound, work through the signal path instead of guessing. Is the controller sending MIDI? Is the correct input selected? Is the instrument track selected or record-enabled? Is a VST instrument actually loaded? Is your audio interface output working? Cubase can be configured correctly in one area while another part of the chain is still preventing sound.
For knobs, faders, and buttons, use Cubase MIDI Remote. Recent versions of Cubase support MIDI Remote for connecting hardware controls to DAW functions and parameters. Some popular controllers include dedicated integration scripts, while others need manual assignments. Either approach can work well. The key is to map controls around repeatable actions, not around every possible function in the program.
For example, you might map a set of knobs to the quick controls or macros in your main synth, then use another bank for channel volume, pan, and sends. Keep the layout consistent across projects. When the same knob always controls the same type of parameter, your controller becomes part of your instrument rather than another device you need to relearn.
Avoid the MIDI Controller Cubase Setup Traps
The most common problems are usually small configuration mismatches, not broken equipment. A controller may have separate ports for keyboard MIDI and DAW control. It may be in the wrong operating mode. Its manufacturer software may be sending a different MIDI message type than Cubase expects. It may also need a firmware update before its integration features behave properly.
Watch for these four trouble spots:
- The controller is visible in Cubase, but the selected instrument track is listening to the wrong MIDI input.
- Notes are recording, but the pads or knobs are transmitting on a different MIDI channel or port.
- Controls move in the wrong direction, jump in value, or affect an unexpected parameter because the assignment needs to be refined.
- A DAW integration mode is active, but Cubase is not using the matching MIDI Remote script or ports.
Do not solve these problems by randomly changing settings until something works. Make one change, test it, and identify what the controller is transmitting. That method is slower for the first five minutes and much faster for the next five years of using the device.
Build a Template Before You Build Another Song
Once the controller is working, save a Cubase project template that reflects how you create. Load your preferred drum instrument, main piano or synth, a few routed tracks, and your common effects. Set your controller mappings and label tracks clearly. Then every new session begins with a working production environment instead of a technical reset.
A good template should not be overloaded. If it takes several minutes to load, contains instruments you rarely use, or gives you 40 tracks before you have written a chorus, it is creating friction. Build one lean writing template first. You can create separate templates later for beat production, recording, mixing, or live performance.
If you are stuck choosing a controller, configuring MIDI Remote, or getting your specific hardware to behave in Cubase, a live one-on-one session can save hours of disconnected tutorial hunting. OBEDIA training focuses on your computer, your controller, your Cubase version, and the music you are trying to make.
The best MIDI controller is the one that gets you from an idea to a recorded part before the idea fades. Set up a few essential controls, save the template, and spend the rest of the session making music.